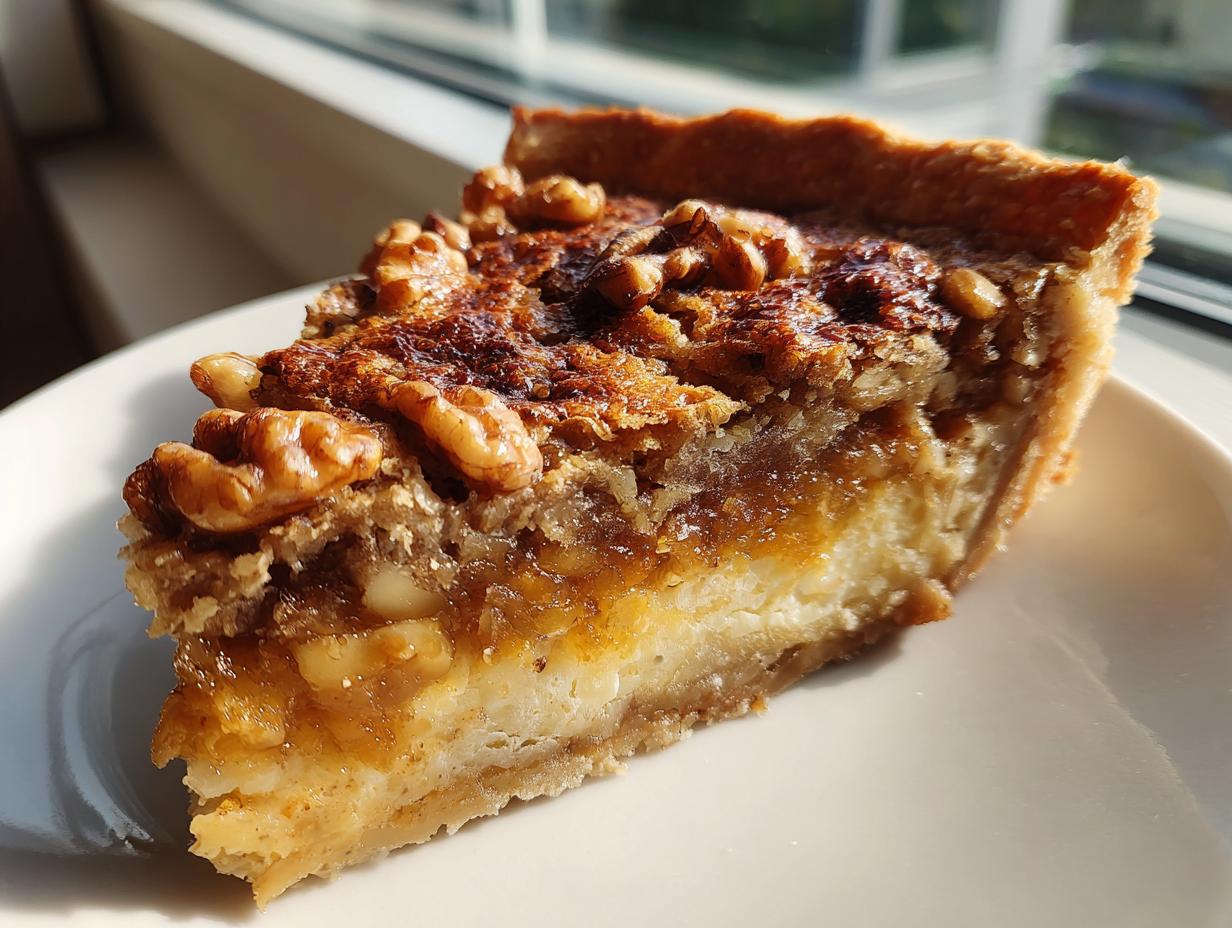
Oh my goodness, get ready to have your taste buds absolutely blown away! There’s something truly magical about a perfectly baked Maple Walnut Pie, isn’t there? That rich, earthy maple custard, bursting with toasted walnuts, all nestled in a flaky, golden crust… it just screams cozy comfort. I still remember the first time I stumbled upon a version of this recipe in an old community cookbook – it was like finding buried treasure! From that moment on, I was obsessed. I’ve spent years tweaking, tasting, and perfecting it, and let me tell you, this isn’t just any pie; it’s *the* Maple Walnut Pie. Today, I’m going to share all my secrets so you can make this showstopper right in your own kitchen!
Why You’ll Love This Maple Walnut Pie
Trust me, this isn’t just another pie; it’s an experience! You’re going to fall head over heels for this Maple Walnut Pie because:
- It’s got that incredible, rich maple flavor that just warms your soul.
- The toasted walnuts add the most delightful crunch and earthy balance.
- It’s surprisingly easy to make, even for a beginner baker!
- It’s the ultimate crowd-pleaser, perfect for holidays or just a cozy Sunday.
- The aroma alone will make your whole house smell like a dream!
The Irresistible Charm of Maple Walnut Pie
Imagine biting into a slice where the silky, sweet maple custard melts in your mouth, perfectly complemented by the satisfying crunch of toasted walnuts. It’s pure comfort, with a sophisticated, warm flavor profile that appeals to everyone. This pie is a true dessert lover’s dream, an absolute showstopper that tastes even better than it looks!
Essential Ingredients for Your Maple Walnut Pie
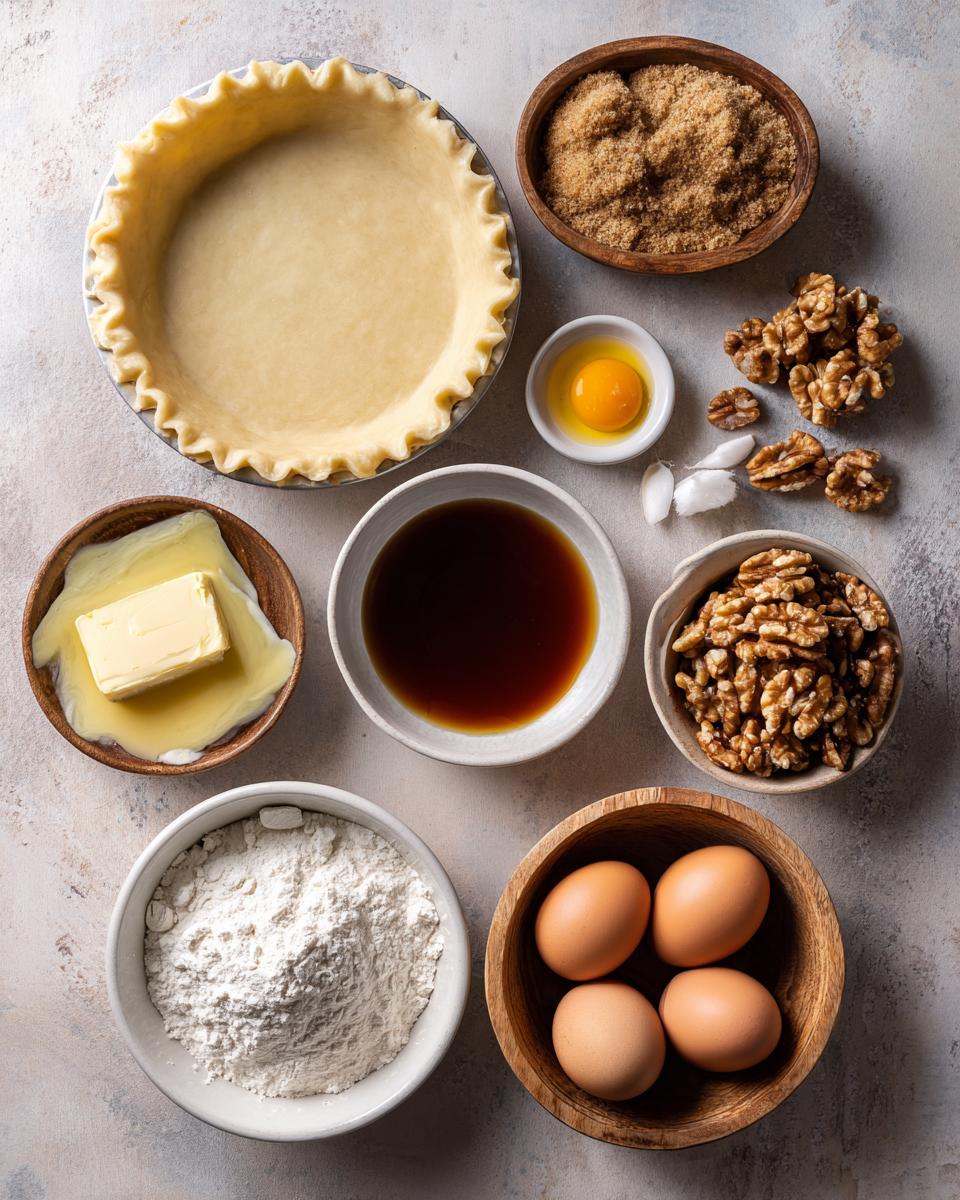
Alright, let’s talk ingredients! Every amazing pie starts with amazing components, and this Maple Walnut Pie is no exception. Don’t skimp here; each one plays a crucial role in getting that perfect flavor and texture. Here’s what you’ll need to gather from your pantry:
- 1 (9-inch) unbaked pie crust: You can totally use a store-bought one (no judgment here, we all need shortcuts!), or whip up your favorite homemade flaky crust.
- 1/2 cup butter, melted: Unsalted is usually my go-to for baking so I can control the salt content.
- 1 cup packed light brown sugar: This adds a lovely depth and caramel note.
- 1/2 cup maple syrup: This is the star, so make it good!
- 1/4 teaspoon salt: Just a pinch to balance all that sweetness.
- 2 large eggs, lightly beaten: These are our binders, holding everything together.
- 1 teaspoon alcohol-free vanilla extract: For that warm, classic flavor.
- 1 cup chopped walnuts: The crunch factor!
Gathering Your Maple Walnut Pie Components
Okay, so you’ve got your list, but let’s chat about *choosing* those ingredients. For that maple syrup, please, *please* use real maple syrup, not pancake syrup! It makes ALL the difference. And for the walnuts, try to get fresh ones – you can usually tell by their smell; they should have a slightly sweet, nutty aroma. Trust me on these little details; they elevate the whole pie!
Step-by-Step: How to Make Maple Walnut Pie
Alright, let’s get down to business! Making this Maple Walnut Pie is surprisingly straightforward, and I promise, you’ll feel like a total baking superstar when you pull it out of the oven. Just follow these steps, and you’ll be enjoying a slice of pure heaven in no time. Don’t rush it, and remember, baking is all about love and a little bit of patience!
- Preheat your oven: First things first, get that oven nice and hot! Set it to 350 degrees F (175 degrees C). This ensures your pie starts baking immediately and gets that lovely golden crust.
- Prep your butter: In a large bowl, melt your butter. You can do this gently on the stovetop or in the microwave. Just make sure it’s fully melted but not boiling hot.
- Whisk the wet ingredients: To the melted butter, add your packed light brown sugar, that glorious maple syrup, and a quarter teaspoon of salt. Grab a whisk and really get in there! Whisk until everything is beautifully combined and the sugar is mostly dissolved. You want a smooth, cohesive mixture.
- Add eggs and vanilla: Next, stir in your lightly beaten eggs and the alcohol-free vanilla extract. Give it another good whisk until it’s all incorporated. Don’t go crazy here; just enough to mix it all together.
- Fold in the walnuts: This is my favorite part! Gently fold in your chopped walnuts. You don’t want to break them up too much, just distribute them evenly throughout the filling. If you’ve taken my advice and toasted them beforehand, your kitchen is probably already smelling amazing!
- Pour into the crust: Carefully pour your rich, nutty filling into your unbaked 9-inch pie crust. Make sure it’s spread out nicely.
- Bake it up! Pop that beauty into your preheated oven. It’ll bake for about 45 to 55 minutes. You’re looking for the center to be set (it shouldn’t jiggle too much when you gently shake the pie) and the crust to be a gorgeous golden brown.
- Cool completely: This is the hardest part – waiting! Let the pie cool completely on a wire rack before you even think about slicing into it. This allows the filling to fully set up and develop its perfect texture. Trust me, it’s worth the wait!
Preparing the Maple Walnut Pie Filling
Okay, the filling is where the magic really happens! Start by melting that butter, then whisk in the brown sugar, maple syrup, and salt until it’s super smooth and inviting. Next, gently fold in your beaten eggs and alcohol-free vanilla extract – remember, just until combined, don’t overmix! Finally, add those chopped walnuts. Give them a good stir, making sure they’re evenly distributed throughout that luscious, sweet mixture. This creamy, nutty concoction is going to be the heart of your pie!
Baking Your Perfect Maple Walnut Pie
Once your filling is ready and nestled in its crust, it’s oven time! Slide your pie into that preheated 350°F (175°C) oven. It’ll bake for about 45 to 55 minutes. Keep an eye on it! You’ll know it’s done when the edges of the crust are beautifully golden brown, and the center of the filling is set – meaning it doesn’t wobble much when you give the pie a gentle nudge. If your crust starts getting too dark, just tent the edges with a little foil. Perfection!
Tips for the Best Maple Walnut Pie
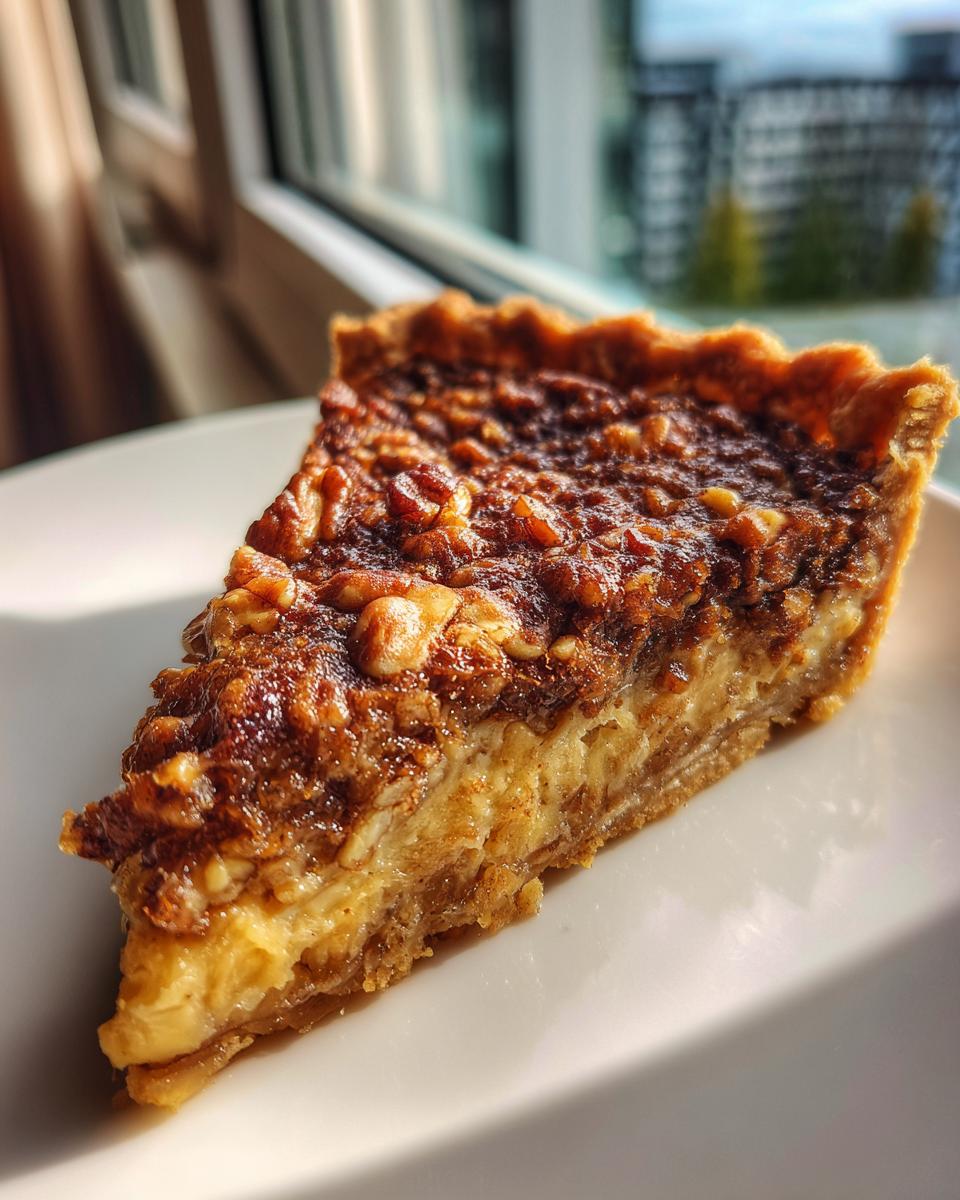
You’ve got the recipe, now let’s talk about those little tricks that take your Maple Walnut Pie from great to absolutely unforgettable! These aren’t just suggestions; these are my tried-and-true secrets for making sure every slice is pure perfection. Trust me, these small steps make a HUGE difference in flavor and texture!
- Toast those walnuts! Seriously, don’t skip this. A quick toast in a dry pan or in the oven really brings out their nutty flavor. It’s an extra step that pays off big time.
- Don’t overmix the filling: Once you add the eggs and vanilla, mix just until combined. Overmixing can lead to a tougher custard.
- Protect your crust: If you notice your pie crust browning too quickly, especially around the edges, just grab some aluminum foil and gently tent it over the crust. This stops it from burning while the filling finishes baking.
- Patience, my friend: I know it’s hard, but letting the pie cool completely is crucial. It allows the custard to fully set, giving you that perfect, sliceable texture.
Achieving Maple Walnut Pie Perfection
For that dreamy, flaky crust, make sure your butter is super cold if you’re making it from scratch. And for a perfectly set filling, resist the urge to pull it out too early! It should have a slight jiggle in the very center, but not be liquid. The residual heat will finish setting it as it cools. These tiny details are your secret weapons!
Maple Walnut Pie: Frequently Asked Questions
Okay, I get it! When you find a recipe this good, you’re bound to have a few questions. I’ve been asked these over the years, so I’ve rounded up some common ones to help you make your Maple Walnut Pie absolutely perfect every single time. Don’t be shy if you have more; just drop them in the comments below!
Can I Make Maple Walnut Pie Ahead of Time?
Absolutely! This Maple Walnut Pie is actually fantastic when made a day or two in advance. It gives all those lovely flavors a chance to really meld together, deepening that delicious maple taste. Just cover it loosely with plastic wrap once it’s completely cooled and store it at room temperature for up to 2 days, or in the fridge for up to 4 days.
What Kind of Maple Syrup is Best for Maple Walnut Pie?
For the best Maple Walnut Pie, you really want to reach for a good quality, pure maple syrup. I usually go for a Grade A Dark, Robust Taste (formerly Grade B). It has a richer, more pronounced maple flavor that truly shines through in the custard. Lighter grades are delicious too, but a robust one will give you that deep, comforting maple punch we’re looking for!
Estimated Nutritional Information for Maple Walnut Pie
I know some of you like to keep an eye on the nutritional side of things, and I totally get it! While I’m a home cook and not a certified nutritionist, I can give you a general idea of what a slice of this delicious Maple Walnut Pie might contain. Please remember, these are just estimates and can vary based on the exact brands of ingredients you use, the size of your slices, and whether you use a homemade or store-bought crust.
- Serving Size: 1 slice (assuming 8 slices per pie)
- Calories: Approximately 450
- Fat: Around 28g (with about 12g saturated fat)
- Carbohydrates: Roughly 50g
- Sugar: About 45g
- Protein: Around 5g
- Sodium: Approximately 200mg
Just a friendly reminder that this is a treat, and a delicious one at that! Enjoy every single bite.
Share Your Maple Walnut Pie Experience
Well, there you have it – my absolute favorite Maple Walnut Pie recipe! I truly hope you love making and, more importantly, EATING this pie as much as I do. Please, please, please tell me all about your baking adventures in the comments below! Did you toast the walnuts? Did you use a homemade crust? I want to hear it all! Don’t forget to rate the recipe and share your gorgeous creations on social media with #MapleWalnutPieLove. Happy baking, my friends!
Print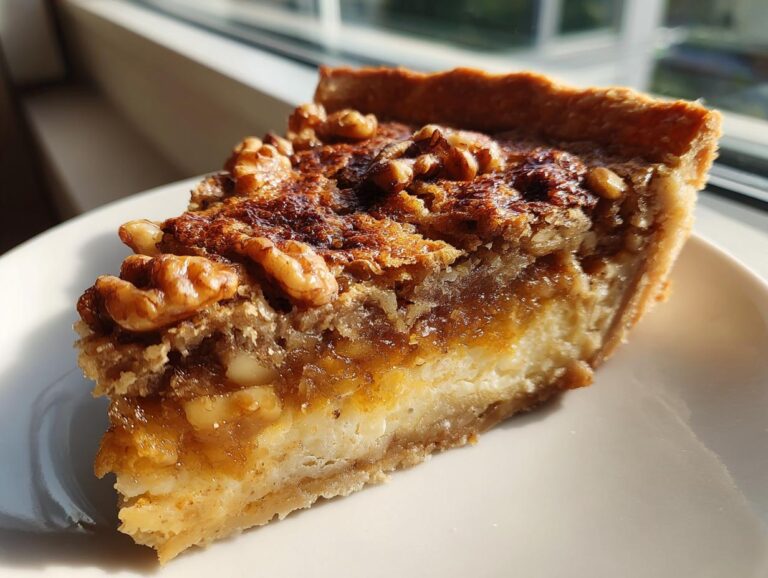
Maple Walnut Pie Recipe
This pie features a rich and earthy maple custard filling studded with toasted walnuts, all baked in a flaky pie crust.
- Total Time: 1 hour 5 minutes
- Yield: 8 servings 1x
Ingredients
- 1 (9 inch) unbaked pie crust
- 1/2 cup butter, melted
- 1 cup packed light brown sugar
- 1/2 cup maple syrup
- 1/4 teaspoon salt
- 2 large eggs, lightly beaten
- 1 teaspoon vanilla extract
- 1 cup chopped walnuts
Instructions
- Preheat oven to 350 degrees F (175 degrees C).
- In a large bowl, whisk together the melted butter, brown sugar, maple syrup, and salt.
- Stir in the beaten eggs and vanilla extract until well combined.
- Fold in the chopped walnuts.
- Pour the filling into the unbaked pie crust.
- Bake for 45 to 55 minutes, or until the center is set and the crust is golden brown.
- Let the pie cool completely on a wire rack before serving.
Notes
- For best results, toast the walnuts before adding them to the filling to enhance their flavor.
- If the crust starts to brown too quickly, cover the edges with aluminum foil.
- This pie can be stored at room temperature for up to 2 days or refrigerated for up to 4 days.
- Prep Time: 15 minutes
- Cook Time: 50 minutes
- Category: Dessert
- Method: Baking
- Cuisine: American
- Diet: Vegetarian
Nutrition
- Serving Size: 1 slice
- Calories: 450
- Sugar: 45g
- Sodium: 200mg
- Fat: 28g
- Saturated Fat: 12g
- Unsaturated Fat: 14g
- Trans Fat: 0g
- Carbohydrates: 50g
- Fiber: 2g
- Protein: 5g
- Cholesterol: 80mg