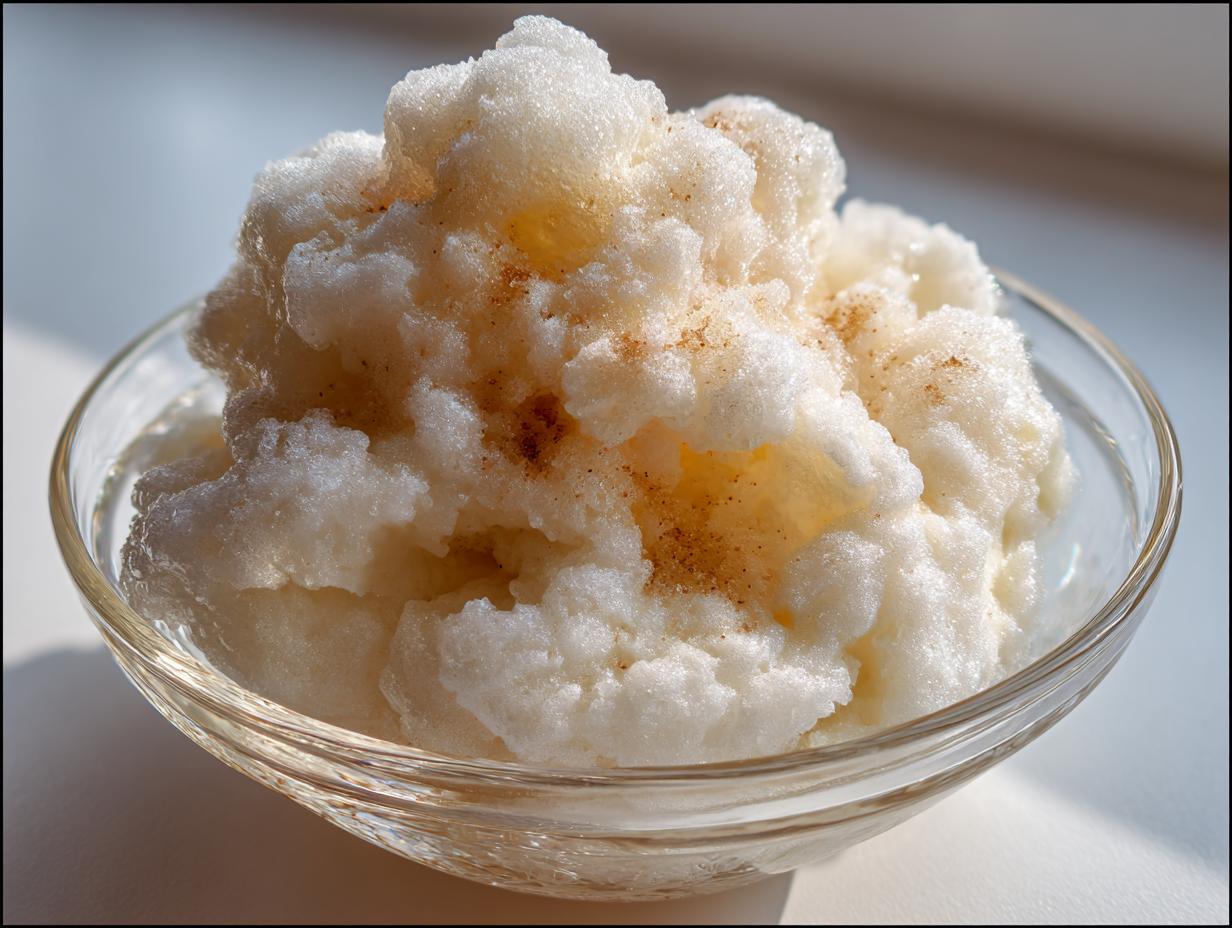
Oh my goodness, friend, if you’re anything like me, you’re always on the hunt for those desserts that feel like a cloud on your tongue – light, airy, and just melt-in-your-mouth delicious! Well, let me tell you, I’ve got a secret weapon in my recipe arsenal that delivers exactly that, and it’s called Apple Snow. Seriously, it’s not just a dessert; it’s an experience!
The first time I tasted Apple Snow, it was at a little family gathering, and I was instantly hooked. It’s this magical blend of sweet, tender stewed apples folded into unbelievably fluffy, whipped egg whites. It’s got this delicate texture that feels almost ethereal, like eating a sweet, fruity cloud. And the best part? It’s surprisingly simple to whip up! You get all that incredible flavor and a unique, dreamy texture without needing a million fancy steps. Trust me, once you try this Apple Snow, you’ll be making it again and again. It’s just so wonderfully refreshing and utterly delightful!
Why You’ll Love This Apple Snow Recipe
Okay, so why should *you* drop everything and make this Apple Snow? Well, for starters, it’s just so joyfully simple! We’re talking minimal fuss for maximum deliciousness. It’s one of those recipes that feels fancy but is secretly a breeze. Plus, it’s got this incredible balance – sweet but not cloying, fruity, and oh-so-refreshing. It’s a total crowd-pleaser and honestly, it’s just a really fun dessert to make and share. You’ll feel like a kitchen wizard, I promise!
The Allure of Light and Airy Apple Snow
The texture, my friends, the texture! This Apple Snow is like a soft, sweet cloud that just melts on your tongue. It’s so delicate and light, a perfect contrast to richer desserts. It’s not heavy at all, which makes it absolutely perfect after a big meal or on a warm day when you crave something cool and fruity. It’s truly unique!
Simple Steps for Perfect Apple Snow
Don’t be intimidated by “whipped egg whites” – I’m telling you, this recipe is incredibly straightforward. If you can stir and you can beat, you can make this! There are no complicated techniques or obscure ingredients. It’s all about simple steps that come together to create something truly magical. Seriously, anyone can master this Apple Snow!
Essential Equipment for Making Apple Snow
Alright, let’s talk tools! You don’t need a fancy kitchen full of gadgets for this Apple Snow, which is part of its charm. But having the right basics on hand will make the whole process so much smoother and ensure you get that dreamy, light texture we’re aiming for. Trust me, a few simple items make all the difference in turning apples and egg whites into magic!
Key Tools for Your Apple Snow Creation
You’ll definitely want a good medium saucepan for stewing those apples until they’re perfectly tender. A sturdy whisk (or a hand mixer, if you’re feeling fancy!) is essential for whipping those egg whites into glorious, stiff peaks. And of course, a couple of clean, dry mixing bowls are a must – one for the apples, and one *super* clean one for those egg whites!
Ingredients for Delicious Apple Snow
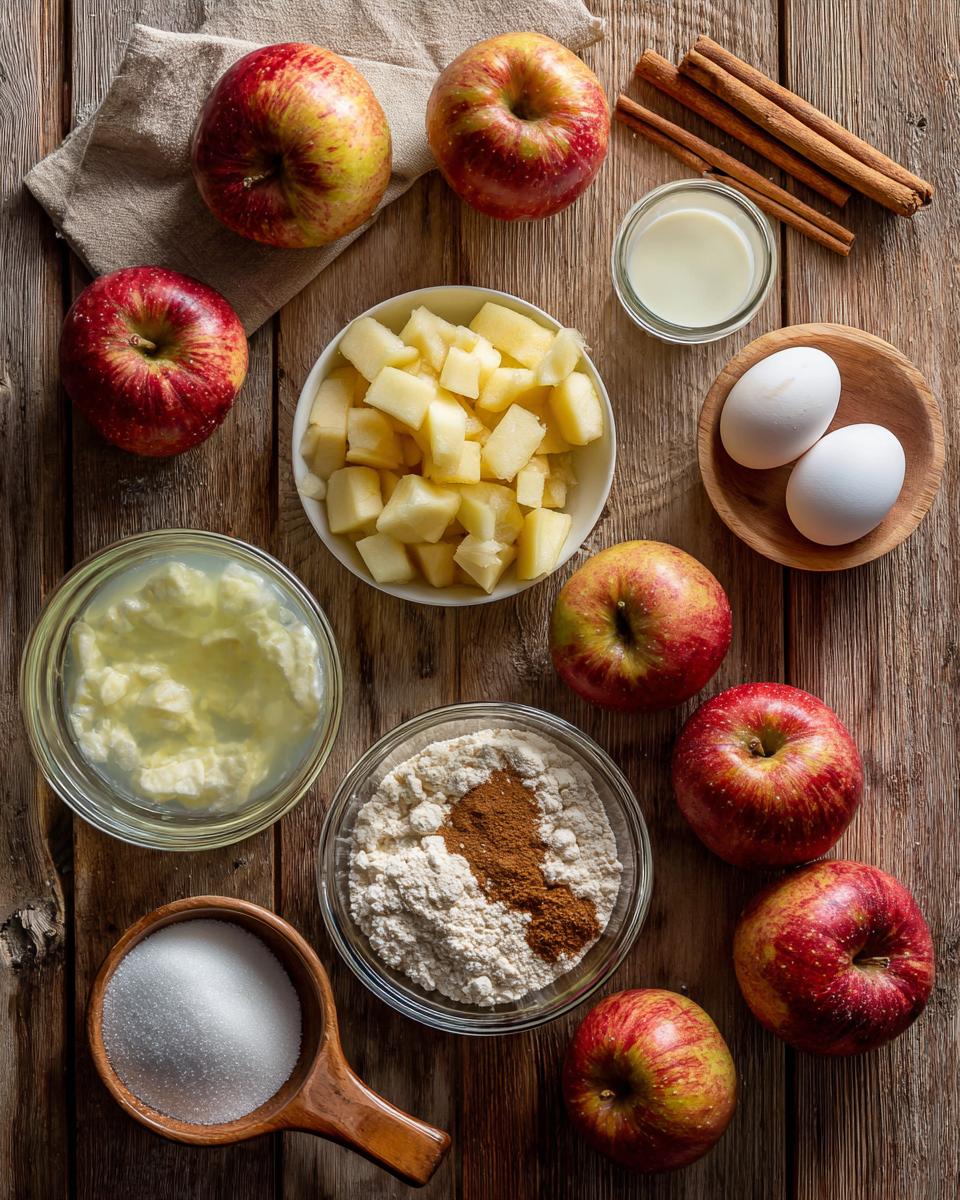
Okay, let’s get down to the good stuff – what you’ll need to make this incredible Apple Snow! The beauty here is that it’s all super accessible, everyday ingredients. We’re talking four medium apples, about a half cup of water, a quarter cup of granulated sugar (but taste as you go, you know!), and a half teaspoon of ground cinnamon for that cozy warmth. Then for the snowy part, you’ll need three large egg whites, a quarter teaspoon of cream of tartar (it’s our secret weapon for super stable whites!), and just two tablespoons more of granulated sugar. Simple, right? But oh-so-effective!
Selecting the Best Apples for Your Apple Snow
When it comes to apples for this Apple Snow, I usually reach for something tart, like Granny Smiths. They just give such a lovely, bright contrast to the sweetness, making the whole dessert sing! You can use sweeter apples if that’s what you have, but you might want to dial back the sugar a tiny bit. The key is fresh, firm apples – they’ll stew down beautifully and give you that perfect base.
How to Make Apple Snow Step-by-Step
Alright, let’s get into the fun part – actually making this dreamy Apple Snow! Don’t worry, I’m going to walk you through every single step, just like I’m right there in your kitchen with you. The goal here is to get those apples perfectly tender and those egg whites unbelievably fluffy, then bring them together without losing all that wonderful airiness. It’s a bit of a dance, but trust me, the results are so worth it for this light-as-a-feather Apple Snow!
Preparing the Apple Base for Apple Snow
First things first, we need to get our apples ready. Peel, core, and chop those beauties into small, even pieces – this helps them cook down faster and more uniformly. Toss them into your saucepan with the water, that first bit of sugar, and the cinnamon. Now, cook them over medium heat, stirring every now and then. You want them *really* soft, almost falling apart, which usually takes about 15-20 minutes. Once they’re super tender, mash them vigorously with a fork or potato masher until they’re smooth. Then, and this is important for our Apple Snow, let that apple mixture cool *completely*. No warm apples in our whipped whites!
Whipping Egg Whites for Fluffy Apple Snow
This is where the magic happens for that signature Apple Snow texture! Grab your cleanest, dry bowl – seriously, any speck of grease can ruin this. Beat your egg whites with the cream of tartar on medium speed. You’ll see them start to get foamy and then form soft peaks – they’ll hold their shape a bit but still flop over. *Now* is when you gradually sprinkle in the remaining two tablespoons of sugar, continuing to beat until you have stiff, glossy peaks. When you lift the whisk, the peaks should stand tall and proud, like little snowy mountains. That’s what we want for airy Apple Snow!
Gently Combining for the Ultimate Apple Snow
Okay, you’ve got your perfectly cooled apple base and your magnificent, stiff egg whites. This is the delicate part for our Apple Snow! You want to take about a third of your whipped egg whites and gently fold them into the cooled apple mixture. This “lightens” the apple mixture, making it easier to incorporate the rest without deflating everything. Then, add the remaining whipped egg whites and gently, *gently* fold them in until just combined. You’re not stirring vigorously; you’re scooping from the bottom and folding over the top. You want to keep as much air as possible for that ultimate light and airy Apple Snow! Spoon it into dishes and chill – oh, the anticipation!
Tips for Achieving Perfect Apple Snow
Okay, so you’ve got the steps down, but let me share a few little secrets to make your Apple Snow absolutely *flawless* every single time. These are the things I’ve picked up along the way that really elevate it from good to “OMG, you HAVE to try this!” It’s all about paying attention to those small details that make a big difference in the final texture and flavor of your Apple Snow. Trust me, these tips will make you a total Apple Snow pro!
Common Pitfalls to Avoid with Apple Snow
The biggest one for Apple Snow? Fat in your egg whites! Even a tiny speck of yolk or grease from a bowl can stop them from whipping up properly. So, make sure your bowl and whisk are squeaky clean and dry. Also, don’t rush the cooling of the apples – warm apples will deflate those beautiful egg whites instantly. And finally, be gentle when folding! Too much enthusiasm and all that lovely air will disappear, and your Apple Snow won’t be as light. Slow and steady wins the race here!
Serving and Storing Your Apple Snow
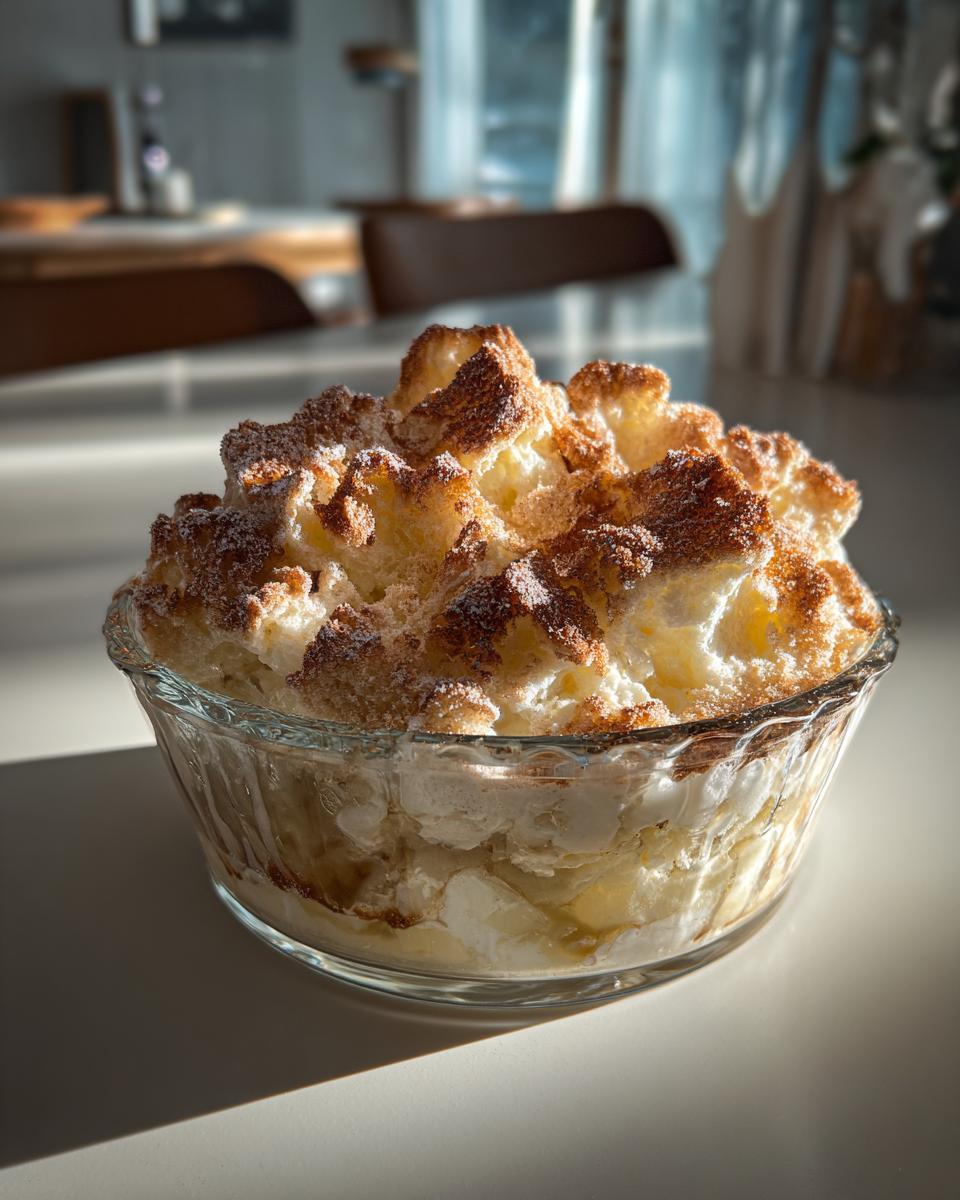
Once your Apple Snow has had a good chill in the fridge – at least 30 minutes, but longer is even better – it’s ready to shine! I love serving it in pretty glass dishes or even simple ramekins so you can really appreciate that lovely, airy texture. It’s definitely best served cold, straight from the fridge, when it’s at its freshest and fluffiest. If you happen to have any leftovers (which is rare in my house!), just cover it tightly with plastic wrap and pop it back in the fridge. It’ll stay delightful for a day or two, though it does lose a tiny bit of its airiness over time.
Creative Ways to Enjoy Apple Snow
While this Apple Snow is absolutely perfect on its own, a little something extra can be fun! A sprinkle of toasted chopped nuts (pecans or walnuts are lovely!) adds a nice crunch. A tiny drizzle of pure maple syrup or a dollop of fresh whipped cream can also elevate it. Or, for a burst of color, a few fresh berries on top are just gorgeous!
Frequently Asked Questions About Apple Snow
Got questions about this delightful Apple Snow? I bet you do! It’s such a unique dessert that sometimes people have a few extra thoughts on how to get it just right. Don’t you worry, I’ve got answers for you! I’ve made this Apple Snow countless times, and learned a few things along the way, so let’s tackle those common queries to make sure your Apple Snow is absolutely perfect every single time. We want you to feel confident whipping up this light and airy treat!
Can I make Apple Snow ahead of time?
You definitely can, and I often do! This Apple Snow actually benefits from chilling for at least 30 minutes, but it’s totally fine to make it a few hours ahead of time. I wouldn’t go much more than a day in advance, though, as the egg whites can start to lose their airiness, and your Apple Snow won’t be quite as fluffy.
What kind of apples are best for Apple Snow?
Oh, for this Apple Snow, I’m a huge fan of tart apples like Granny Smith. They just bring this wonderful bright flavor that really cuts through the sweetness and makes the whole dessert sing! You can use sweeter ones if that’s what you have, but you might want to ease up on the added sugar a tiny bit. Any firm, fresh apple will stew down beautifully, though!
How do I know when the egg whites are whipped enough for Apple Snow?
You’ll know your egg whites are perfect for Apple Snow when they form “stiff, glossy peaks.” This means when you lift your whisk out of the bowl, the peaks stand up straight and firm, without flopping over. They should also look shiny and smooth, not dry or curdled. If they’re not quite there, just keep beating!
Estimated Nutritional Information for Apple Snow
Okay, for those of you who like to keep an eye on what you’re eating, I’ve got some estimated nutritional info for this Apple Snow. Remember, these are just estimates, because things like the exact size of your apples or the brand of sugar can change things a little bit. But generally, for one serving of this light and lovely Apple Snow, you’re looking at around 150 calories, about 0.5g of fat, 3g of protein, and 38g of carbohydrates. It’s a pretty guilt-free treat, especially considering how satisfying it is!
Print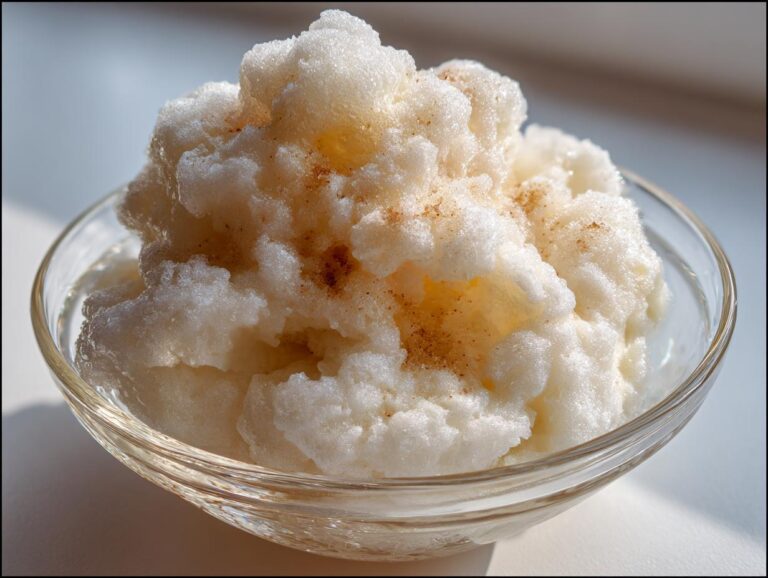
Homemade Apple Snow Dessert
Light and airy apple snow, a delightful dessert made with stewed apples and whipped egg whites.
- Total Time: 1 hour
- Yield: 4 servings 1x
Ingredients
- 4 medium apples, peeled, cored, and chopped
- 1/2 cup water
- 1/4 cup granulated sugar (or to taste)
- 1/2 teaspoon ground cinnamon
- 3 large egg whites
- 1/4 teaspoon cream of tartar
- 2 tablespoons granulated sugar
Instructions
- Combine chopped apples, water, 1/4 cup sugar, and cinnamon in a medium saucepan. Cook over medium heat, stirring occasionally, until apples are very soft, about 15-20 minutes.
- Mash the cooked apples with a fork or potato masher until smooth. Let cool completely.
- In a clean, dry bowl, beat egg whites with cream of tartar on medium speed until soft peaks form. Gradually add the 2 tablespoons of sugar, beating until stiff, glossy peaks form.
- Gently fold the cooled apple mixture into the whipped egg whites until just combined.
- Spoon into serving dishes and chill for at least 30 minutes before serving.
Notes
- Use tart apples like Granny Smith for a more balanced flavor.
- Adjust sugar to your preference based on the sweetness of the apples.
- Ensure egg whites are at room temperature for better whipping.
- Prep Time: 20 minutes
- Cook Time: 20 minutes
- Category: Dessert
- Method: No-bake
- Cuisine: American
- Diet: Vegetarian
Nutrition
- Serving Size: 1 serving
- Calories: 150
- Sugar: 25g
- Sodium: 40mg
- Fat: 0.5g
- Saturated Fat: 0.1g
- Unsaturated Fat: 0.2g
- Trans Fat: 0g
- Carbohydrates: 38g
- Fiber: 4g
- Protein: 3g
- Cholesterol: 0mg