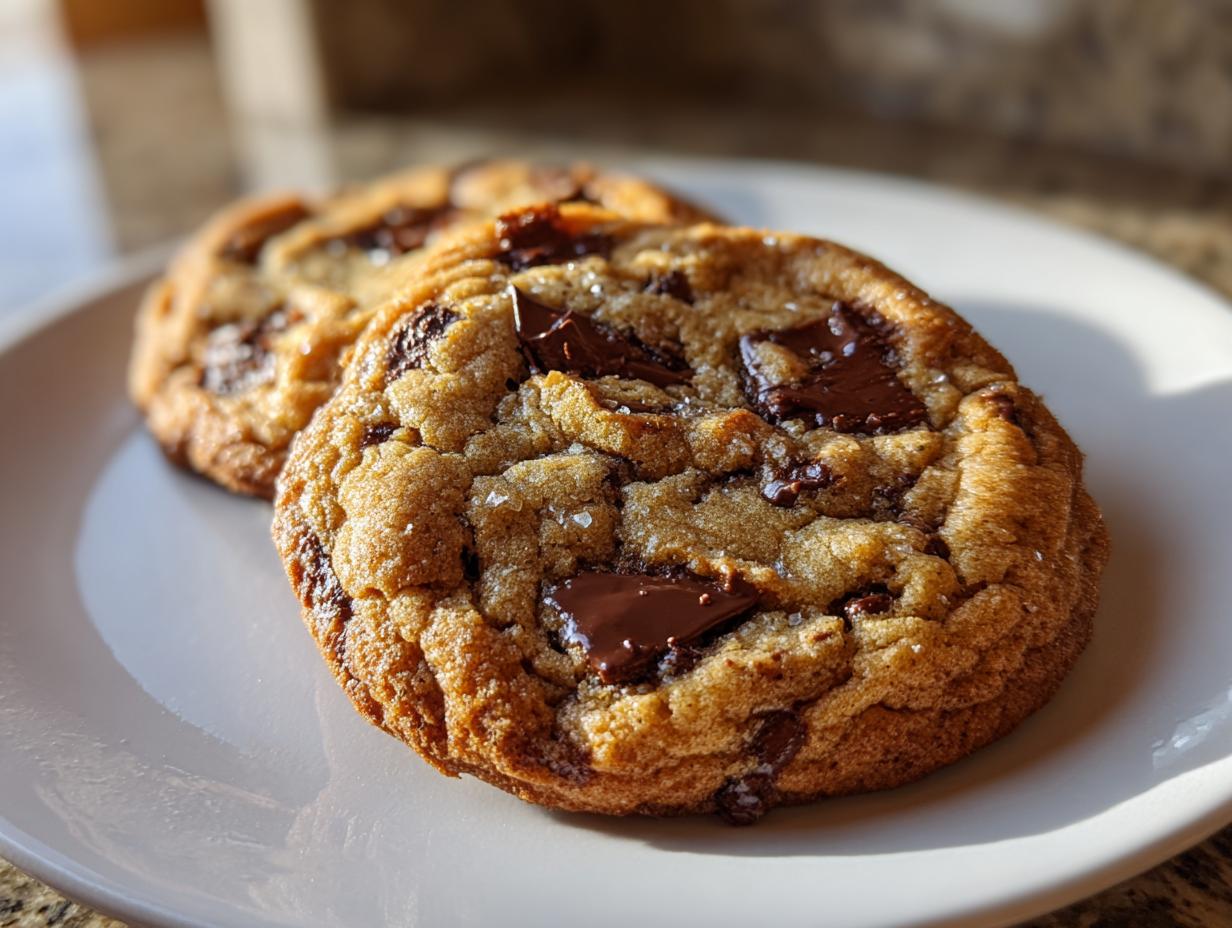
Oh my gosh, have you ever tried brown butter in chocolate chip cookies? It’s an absolute game-changer—that rich, nutty flavor takes classic cookies to a whole new level. I’ve been obsessed with perfecting this recipe for years, tweaking it until I got that perfect balance of chewy center and crisp edges. Trust me, once you taste these, you’ll never go back to plain old butter. Brown butter adds this deep, almost caramel-like depth that makes every bite irresistible. Plus, I’ve tested this recipe more times than I can count (my friends were very happy taste-testers!), so I know these are the best brown butter chocolate chip cookies you’ll ever make.
Ingredients for The Best Brown Butter Chocolate Chip Cookies
Alright, let’s gather the good stuff! Here’s what you’ll need to make these irresistible cookies. I promise every ingredient plays a special role in creating that perfect chewy texture and nutty flavor we’re after.
- 1 cup (2 sticks) unsalted butter – browned and cooled (trust me, this step is worth every second)
- 1 cup packed brown sugar – the dark kind if you’ve got it, for that deep molasses flavor
- 1/2 cup granulated sugar – helps create those crisp edges we love
- 2 large eggs – at room temperature (this makes all the difference in mixing!)
- 2 tsp vanilla extract – the real stuff, please – no imitations!
- 2 1/2 cups all-purpose flour – spoon and level it, don’t pack it down
- 1 tsp baking soda – make sure it’s fresh for proper lift
- 1/2 tsp salt – balances all that sweetness perfectly
- 1 1/2 cups semi-sweet chocolate chips – or go wild with chunks if you prefer
Quick tip: See that browned butter up there? That’s our secret weapon. I’ll walk you through how to nail it perfectly in the next section – don’t worry, it’s easier than you think!
How to Make The Best Brown Butter Chocolate Chip Cookies
Alright, let’s dive into making these magical cookies! I’ve broken it down into simple steps so you can nail that perfect texture and rich brown butter flavor. Follow along – I promise it’s easier than it looks!
Browning the Butter
First things first – that glorious brown butter! Here’s how to do it without any kitchen drama:
- Slice your butter into tablespoon pieces (this helps it melt evenly) and add to a light-colored saucepan. Trust me, you want light-colored so you can see the color change!
- Cook over medium heat, stirring constantly with a wooden spoon. At first it’ll foam up – don’t panic, that’s normal!
- Keep watching closely. After about 5-7 minutes, you’ll see golden brown bits forming at the bottom and smell that amazing nutty aroma. The butter will turn a beautiful amber color.
- Immediately remove from heat and pour into a heatproof bowl to stop the cooking. Let it cool for about 20 minutes – you want it warm but not hot when you mix it.
Watch out: Butter goes from browned to burned FAST. If you see black bits, start over – burnt butter will ruin the flavor!
Mixing the Dough
Now for the fun part – bringing all those delicious ingredients together:
- In a large bowl, whisk together your cooled brown butter, brown sugar, and granulated sugar until well combined and slightly fluffy – about 2 minutes with a hand mixer.
- Add eggs one at a time, mixing well after each, then stir in the vanilla. The mixture should look smooth and creamy.
- In another bowl, whisk together flour, baking soda and salt. Gradually add this to the wet ingredients, mixing just until combined – no white streaks, but don’t overmix!
- Gently fold in those chocolate chips. I like to reserve a handful to press into the tops of the dough balls later – makes them look bakery-worthy!
Baking and Cooling
Almost there! Here’s how to bake them to perfection:
- Preheat your oven to 350°F (175°C) and line baking sheets with parchment paper.
- Scoop dough into 2-tablespoon balls (I use a cookie scoop for even sizes) and place about 2 inches apart on the sheets.
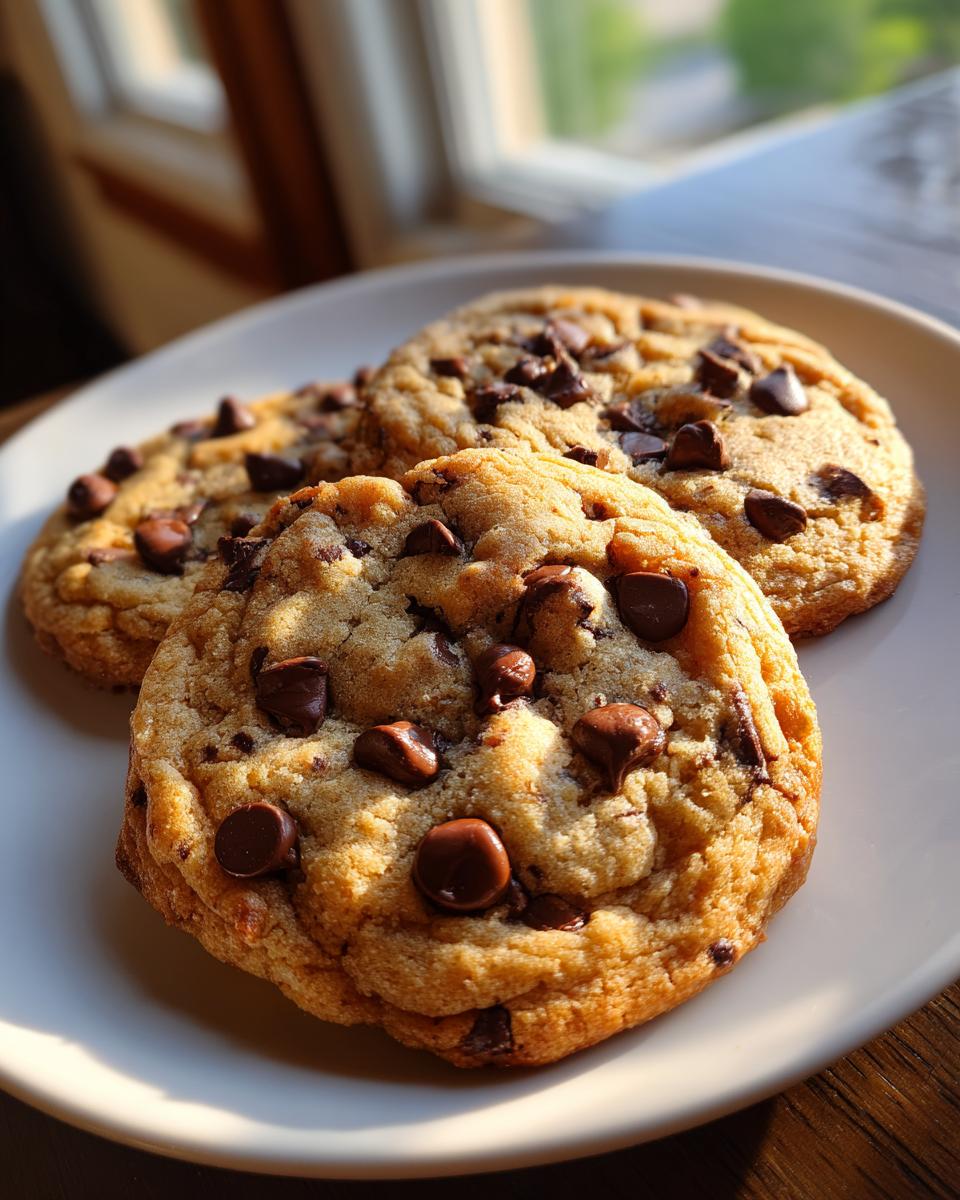
- Bake for 10-12 minutes until the edges are golden but centers still look slightly underdone – they’ll keep cooking on the sheet!
- Let cool on the baking sheet for 5 minutes (this helps them set), then transfer to a wire rack. Try not to eat them all at once!
Pro tip: If your cookies spread too much, try chilling the dough for 30 minutes before baking. Cold dough = thicker cookies!
Tips for Perfect The Best Brown Butter Chocolate Chip Cookies
Alright, let me share my hard-earned cookie wisdom with you! These are the little tricks that took my brown butter chocolate chip cookies from good to “holy cow, these are incredible!” status:
- Chill that dough! I know it’s tempting to bake immediately, but 30 minutes in the fridge makes all the difference. Cold dough spreads less, giving you those beautifully thick cookies with soft centers.
- Measure flour the right way – spoon it into your measuring cup and level it off. No scooping directly from the bag! Too much flour = dry cookies, and we can’t have that.
- Splurge on good chocolate. I promise you’ll taste the difference. My go-to is high-quality semi-sweet chips, but sometimes I chop up a fancy chocolate bar for extra melty pockets.
- Check your oven temp with an inexpensive oven thermometer. So many home ovens run hot or cold, and just 25 degrees can make or break your cookies.
- Rotate your pans halfway through baking if your oven has hot spots. This ensures even browning all around – no more one side darker than the other!
One bonus tip? Always make a test cookie first! Bake just one to check your oven time before committing the whole batch. This has saved me from overdone cookies more times than I can count!
Ingredient Substitutions for The Best Brown Butter Chocolate Chip Cookies
Okay, let’s talk swaps! I know sometimes you’re halfway through making cookies and realize you’re out of something – or maybe you want to tweak the recipe for dietary needs. Here are my tested substitutions that still deliver amazing results (because no one should miss out on these cookies!):
When You Need to Change Up the Chocolate
The chocolate chips are totally flexible in this recipe! My favorites:
- Dark chocolate chips – These add a more intense chocolate flavor that pairs beautifully with the brown butter’s richness
- Milk chocolate chips – For those who prefer sweeter cookies (my kids beg for this version!)
- Chopped chocolate bars – Creates lovely melty pockets instead of uniform chips
- White chocolate chips – Makes a fun twist, especially if you add a pinch of sea salt on top
Sugar Swaps That Work
If you’re out of a particular sugar or want to try alternatives:
- Coconut sugar can replace brown sugar 1:1 – the flavor will be slightly different but still delicious
- All brown sugar – You can skip the granulated sugar and use 1 1/2 cups brown sugar instead for extra chewiness
- For less sugar – You can reduce the total sugar by 1/4 cup, but any more and you’ll lose that signature cookie texture
Flour Alternatives
Need to make these gluten-free? No problem!
- Gluten-free flour blend – Use a 1:1 substitute (I like King Arthur’s measure-for-measure blend)
- Whole wheat flour – Replace up to half the all-purpose flour for a heartier cookie
- Important note: Don’t substitute almond or coconut flour – they behave completely differently and won’t give you the right texture
Other Handy Swaps
- Egg substitute: For each egg, mix 1 tbsp ground flaxseed with 3 tbsp water and let thicken for 5 minutes
- Dairy-free: Use vegan butter that browns well (Miyoko’s and Earth Balance both work)
- Salt: If you only have salted butter, reduce added salt to 1/4 tsp
Remember – some substitutions will change the flavor or texture slightly, but that’s okay! Part of the fun is making the recipe your own. The most important thing? That brown butter – that’s the non-negotiable star of the show!
Storing and Freezing The Best Brown Butter Chocolate Chip Cookies
Okay, confession time – these cookies rarely last more than a day in my house because we gobble them up so fast! But if you’ve got more willpower than my family (or just made a huge batch), here’s how to keep them fresh and delicious for days – or even months!
Keeping Cookies Fresh at Room Temperature
For short-term storage (because let’s be real, “long-term” with these cookies isn’t really a thing):
- Let cookies cool completely before storing – no cheating! Warm cookies create condensation that makes them soggy.
- Use an airtight container with a piece of bread tossed in. The bread absorbs excess moisture and keeps cookies soft (magic!). Replace the bread when it hardens.
- Layer cookies between sheets of parchment paper if stacking them. This prevents sticking and breakage.
- They’ll stay perfect for about 5 days at room temperature – if they last that long!
Freezing Cookie Dough for Future Baking
This is my favorite trick for always having fresh-baked cookies on demand:
- Scoop dough into balls as you normally would for baking
- Place them on a parchment-lined baking sheet and freeze until solid (about 1 hour)
- Transfer frozen dough balls to a freezer bag or airtight container
- They’ll keep for up to 3 months – just add 1-2 extra minutes to the baking time when ready
Bonus: Frozen dough actually develops more flavor as it sits! The flour hydrates more thoroughly, making for an even tastier cookie.
Freezing Already-Baked Cookies
Yes, you can freeze the finished cookies too! Here’s how:
- Cool baked cookies completely
- Place in a single layer in a freezer-safe container separated by parchment
- They’ll keep for about 2 months frozen
- To thaw: Leave at room temperature for 30 minutes or pop in a 300°F oven for 5 minutes to refresh
Quick tip: Write the date on your freezer bags! Even though they’ll be eaten quickly, it’s good to know which batch is which.
Whether you’re storing or freezing, remember – the brown butter flavor actually improves after a day or two! So don’t feel guilty if you want to make these ahead. In fact, I often bake a double batch just to have some frozen dough ready for unexpected cookie emergencies (because those are totally a thing, right?).
Nutritional Information for The Best Brown Butter Chocolate Chip Cookies
Okay, let’s talk nutrition – not because we’re counting calories when we’re eating cookies (who does that?!), but because I know some of you like to know what you’re enjoying. Just remember, these values are estimates based on standard ingredients. Your actual numbers might vary slightly depending on exact measurements and brands used.
Here’s what you’re getting in each delicious cookie (based on 24 cookies per batch):
- Calories: 180 – totally worth every one!
- Fat: 9g (5g saturated) – that rich brown butter goodness
- Carbohydrates: 22g – mostly from that perfect balance of sugars
- Fiber: 1g – hey, every little bit counts, right?
- Sugar: 12g – the sweet spot for cookie perfection
- Protein: 2g – from the eggs and flour
- Sodium: 85mg – just enough to balance the sweetness
A little disclaimer from my kitchen to yours: I’m a baker, not a nutritionist! These numbers are calculated using common ingredient databases, but your exact results might dance around these numbers depending on how generous you are with those chocolate chips (no judgment here!).
My philosophy? Life’s too short not to enjoy amazing cookies. Everything in moderation – including moderation! One of these brown butter beauties with a cold glass of milk is my idea of pure happiness. And honestly, with that rich brown butter flavor, you’ll probably find yourself satisfied with just one… okay maybe two. Alright, three if they’re still warm from the oven!
Frequently Asked Questions About The Best Brown Butter Chocolate Chip Cookies
I get so many questions about these cookies – and I love that you’re as obsessed with perfecting them as I am! Here are answers to the things people ask me most often:
“Can I just use regular butter instead of browning it?”
Oh honey, I wish I could say yes – but that brown butter is what makes these cookies special! Regular butter will give you a fine cookie, but you’ll miss out on that incredible nutty, caramel-like depth that makes people go “Wow, what is that amazing flavor?” The browning process only takes about 10 minutes total (including cooling time), and I promise it’s worth every second. That said, if you’re really in a pinch, you can use melted butter – just know the flavor won’t be quite the same.
“Why do I need to chill the dough?”
Good question! Chilling does three magical things: 1) It prevents cookie spread (so you get thick, bakery-style cookies instead of flat pancakes), 2) It lets the flavors develop more (that brown butter gets even more delicious!), and 3) It gives the flour time to fully hydrate for the perfect texture. I know waiting is hard when you want cookies NOW, but even 30 minutes makes a huge difference. Pro tip: Make the dough the night before and let it chill overnight – you’ll be rewarded with the best cookies ever!
“How do I prevent my cookies from getting too flat?”
Ah, the eternal cookie struggle! Here are my top fixes:
- Make sure your butter isn’t too warm when you mix it (cool to room temp after browning)
- Chill the dough (I know, I’m a broken record, but it works!)
- Check your baking soda isn’t expired (old baking soda = flat cookies)
- Don’t overmix after adding flour – stop as soon as it’s combined
- Use a light-colored baking sheet (dark pans can cause over-spreading)
If they still spread, try adding an extra 2 tablespoons of flour next time.
“Can I double this recipe?”
Absolutely! I double it all the time when baking for crowds (or, you know, for “emergency” late-night cookie cravings). Just make sure your mixing bowl is big enough – the doubled batch just fits in my 5-quart stand mixer. Also, you might need to brown the butter in two batches since it’s easier to manage smaller amounts. Everything else works the same – though you might need to rotate your baking sheets more since you’ll likely be baking multiple trays at once.
“Why did my cookies turn out cakey instead of chewy?”
Ooh, this usually means either too much flour (did you scoop directly from the bag instead of spooning and leveling?) or your butter was too cool when you creamed it with the sugars. Next time, try: measuring your flour carefully, making sure your browned butter is cooled but still slightly warm (about 70°F), and pulling the cookies out when the centers still look slightly underdone – they’ll firm up as they cool. Also, the extra yolk in the eggs adds richness while keeping them chewy!
Got more questions? Drop them in the comments – I’m happy to help troubleshoot your cookie adventures! After all, perfect cookies are serious business in my kitchen. (Okay fine, they’re delicious business, but still serious!)
Share Your The Best Brown Butter Chocolate Chip Cookies
Nothing makes me happier than seeing your cookie creations! Seriously, my heart does a little happy dance every time someone tags me in their brown butter cookie photos. Did yours turn out thick and chewy just like you hoped? Maybe you added your own twist with some sea salt or swapped in dark chocolate chunks? I want to hear all about it!
Leave a comment below telling me how your batch turned out – the good, the bad, and the deliciously ugly (we’ve all had those baking fails!). Did your family go crazy for them? Any brilliant modifications I should try? Your tips might help the next baker who comes along looking for advice.
And if you snapped a pic of your cookies (you know I love seeing those golden edges and melty chocolate pockets), tag me on Instagram! There’s something so special about seeing this recipe come to life in kitchens all over. It’s like we’re all sharing one giant virtual cookie party, and honestly, that’s my kind of party.
Happy baking, friends! May your butter always brown perfectly and your cookie jars never stay full for long.
Print
1 Secret to Unbeatable Brown Butter Chocolate Chip Cookies
Delicious brown butter chocolate chip cookies with a rich, nutty flavor and soft texture.
- Total Time: 32 minutes
- Yield: 24 cookies 1x
Ingredients
- 1 cup (2 sticks) unsalted butter, browned and cooled
- 1 cup brown sugar
- 1/2 cup granulated sugar
- 2 large eggs
- 2 tsp vanilla extract
- 2 1/2 cups all-purpose flour
- 1 tsp baking soda
- 1/2 tsp salt
- 1 1/2 cups semi-sweet chocolate chips
Instructions
- Brown the butter in a saucepan over medium heat, then let it cool.
- Preheat the oven to 350°F (175°C) and line baking sheets with parchment paper.
- Whisk together the browned butter, brown sugar, and granulated sugar.
- Add eggs and vanilla, mixing well.
- In a separate bowl, combine flour, baking soda, and salt.
- Gradually mix dry ingredients into wet ingredients.
- Fold in chocolate chips.
- Scoop dough into balls and place on baking sheets.
- Bake for 10-12 minutes until edges are golden.
- Let cookies cool on the baking sheet for 5 minutes before transferring.
Notes
- Brown butter carefully to avoid burning.
- Chill dough for 30 minutes for thicker cookies.
- Store in an airtight container for up to 5 days.
- Prep Time: 20 minutes
- Cook Time: 12 minutes
- Category: Dessert
- Method: Baking
- Cuisine: American
- Diet: Vegetarian
Nutrition
- Serving Size: 1 cookie
- Calories: 180
- Sugar: 12g
- Sodium: 85mg
- Fat: 9g
- Saturated Fat: 5g
- Unsaturated Fat: 3g
- Trans Fat: 0g
- Carbohydrates: 22g
- Fiber: 1g
- Protein: 2g
- Cholesterol: 30mg