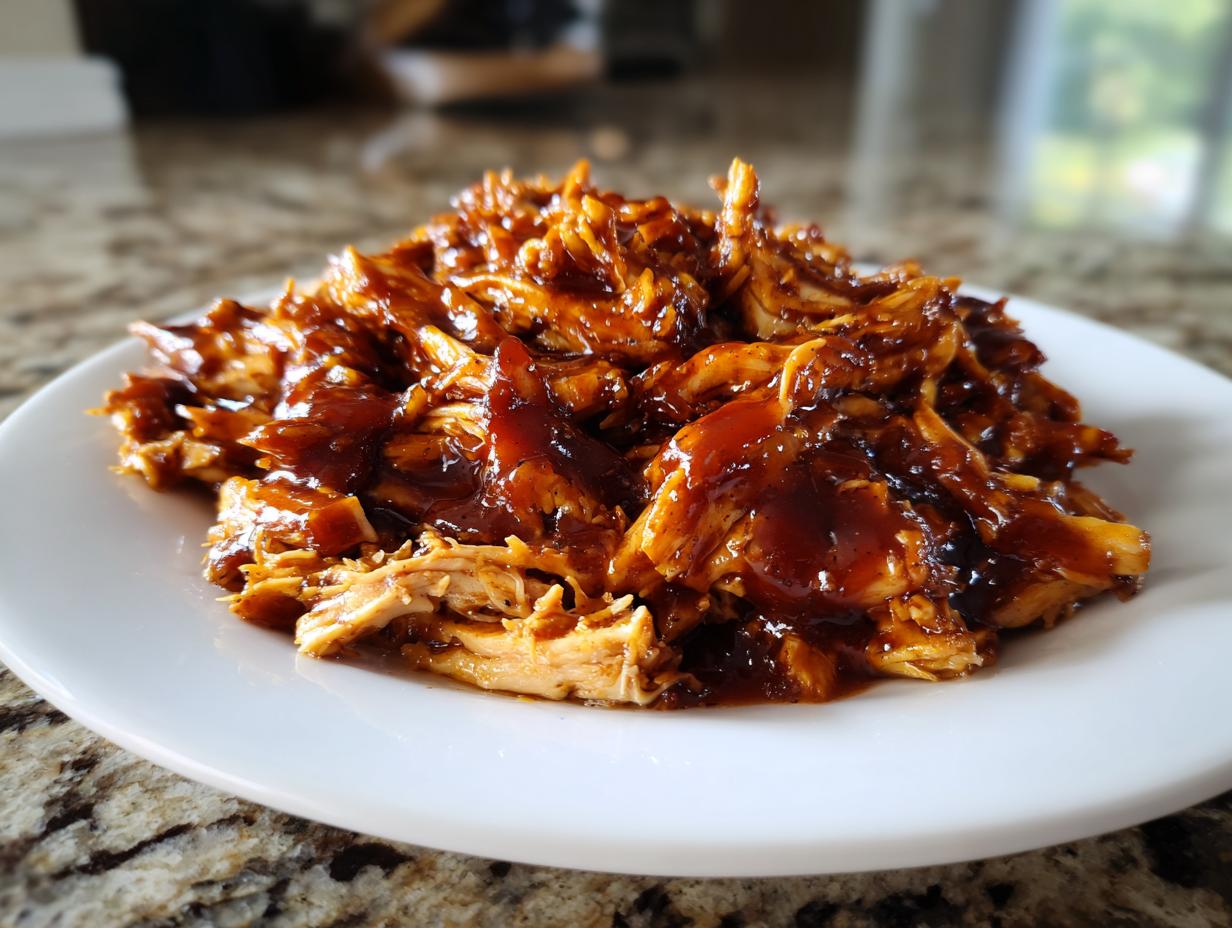
Oh my gosh, you have got to try these BBQ chicken foil packets! They’re my absolute go-to when I want something delicious with zero fuss. Picture this: juicy chicken, smothered in tangy BBQ sauce, with all your favorite veggies, all wrapped up in a neat little foil package. It’s like a flavor explosion with practically no cleanup – my kind of meal! I first made these during a chaotic family camping trip when we needed something quick and mess-free. Now, they’re a summer staple whether I’m grilling outside or baking them in the oven. Seriously, once you try this method, you’ll wonder how you ever cooked chicken any other way!
Why You’ll Love BBQ Chicken Foil Packets
These foil packets aren’t just delicious – they’re practically magic! Here’s why they’ve become my summer obsession:
- Juicy chicken every time: The foil seals in all those delicious juices so your chicken stays perfectly tender
- Cleanup in seconds: No pans to scrub – just toss the foil when you’re done (my favorite part after a long day!)
- Customizable flavors: Swap veggies or sauces to match whatever you’re craving
- Cooks anywhere: Works equally great on the grill or in your oven
- Ready fast: From prep to plate in under 30 minutes – perfect for busy weeknights
Honestly, it’s like having your own personal BBQ restaurant in a packet!
Ingredients for BBQ Chicken Foil Packets
Here’s what you’ll need to make these flavor-packed foil packets (trust me, you probably have most of this already!):
- 1 ½ lbs boneless, skinless chicken breasts (cut into 1-inch cubes – this size cooks evenly)
- ¾ cup your favorite BBQ sauce (I’m partial to the smoky, sweet kind)
- 1 red bell pepper, diced into bite-sized pieces
- 1 small red onion, sliced into thin wedges
- 2 cups baby potatoes, quartered (no peeling needed!)
- 2 tbsp olive oil (for that perfect golden crisp)
- 1 tsp garlic powder (because everything’s better with garlic)
- ½ tsp smoked paprika (for that extra BBQ vibe)
- Salt and pepper to taste (don’t be shy!)
That’s it! Simple ingredients that transform into something magical in that little foil pouch.
How to Make BBQ Chicken Foil Packets
Okay, let’s get to the good part – making these flavor bombs! I promise it’s so easy you’ll laugh. Just follow these simple steps and you’ll have dinner ready before you know it.
Preparing the Foil Packets
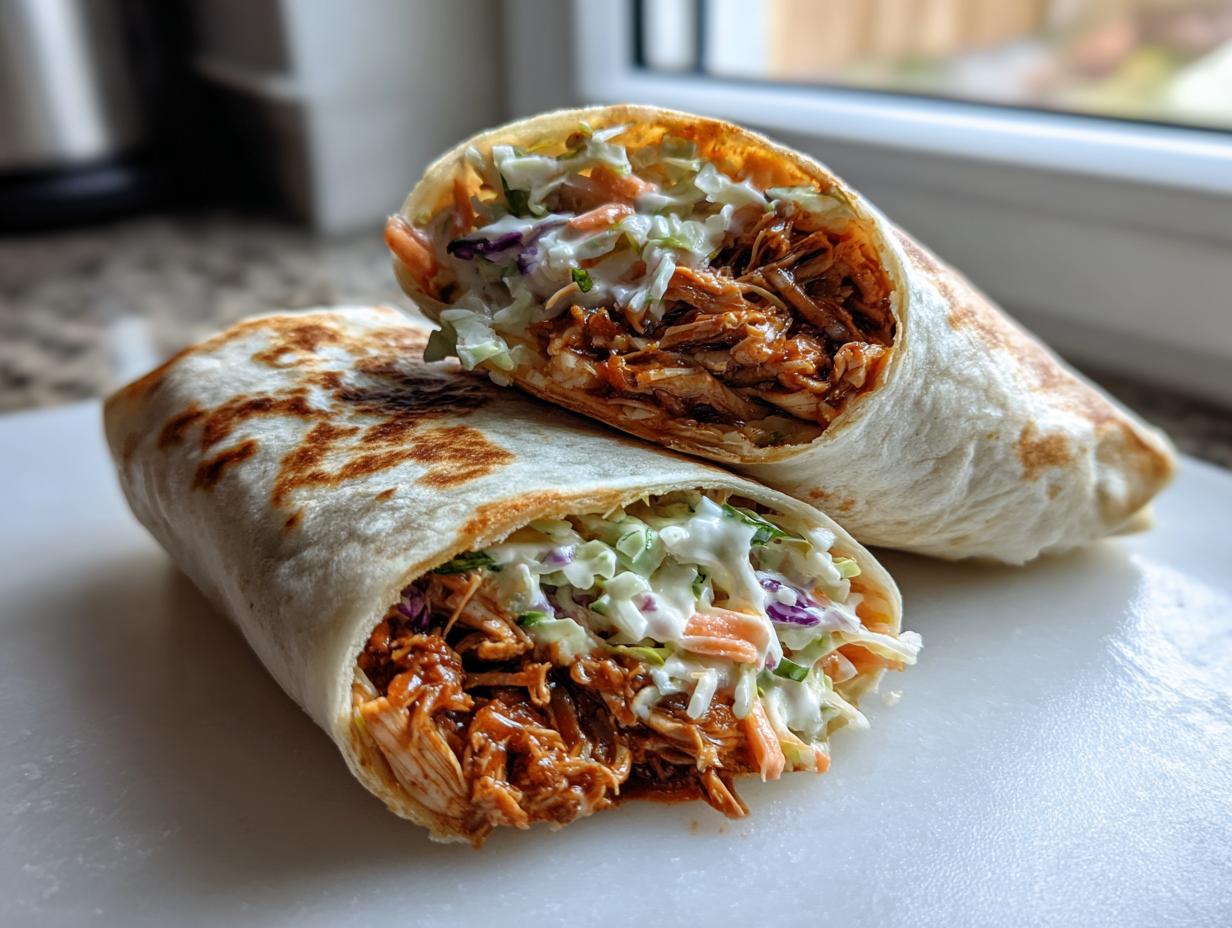
First, grab heavy-duty aluminum foil (or double up regular foil) and tear off 12-inch sheets. Layer your chicken in the center, then pile on those colorful veggies. Drizzle with oil and sauce, making sure everything gets some love. The secret? Fold the foil like a burrito – bring the long sides together, fold down twice, then crimp the ends tightly. This keeps all those delicious juices inside where they belong!
Cooking BBQ Chicken Foil Packets
Heat your grill to medium-high (about 400°F) or preheat oven to 425°F. Cook packets for 20-25 minutes – you’ll know they’re done when the chicken is no longer pink and the potatoes are fork-tender. Careful when opening – that steam is hot! I always give mine a quick peek at 15 minutes just to check progress.
Tips for Perfect BBQ Chicken Foil Packets
After making these packets more times than I can count, here are my foolproof secrets for BBQ chicken perfection:
- Seal tighter than Fort Knox: Roll those foil edges at least twice to lock in steam – nothing’s sadder than lost juices!
- Let them rest 5 minutes: Resist the urge to peek! Resting lets flavors mingle and prevents burns from escaping steam.
- Uniform cuts matter: Chop everything the same size (about 1-inch) so it cooks evenly – nobody wants crunchy potatoes with overdone chicken.
- Grease is your friend: Lightly oil the foil or use nonstick spray to prevent sticking disasters (learned this the hard way!).
Follow these and you’ll get restaurant-worthy results every time!
Variations for BBQ Chicken Foil Packets
One of my favorite things about foil packets? You can mix them up a million ways! Swap BBQ sauce for honey mustard or teriyaki when you want something different. Toss in pineapple chunks with the chicken for a sweet twist, or add sliced jalapeños if you like heat. My neighbor swears by adding a pat of butter and fresh herbs before sealing – and wow, is she right! The possibilities are endless, so have fun playing with flavors.
Serving Suggestions for BBQ Chicken Foil Packets
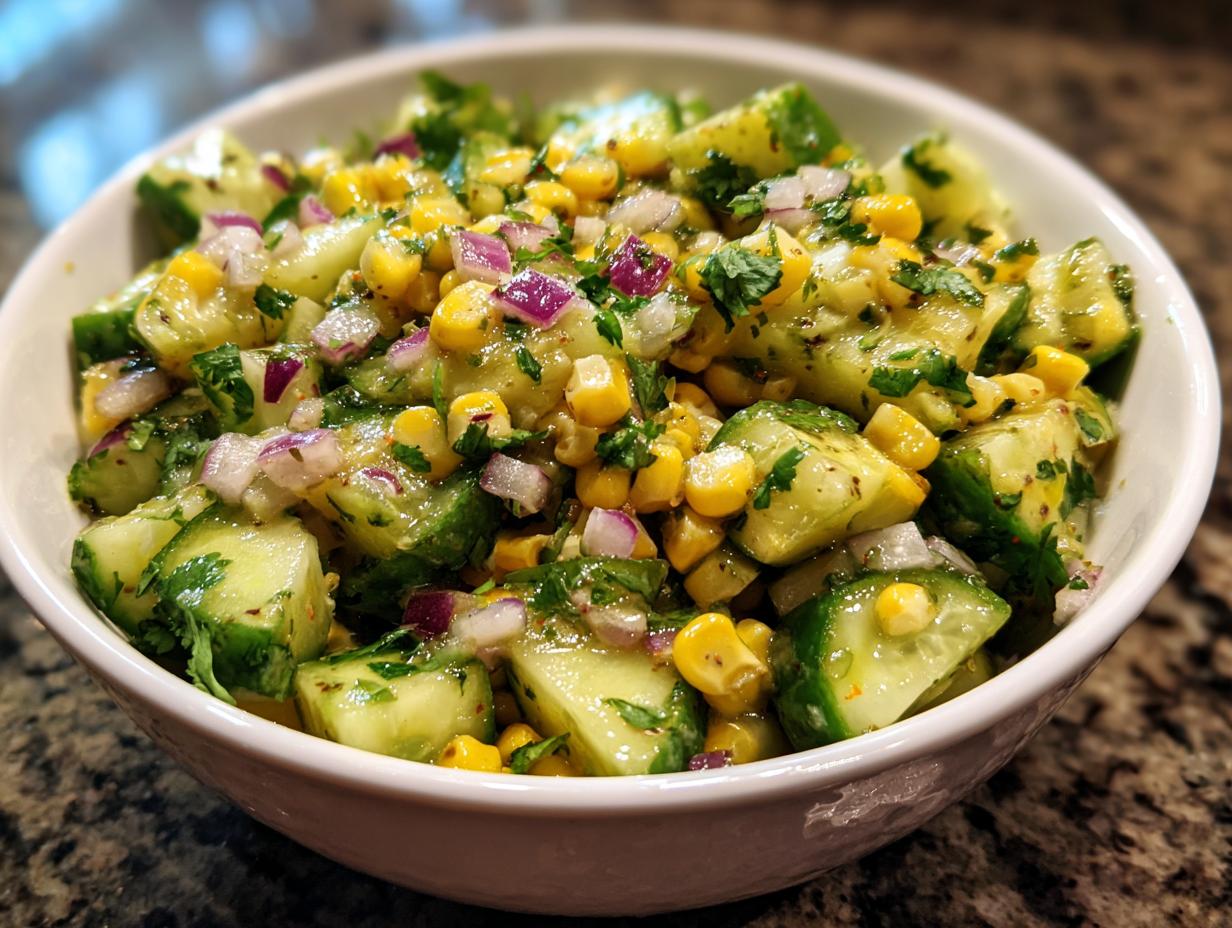
Oh, let me tell you how I love to serve these foil packets – they’re practically a meal on their own, but a few perfect sides take them over the top! My go-to is warm cornbread with honey butter (that sweet-savory combo is killer). A crisp vinegar-based coleslaw cuts through the rich BBQ flavors beautifully. For summer nights, I’ll add some grilled corn on the cob – just toss it right on the grill next to the packets. And drinks? Ice-cold lemonade for the kids, and for us grown-ups, an ice-cold lager or sweet tea with a sprig of mint. Heaven on a plate!
Storing and Reheating BBQ Chicken Foil Packets
Leftovers? No problem! These foil packets keep beautifully in the fridge for 3-4 days – just pop them in an airtight container (I usually keep them right in their foil for easy reheating). For longer storage, freeze them for up to 2 months. When you’re ready to eat, reheat in a 350°F oven for about 15 minutes (20 if frozen) – microwaving works in a pinch, but the oven keeps everything nice and juicy. Pro tip: Add a splash of BBQ sauce before reheating to keep things extra moist!
BBQ Chicken Foil Packets FAQs
Here are answers to all the questions I get asked most about these tasty foil packets – the same ones I wondered when I first tried the recipe!
Can I use frozen chicken in these foil packets?
You totally can, but here’s my tip – thaw it first! Frozen chicken releases too much liquid while cooking and makes everything soggy. If you’re in a pinch, thaw in cold water (change every 30 minutes) or microwave on defrost setting. Then pat dry really well before cubing.
How do I prevent the food from sticking to the foil?
Oh honey, I learned this lesson the messy way! Always give your foil a quick spray of cooking oil or brush with olive oil before adding ingredients. Also, make sure your packets are sealed tight so juices don’t escape and cause sticking. Heavy-duty foil works best – regular foil tends to tear easier.
Can I make these packets ahead of time?
Absolutely! I prep mine up to 24 hours in advance and keep them refrigerated until cooking time. Just wait to add any wet ingredients (like BBQ sauce) until right before cooking to prevent sogginess. The potatoes might brown a bit, but it doesn’t affect the taste.
How do I know when the chicken is cooked through?
After 20 minutes, carefully open one packet (watch for steam!) and check that chicken reaches 165°F internally. The potatoes should pierce easily with a fork. If you don’t have a thermometer, cut into the largest piece of chicken – no pink should remain, and juices should run clear.
Can I cook these on a campfire?
YES – that’s where they really shine! Place packets on hot coals (not open flames) and cook for about 25-30 minutes, flipping halfway. Use extra-heavy-duty foil and double wrap for campfire cooking. Just be sure to wear heatproof gloves when handling!
Nutritional Information
Nutrition varies based on ingredients. Estimated per serving: Calories: 300, Protein: 25g, Carbs: 20g, Fat: 8g. Try this recipe and share your results in the comments!
Print
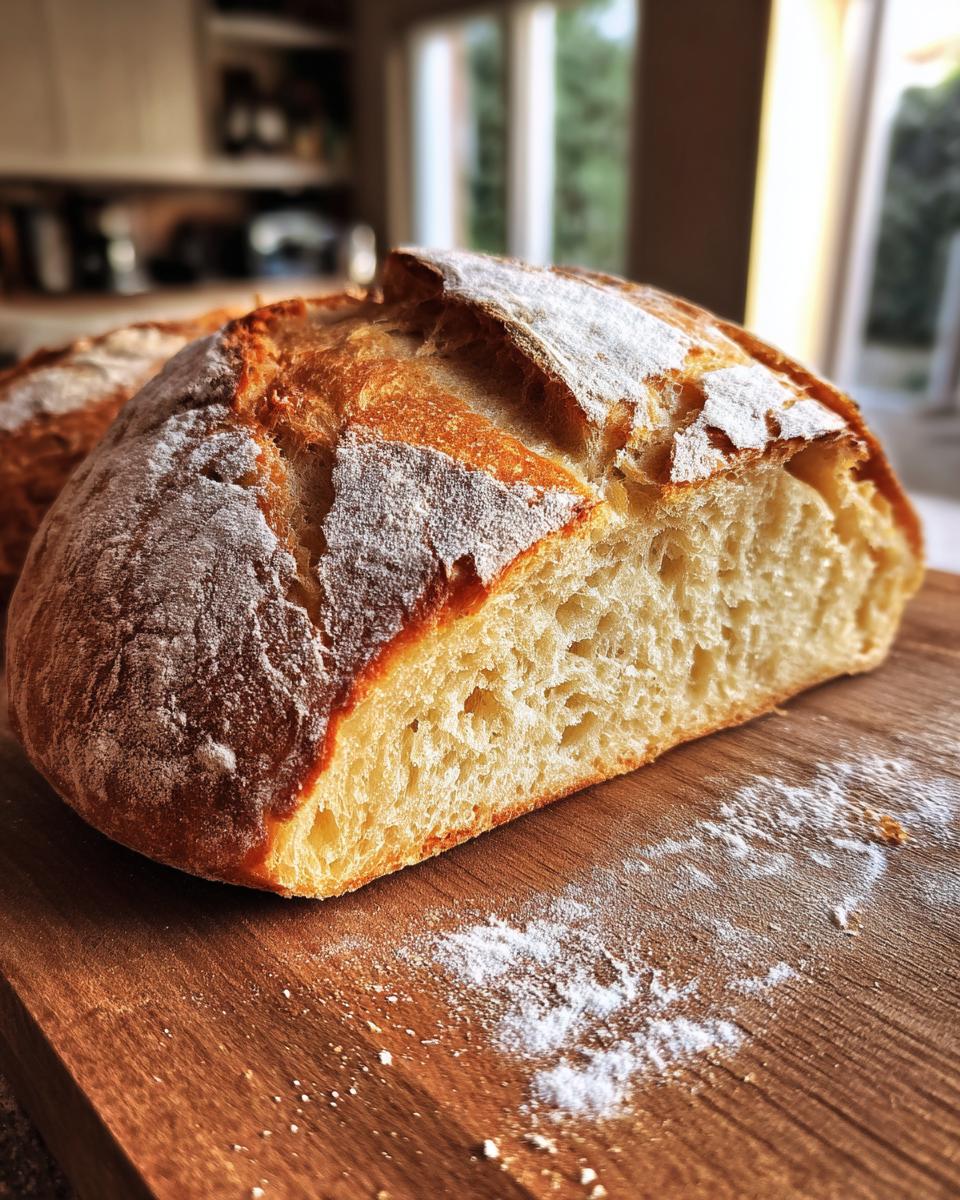
Juicy BBQ Chicken Foil Packets Recipe: 30-Minute Magic Meal!
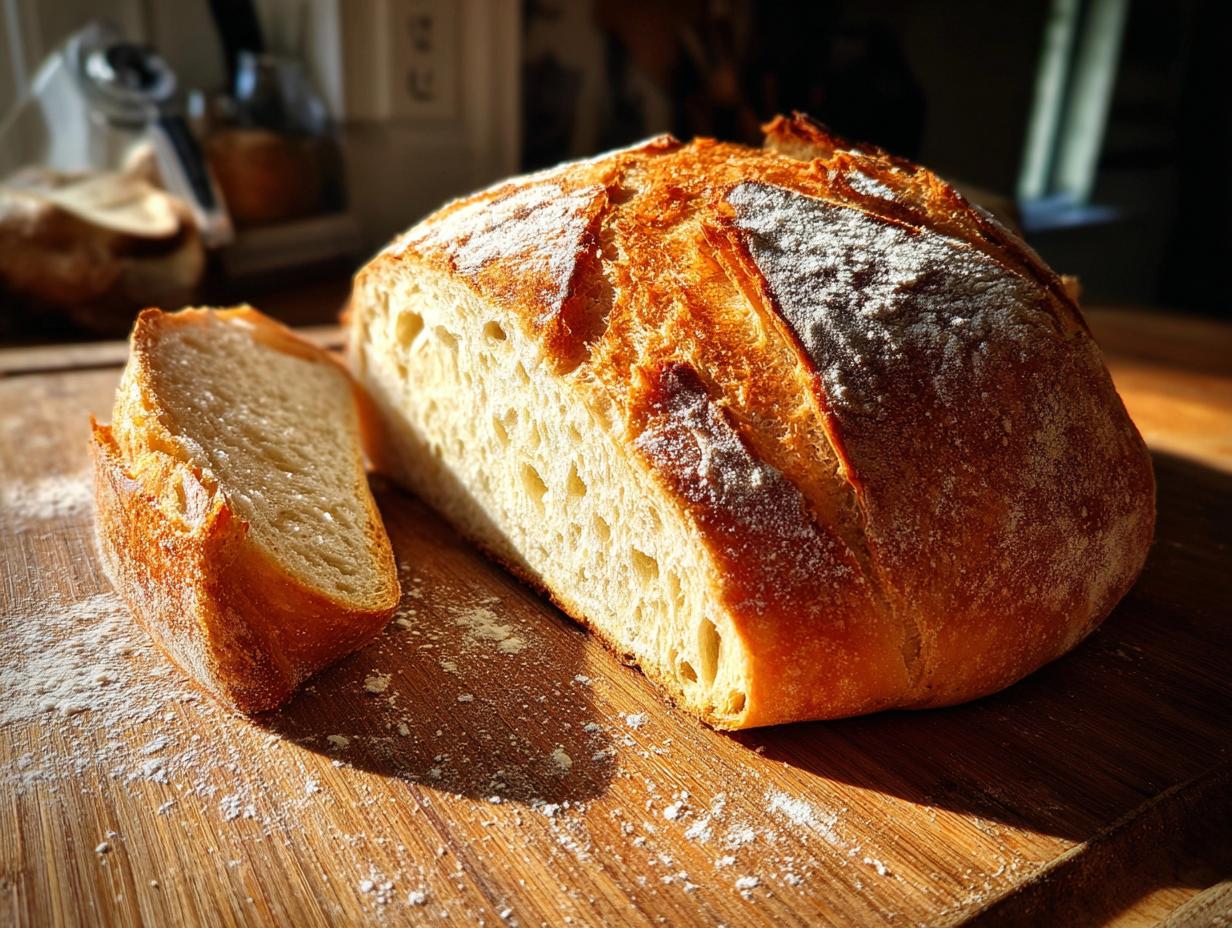
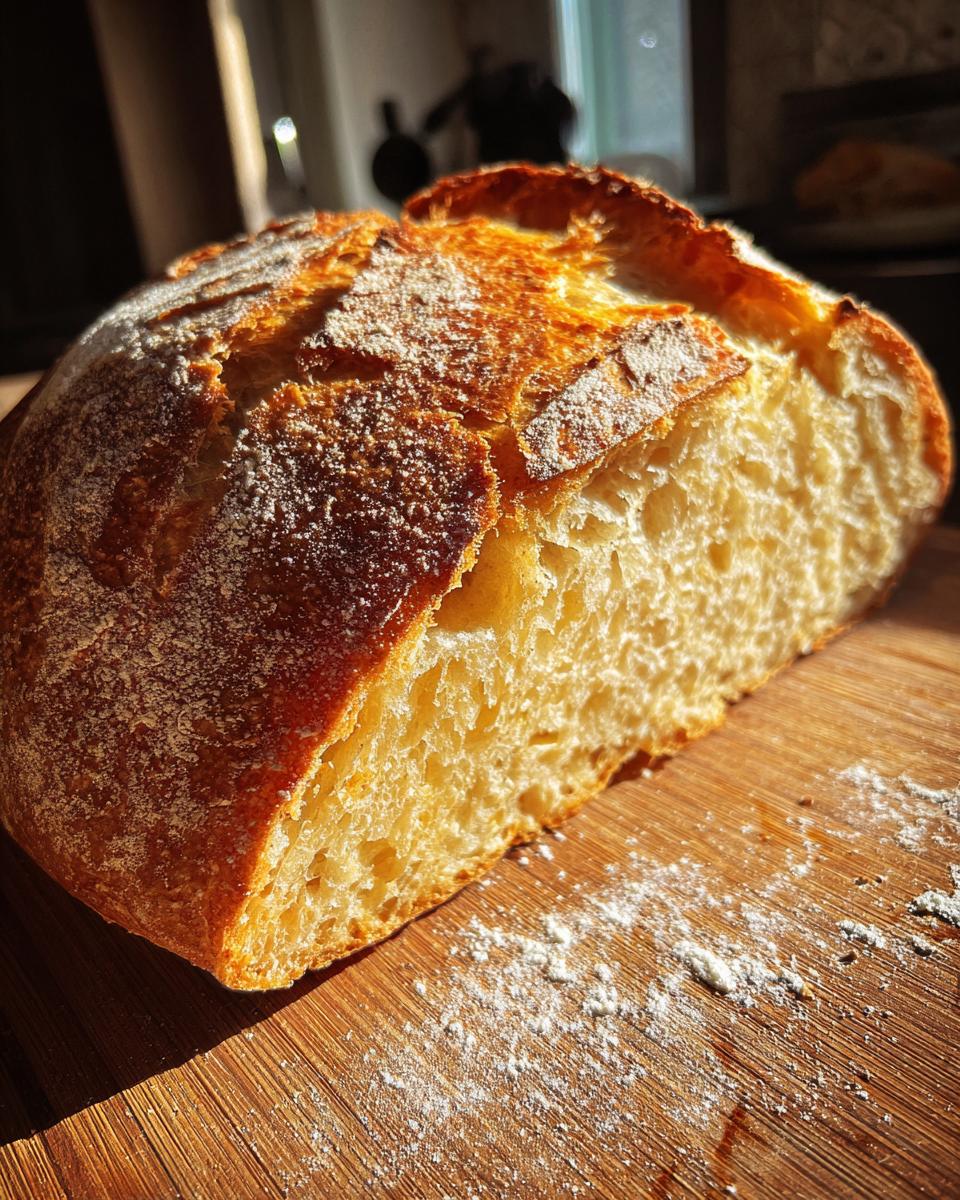
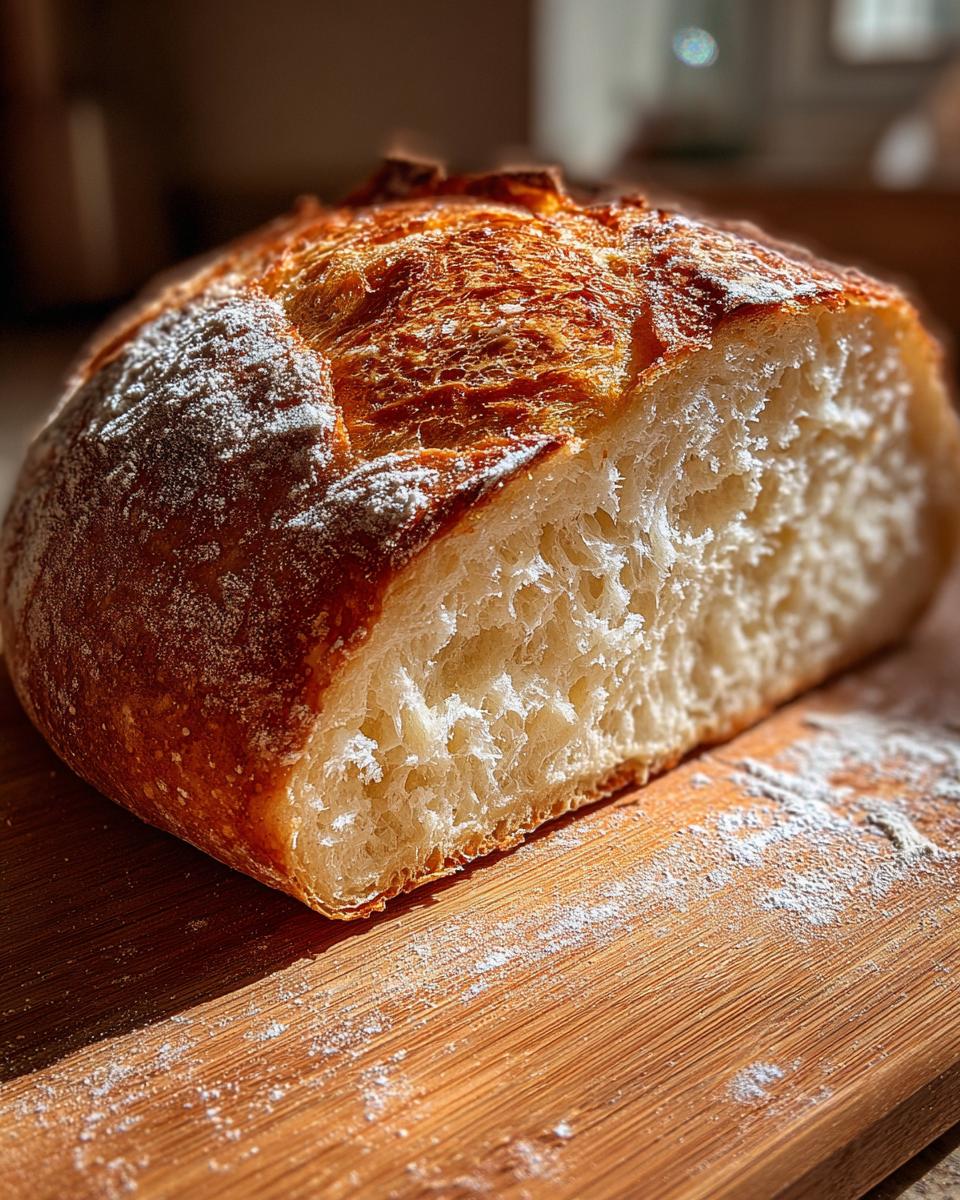
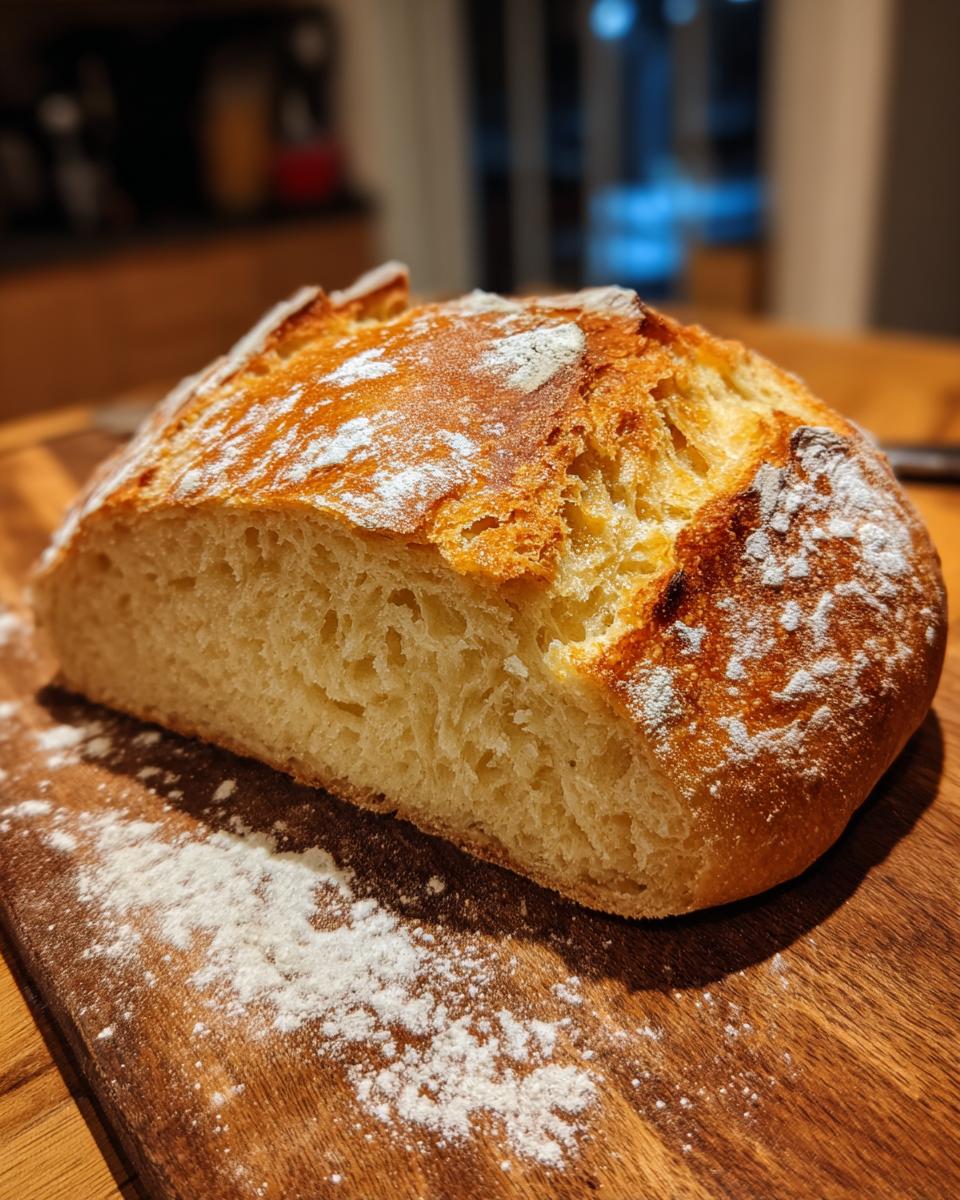
A simple homemade bread recipe that yields a soft and delicious loaf.
- Total Time: 2 hours 10 minutes
- Yield: 1 loaf 1x
Ingredients
- 500g bread flour
- 10g salt
- 7g instant yeast
- 300ml warm water
- 1 tbsp olive oil
Instructions
- Mix flour, salt, and yeast in a large bowl.
- Add warm water and olive oil, then stir to form a dough.
- Knead the dough for 10 minutes until smooth and elastic.
- Cover and let rise for 1 hour or until doubled in size.
- Shape the dough into a loaf and place in a greased pan.
- Let rise again for 30 minutes.
- Preheat oven to 200°C (400°F).
- Bake for 25-30 minutes until golden brown.
- Cool on a wire rack before slicing.
Notes
- Use fresh yeast for best results.
- Adjust water quantity if needed for the right dough consistency.
- Letting the bread cool completely prevents a gummy texture.
- Prep Time: 1 hour 40 minutes
- Cook Time: 30 minutes
- Category: Baking
- Method: Oven-baked
- Cuisine: International
- Diet: Vegetarian
Nutrition
- Serving Size: 1 slice (50g)
- Calories: 130
- Sugar: 0g
- Sodium: 200mg
- Fat: 1g
- Saturated Fat: 0g
- Unsaturated Fat: 1g
- Trans Fat: 0g
- Carbohydrates: 25g
- Fiber: 1g
- Protein: 4g
- Cholesterol: 0mg