Oh my goodness, friend, if there’s one thing that gets my heart soaring in the kitchen, it’s the smell of fresh bread baking! And when we’re talking about bread, we HAVE to talk about the Waterford Blaa. Seriously, forget everything you thought you knew about simple bread rolls – the Blaa is an experience. It’s not just a roll; it’s a piece of Irish history, a culinary hug, and honestly, one of the most delightful things you’ll ever put in your mouth.
I first stumbled upon the authentic Waterford Blaa during a trip to Ireland years ago, and it was love at first bite. I mean, how could I not be captivated by a soft, floury cloud that tastes like pure comfort? Since then, I’ve been on a mission to recreate that magic in my own kitchen, diving deep into traditional Irish recipes to get it just right. And let me tell you, after countless batches, I’ve cracked the code. This isn’t just *a* recipe; it’s *the* recipe, refined and perfected to bring that true taste of Waterford right to your home. Get ready to fall in love with the Waterford Blaa!
Why You’ll Love This Waterford Blaa Recipe
Oh, you are in for such a treat with this Waterford Blaa recipe! Seriously, your kitchen is about to become a little slice of heaven. Here’s why you’re going to absolutely adore making (and eating!) these:
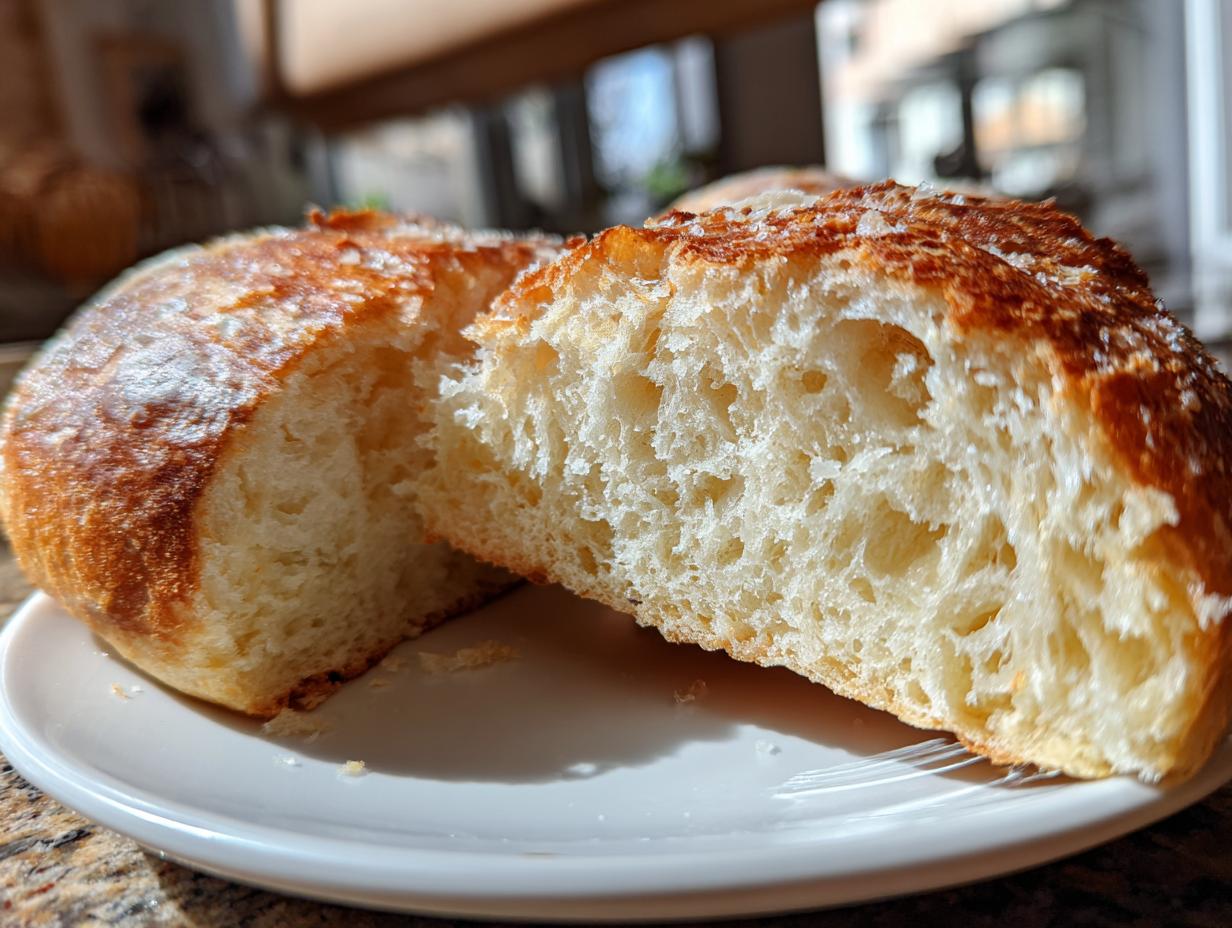
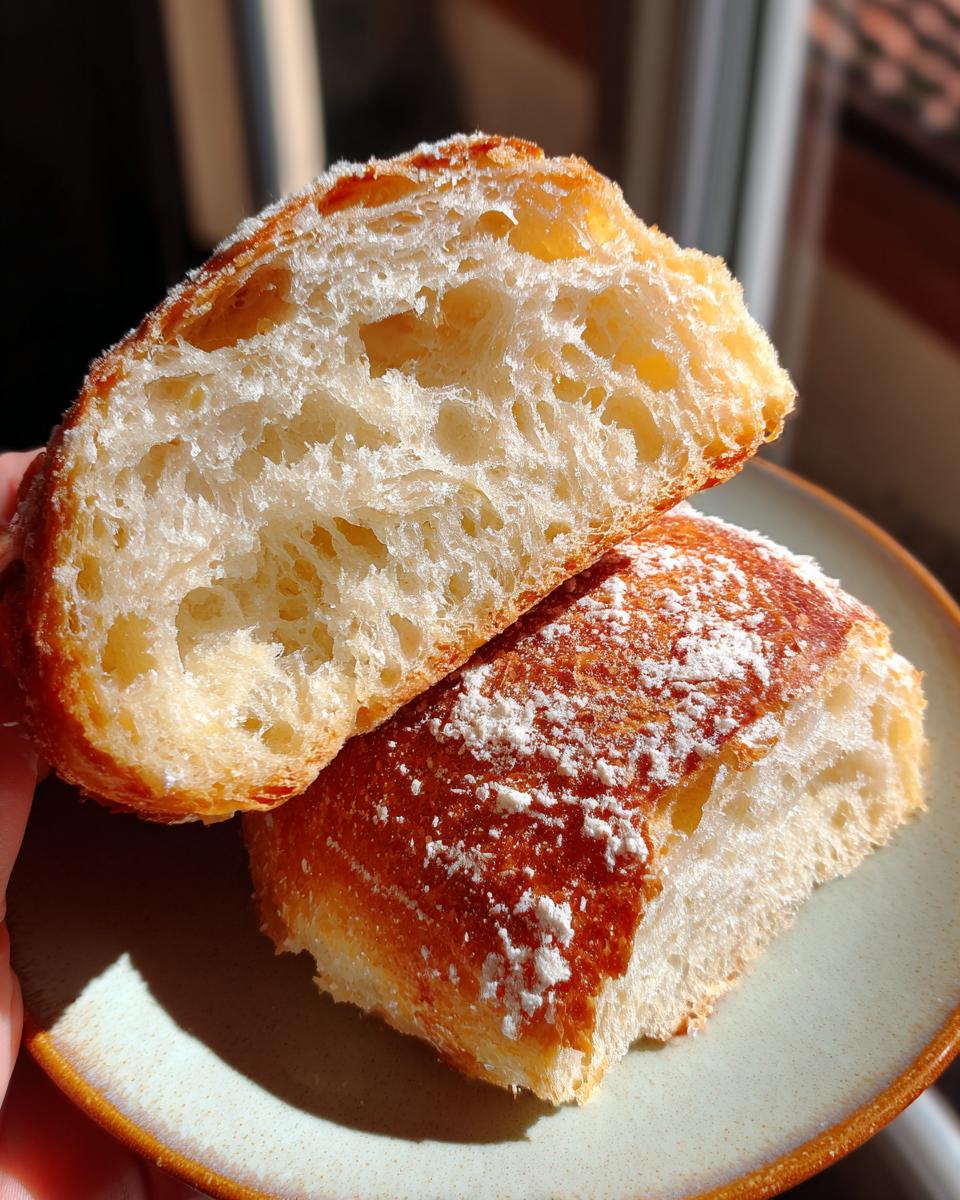
- They’re ridiculously soft and fluffy on the inside, with just the right amount of chew.
- That signature floury crust? It’s pure perfection and totally unique to the Waterford Blaa.
- They’re incredibly versatile – perfect for breakfast, lunch, or even dinner.
- You’ll feel like a total bread-baking superstar with minimal fuss!
The Irresistible Charm of the Traditional Waterford Blaa
What makes the Waterford Blaa so special? It’s that delicate balance of a slightly crisp, floury exterior giving way to an unbelievably light and tender crumb. The flavor is subtle but deeply satisfying, making it the ultimate canvas for anything from a simple smear of butter to a hearty breakfast filling. Trust me, once you try a truly authentic Waterford Blaa, there’s no going back!
Essential Ingredients for Your Waterford Blaa
Alright, let’s talk about what you’ll need to whip up these incredible Waterford Blaas! Baking, especially bread baking, really shines when you use good quality ingredients. Think of them as the building blocks for that amazing flavor and texture we’re chasing.
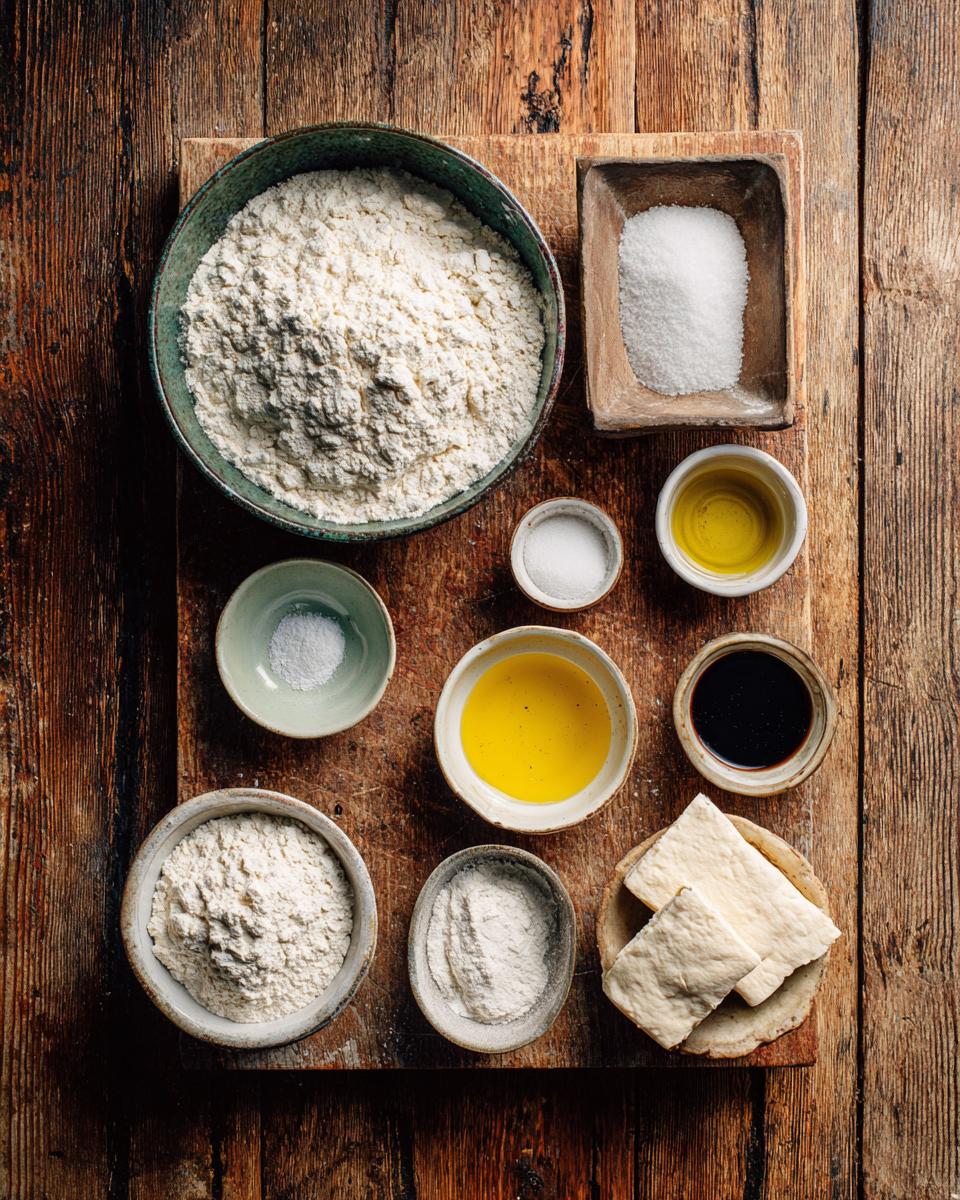
- 500g Strong White Bread Flour: This isn’t just any flour, my friend! Strong bread flour has more protein, which means better gluten development and that lovely chewy texture we want in our Waterford Blaa.
- 10g Fresh Yeast (or 5g Active Dry Yeast): My go-to is fresh yeast when I can get it, but active dry works perfectly too. Just make sure it’s fresh and ready to get bubbly!
- 10g Salt: Don’t skimp on the salt! It’s not just for flavor; it helps control the yeast and strengthens the dough.
- 10g Sugar: Just a touch of sugar to wake up that yeast and give a hint of sweetness.
- 300ml Lukewarm Water: This is crucial! Not too hot, not too cold. It needs to be just right to activate the yeast.
- 20ml Vegetable Oil: A little oil adds tenderness and helps with that lovely crust.
- Extra Flour for Dusting: You’ll need this for your workspace and for dusting those beautiful blaas before baking.
See? Simple ingredients, but together, they create magic for your Waterford Blaa!
Equipment Needed for Perfect Waterford Blaa
You don’t need a fancy kitchen full of gadgets to make amazing Waterford Blaas, which is one of the things I love about traditional baking! Here’s what you’ll want to have on hand:
- Large Mixing Bowl: Essential for getting all those beautiful ingredients together and giving your dough room to rise.
- Clean Kitchen Cloths: Perfect for covering your dough during its cozy proofing times.
- Baking Sheet: Of course, to bake those gorgeous blaas!
- Wire Rack: Super important for cooling your blaas properly so they don’t get soggy bottoms.
- Measuring Cups/Spoons or Kitchen Scale: For accuracy, especially with flour and yeast. A scale is my personal preference for consistent results!
Step-by-Step: How to Make the Best Waterford Blaa
Okay, deep breaths! Making bread can feel a little intimidating at first, but I promise you, this Waterford Blaa recipe is super forgiving and incredibly rewarding. Just follow these steps, and you’ll be pulling warm, fluffy blaas from your oven in no time. We’re going to break it down so it’s super clear, and I’ll even share some of my little tricks to make sure your Waterford Blaa turns out absolutely perfect, every single time. Get ready for some serious baking joy!
Preparing Your Dough for Waterford Blaa
First things first, let’s get that dough going! In your big mixing bowl, toss together the flour, salt, and sugar. Give ’em a quick whisk to combine. Now, in a separate small bowl, gently crumble in your fresh yeast (or sprinkle your active dry yeast) into the lukewarm water. Let it hang out for about 5 minutes; you’ll see it get all foamy and bubbly – that means your yeast is alive and ready to party! Pour that bubbly yeast mixture and the vegetable oil into your dry ingredients. Mix it all up with a spoon until it forms a shaggy, messy dough. Don’t worry, it’s supposed to look a bit wild. Now, turn that dough out onto a lightly floured surface and get ready to knead for 10-12 minutes. You’re aiming for a smooth, elastic dough that springs back when you poke it. This kneading step is crucial for developing the gluten, giving your Waterford Blaa that amazing light and airy texture. Once it’s smooth, pop it into a lightly oiled bowl, cover it with a clean cloth, and let it rise in a warm spot for 1 to 1.5 hours, or until it’s doubled in size. This first rise is where all the magic happens!
Shaping and Baking Your Waterford Blaa Rolls
Alright, your dough’s had its beauty sleep, and it’s gloriously puffy! Gently punch it down to release the air – it’s strangely satisfying, trust me. Now, divide that lovely dough into 8 equal pieces. I like to weigh them to make sure they’re all the same, but eyeballing it is totally fine too. Shape each piece into a round or oval roll. Don’t overwork them here; just a gentle shaping. Place your blaas on a baking sheet dusted generously with flour, making sure to leave some space between them so they don’t stick together as they grow. Cover them again with a clean cloth and let them rise for another 30-45 minutes until they look visibly puffy – this is their second rise, building up even more airiness for your Waterford Blaa. While they’re doing their thing, preheat your oven to a hot 220°C (425°F). Once the oven is hot and your blaas are puffed, slide them in! Bake for 12-15 minutes, or until they’re beautifully golden brown and sound hollow when tapped. Transfer them to a wire rack to cool completely, if you can resist eating them warm!
Pro Tips for a Flawless Waterford Blaa
Alright, you’ve got the basics down, but I’ve got a few extra tricks up my sleeve to make your Waterford Blaa truly spectacular! For that perfect, slightly crispy crust, here’s a secret: pop a tray of hot water in the bottom of your oven while the blaas bake. The steam does wonders! Also, always, always check your yeast. If it doesn’t get foamy in the lukewarm water, it’s probably dead, and your blaas won’t rise. Start over, friend! If your dough feels too sticky, resist the urge to add tons of flour; a little oil on your hands helps. Too dry? A tiny splash of water can save it. Trust your instincts, and you’ll have flawless Waterford Blaas every time!
Serving Suggestions and Storage for Waterford Blaa
Oh, the best part! Once your Waterford Blaas are out of the oven and cooled just enough to handle, slather one with real butter – that’s truly all you need for pure bliss. Traditionally, they’re amazing with ham and cheese, or as the star of a full Irish breakfast roll. For storage, if you actually have any left (a rare feat in my house!), pop them into an airtight container or a bread bag at room temperature for a day or two. If you want to keep them longer, they freeze beautifully for up to 3 months! Just thaw and give them a quick refresh in a warm oven to bring back that just-baked magic.
Frequently Asked Questions About Waterford Blaa
Okay, I know you’ve probably got a few questions bubbling up, especially if this is your first time diving into the wonderful world of Waterford Blaa! Don’t you worry, I’ve got answers to some of the most common things people ask me about these amazing Irish rolls. We want your Waterford Blaa experience to be absolutely perfect, so let’s clear up any confusion!
Can I substitute active dry yeast for fresh yeast in Waterford Blaa?
Absolutely, you can! If your recipe calls for 10g of fresh yeast, you’ll want to use about 5g of active dry yeast for your Waterford Blaa. It’s usually a 2:1 ratio for fresh to active dry.
How do I store leftover Waterford Blaa?
To keep your Waterford Blaa fresh, store them in an airtight container or a bread bag at room temperature for up to two days. For longer storage, you can freeze them for up to three months. Just thaw and warm in a moderate oven to enjoy!
Estimated Nutritional Information for Waterford Blaa
Now, I know some of you are curious about the nitty-gritty details, and that’s totally fair! While I’m not a nutritionist, I can tell you that the nutritional values I’ve provided are just estimates. Things like the exact brand of flour you use, how much you dust your baking sheet, or even the size of your blaas can make a difference. So, please take these numbers as a general guide, not a strict scientific fact. What I can guarantee, though, is that every bite of your homemade Waterford Blaa will be packed with love!
Print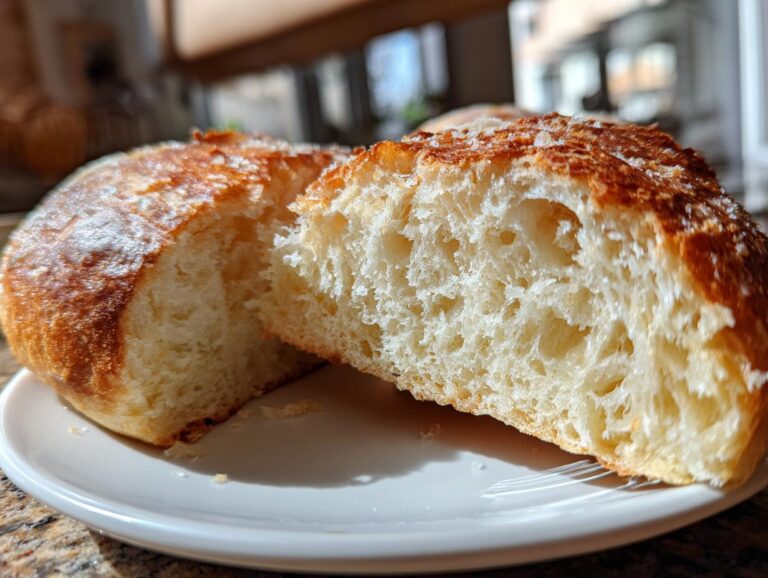
Waterford Blaa Bread Rolls
The Waterford Blaa is a soft, floury white bread roll, a specialty of Waterford, Ireland. It has a slightly chewy crust and a fluffy interior, perfect for sandwiches or as an accompaniment to a meal.
- Total Time: 2 hours 15 minutes
- Yield: 8 blaas 1x
Ingredients
- 500g strong white bread flour
- 10g fresh yeast (or 5g active dry yeast)
- 10g salt
- 10g sugar
- 300ml lukewarm water
- 20ml vegetable oil
- Extra flour for dusting
Instructions
- In a large bowl, combine the flour, salt, and sugar.
- In a separate small bowl, dissolve the yeast in the lukewarm water. Let it sit for 5 minutes until foamy.
- Pour the yeast mixture and vegetable oil into the dry ingredients.
- Mix until a shaggy dough forms.
- Turn the dough out onto a lightly floured surface and knead for 10-12 minutes, or until smooth and elastic.
- Place the dough in a lightly oiled bowl, cover with a clean cloth, and let it rise in a warm place for 1-1.5 hours, or until doubled in size.
- Gently punch down the dough and divide it into 8 equal pieces.
- Shape each piece into a round or oval roll.
- Place the rolls on a baking sheet dusted with flour, leaving space between them.
- Cover with a clean cloth and let them rise for another 30-45 minutes, or until visibly puffy.
- Preheat your oven to 220°C (425°F).
- Bake the blaas for 12-15 minutes, or until golden brown and cooked through.
- Transfer to a wire rack to cool completely before serving.
Notes
- For a crispier crust, place a tray of hot water in the bottom of your oven during baking.
- Leftover blaas can be frozen for up to 3 months. Thaw and refresh in a warm oven.
- Traditionally, blaas are enjoyed with butter and ham, or as part of a breakfast roll.
- Prep Time: 2 hours
- Cook Time: 15 minutes
- Category: Bread
- Method: Baking
- Cuisine: Irish
- Diet: Vegetarian
Nutrition
- Serving Size: 1 blaa (approximately 80g)
- Calories: 220
- Sugar: 2g
- Sodium: 290mg
- Fat: 3g
- Saturated Fat: 0.5g
- Unsaturated Fat: 2g
- Trans Fat: 0g
- Carbohydrates: 40g
- Fiber: 2g
- Protein: 8g
- Cholesterol: 0mg