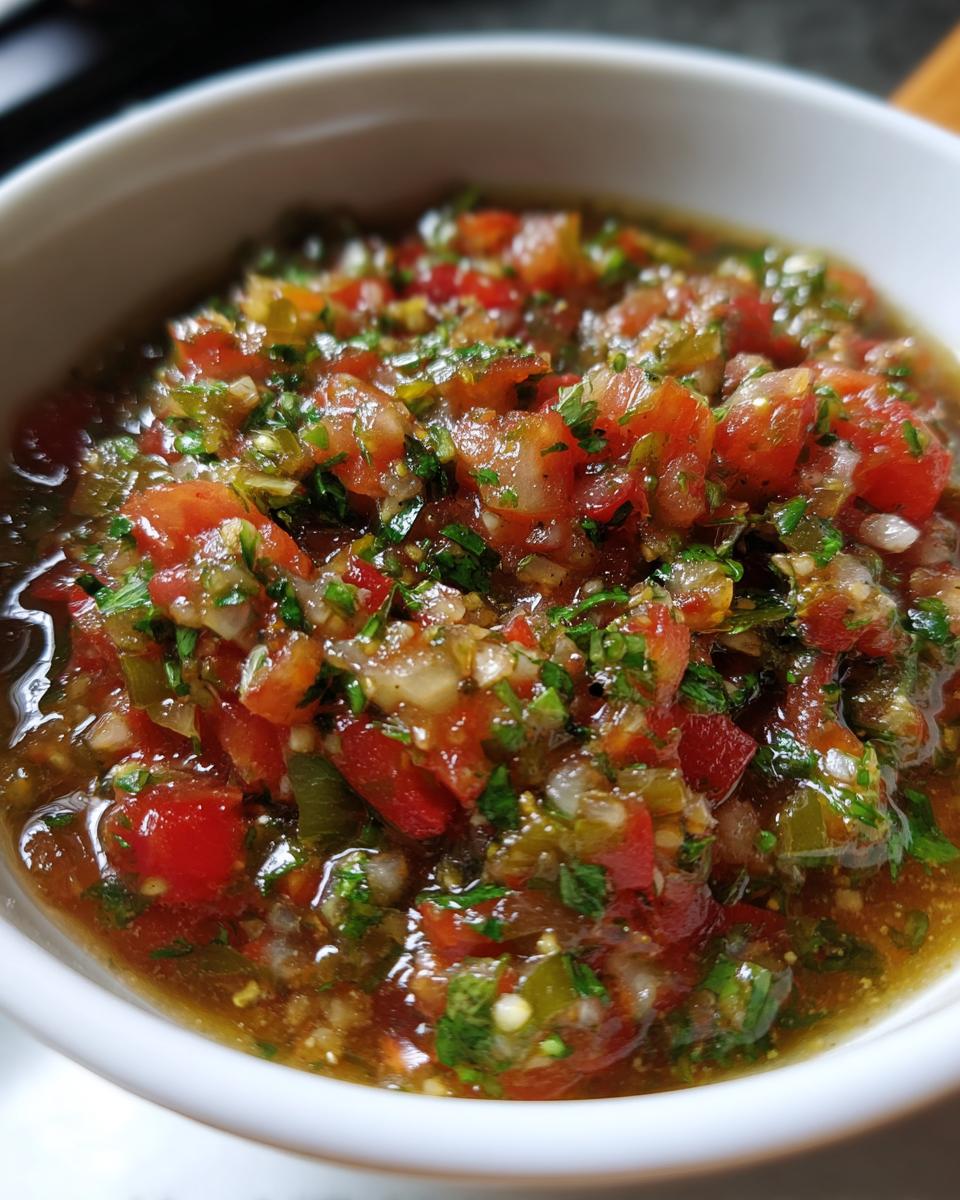
Oh man, let me tell you about my first encounter with Hatch chiles – it was love at first bite! I was visiting a friend in New Mexico who tossed a few roasted Hatch chiles into some salsa, and wow, my taste buds haven’t been the same since. That perfect balance of smoky heat and bright, fresh flavor? That’s what this Hatch Chile Salsa is all about.
What I love most about this salsa (besides how ridiculously easy it is to make) is how versatile it is. Need a killer dip for chips? Check. Want to wake up your morning eggs? Done. Looking to take your tacos from good to “oh-my-gosh-what-is-this-magic”? This salsa’s got you covered. Trust me, once you try this Hatch Chile Salsa, you’ll want to put it on everything – I may or may not have eaten it straight from the bowl with a spoon last week…
Why You’ll Love This Hatch Chile Salsa
Listen, I don’t just make this Hatch Chile Salsa because it’s easy (though it totally is). I make it because it’s the kind of recipe that makes people ask, “Wait, you made this yourself?” Here’s why you’ll be obsessed:
- That smoky kick – Roasting the Hatch chiles brings out their deep, complex flavor that store-bought salsas just can’t match
- 15 minutes of active work – Seriously, chop a few things, mix, and you’re done. I’ve made this while half-asleep on Sunday mornings
- Goes with literally everything – My personal favorite is slathered on breakfast tacos, but it’s equally amazing on grilled chicken, nachos, or even stirred into soups
- Tastes better the next day – The flavors melt together beautifully if you can resist eating it all immediately (good luck with that)
This isn’t just another salsa recipe – it’s the one you’ll keep coming back to whenever you need a flavor boost. Just warning you: once you start, you might not stop!
Ingredients for Hatch Chile Salsa
Alright, let’s get real about what goes into this magical salsa. You’ll be shocked how simple it is – just a handful of fresh ingredients that pack a serious punch. Here’s exactly what you need (and yes, the details matter!):
- 4 Hatch chiles – roasted until charred and peeled (trust me, that smoky flavor is worth the extra step)
- 1 small yellow onion – diced small (about 1/2 cup worth)
- 2 cloves garlic – minced super fine (nobody wants a big chunk of raw garlic!)
- 1 medium tomato – diced (go for ripe but firm – mushy tomatoes make sad salsa)
- 1/4 cup fresh cilantro – chopped (stems and all for maximum flavor)
- 1 tablespoon lime juice – fresh squeezed please, none of that bottled stuff
- 1/2 teaspoon salt – I use kosher, but any will do
- 1/4 teaspoon black pepper – freshly cracked if you’re feeling fancy
See? Nothing weird or hard to find. Just good, honest ingredients that turn into something extraordinary when you mix ’em up right.
Equipment You’ll Need
- Mixing bowl (medium size works best)
- Sharp knife (for all that chopping)
- Cutting board
- Plastic wrap (for steaming those chiles)
- Measuring spoons
- Spoon for mixing
How to Make Hatch Chile Salsa
Okay, let’s get to the fun part! Making this Hatch Chile Salsa is as easy as 1-2-3 – literally. Just follow these steps and you’ll have the most flavorful salsa in town before you know it. (Pro tip: wear gloves when handling those chiles unless you want spicy fingers for days!)
Step 1: Roast and Peel the Hatch Chiles
First things first – we gotta get those chiles nice and smoky. I either throw them directly on my gas stove burner (yes, I live dangerously) or pop them under the broiler. You want them completely charred – blackened skin is good here! Then immediately transfer them to a bowl and cover tightly with plastic wrap. Let them steam for 10 minutes – this makes the skins slip right off.
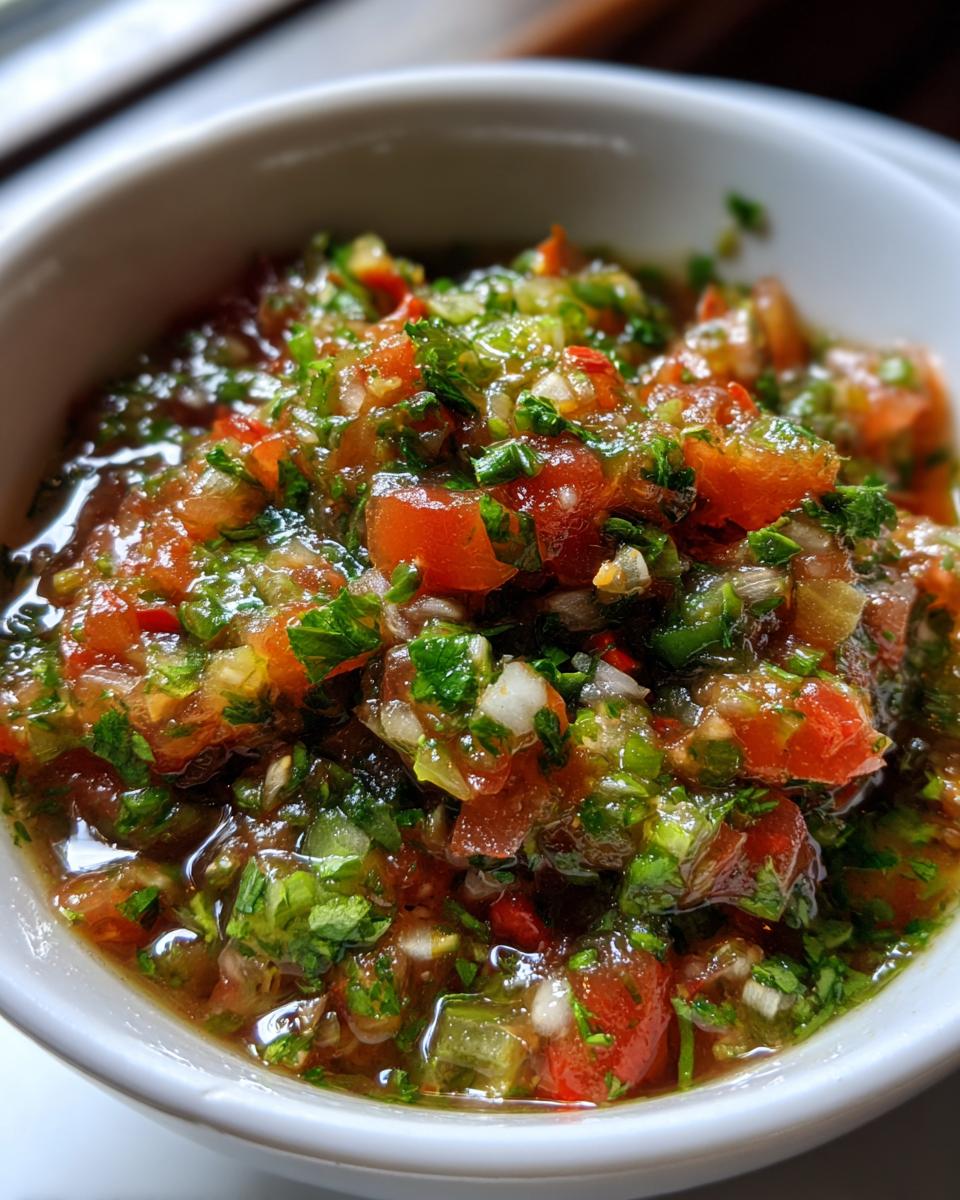
Step 2: Chop and Combine Ingredients
Once your Hatch chiles are peeled and seeded (unless you’re a heat-seeker), give them a rough chop. Now the fun begins! Toss them in a bowl with your diced onion, garlic, and tomato. The key here is keeping everything roughly the same size – we want texture, not chunks! Stir in the cilantro, lime juice, salt, and pepper. Give it a good mix – I like using a wooden spoon so I don’t bruise all those beautiful flavors.
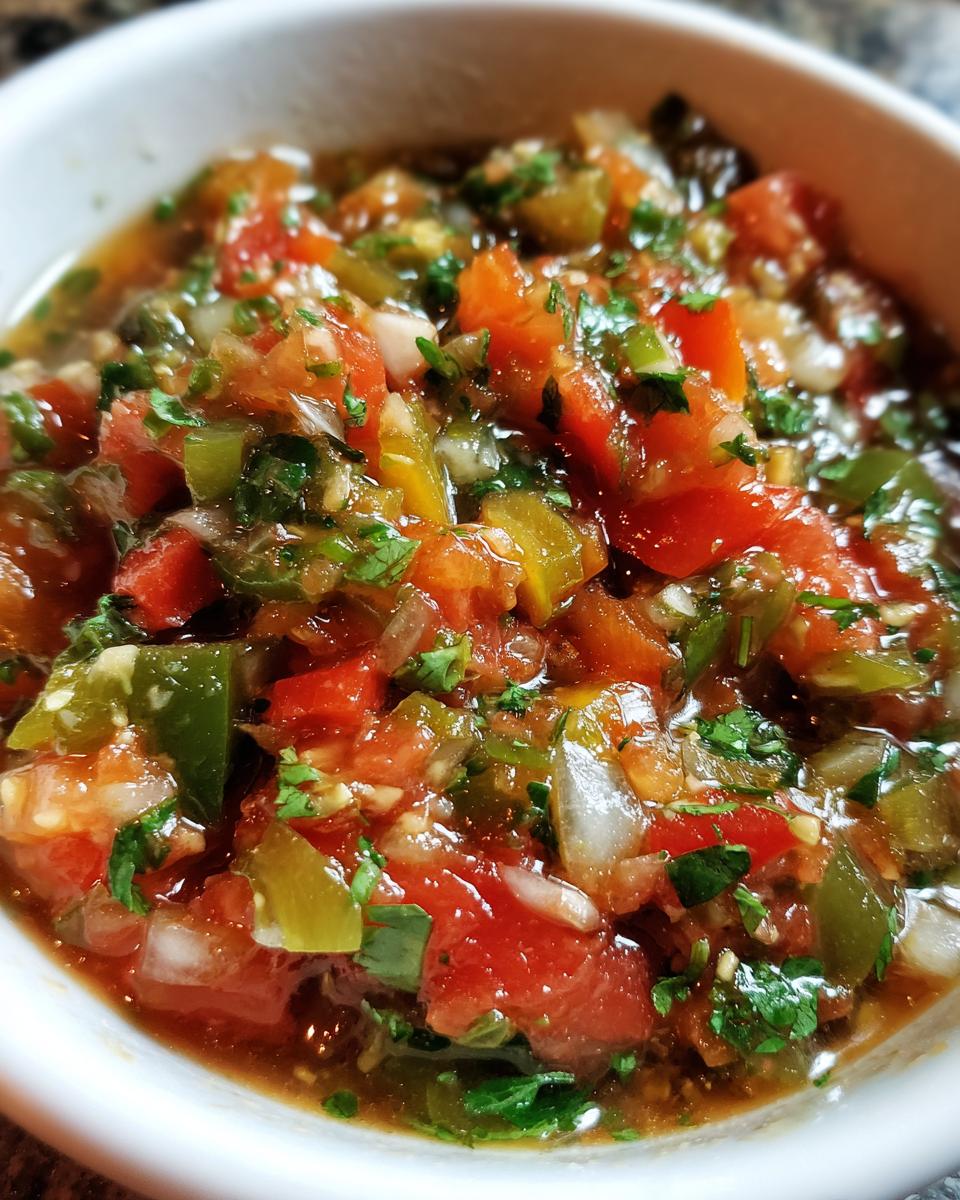
Step 3: Rest and Serve
Here’s the hardest part: walk away for at least 30 minutes. I know, I know, the smell is amazing and you want to dive in. But trust me, letting this Hatch Chile Salsa sit allows all those flavors to get to know each other. Serve it chilled with tortilla chips, spooned over tacos, or my personal favorite – right out of the bowl with a spoon when no one’s looking!
Tips for Perfect Hatch Chile Salsa
After making this Hatch Chile Salsa more times than I can count (and eating my fair share of failed batches), I’ve learned a few tricks that take it from good to “holy-wow” every single time:
- Spice control is key – Taste a tiny piece of your roasted Hatch chile before adding it all. Some batches are milder than others! Remove seeds and membranes for less heat, or leave ’em in if you’re feeling brave.
- Fresh lime juice makes all the difference – That bottled stuff just doesn’t have the same bright pop. Roll your limes on the counter first to get every last drop of juice.
- Let it sit overnight for flavor magic – If you can wait (big IF), the salsa tastes even better the next day after all the flavors have had time to party together in the fridge.
- Texture matters – Aim for uniform dice on all your veggies so you get a little bit of everything in each bite. I chop my tomatoes slightly smaller than the onions for perfect balance.
Oh, and one bonus tip – always make extra! This salsa disappears faster than you’d think, especially if you have friends like mine who “just want a taste” and then inhale half the bowl.
Variations and Substitutions
Look, I love the classic version, but sometimes you gotta mix it up! Here’s how I tweak this Hatch Chile Salsa when I’m feeling creative (or just cleaning out the fridge):
- Milder option? Swap half the Hatch chiles for roasted poblano or jalapeño peppers
- Out of yellow onion? Red onion adds a nice sweetness (just chop it extra fine)
- No fresh tomatoes? Try 1/4 cup of fire-roasted canned tomatoes (drained well!)
- Cilantro haters? Flat-leaf parsley gives a fresh vibe without the soapy taste
The beauty of salsa? There are no wrong answers – just tasty experiments!
Serving Suggestions for Hatch Chile Salsa
Now that you’ve made this incredible Hatch Chile Salsa (and probably eaten half of it straight from the bowl), let’s talk about all the delicious ways to use it! I’ve tested this salsa on basically everything in my kitchen, and here are my absolute favorite pairings:
- Breakfast game-changer – Stir it into scrambled eggs or spoon it over breakfast tacos with crispy potatoes. My Sunday mornings haven’t been the same since I discovered this combo.
- Taco night superstar – Ditch the sad store-bought salsa and pile this on carne asada or fish tacos. The smoky heat cuts through rich meats perfectly.
- Burger boost – Swap your usual ketchup for a generous dollop of this salsa on turkey or veggie burgers. Warning: you may never go back to plain condiments again.
- Grilled meat magic – Brush it on chicken thighs during the last few minutes of grilling, or serve it alongside skirt steak for an instant flavor upgrade.
- Nacho night MVP – Layer it over chips with melted cheese for nachos that’ll disappear faster than you can say “more please!”
Oh, and my secret midnight snack? A spoonful of this salsa swirled into some warm queso dip. Don’t judge until you’ve tried it!
Storage and Reheating
Okay, let’s talk salsa preservation – because let’s be real, you’re probably not going to finish this whole batch in one sitting (though I wouldn’t blame you if you tried!). Here’s how to keep your Hatch Chile Salsa tasting fresh:
First things first – always use an airtight container. I’m partial to glass jars because they don’t absorb odors, but any clean container with a tight-fitting lid will do. Pop it in the fridge, and it’ll stay delicious for up to 5 days (though mine never lasts that long!).
Now, about that “reheating” bit – honestly, this salsa is best served cold straight from the fridge. The flavors actually intensify as it chills! But if you absolutely must warm it up (maybe for nachos?), give it just a quick 15-second zap in the microwave – any longer and you’ll lose that fresh, bright flavor we worked so hard to achieve.
One important note: don’t freeze this salsa. The texture turns weirdly mushy when thawed, and all those beautiful fresh flavors dull significantly. Trust me, I learned this the hard way after trying to stockpile multiple batches!
Nutritional Information
Now, let’s talk numbers – not because you should be counting when enjoying this delicious Hatch Chile Salsa, but because I know some folks like to keep track! Just remember: these values are estimates based on my exact ingredients, and your mileage may vary depending on your specific chiles and produce.
Per 1/4 cup serving:
- Calories: 25
- Total Fat: 0g (0g saturated, 0g unsaturated)
- Cholesterol: 0mg
- Sodium: 150mg
- Total Carbohydrates: 5g
- Dietary Fiber: 1g
- Sugars: 2g
- Protein: 1g
Pretty great for something that packs this much flavor, right? And since we’re using all fresh veggies and no weird additives, you can feel good about enjoying this salsa by the spoonful (not that I’d know anything about that…). Just remember – these numbers are guidelines, not gospel. Your actual nutrition will depend on your exact ingredients and how generously you scoop!
Frequently Asked Questions
I get questions about this Hatch Chile Salsa all the time – seems like everyone wants to know the secrets! Here are the answers to the most common things people ask me:
Q: How long does this salsa actually last in the fridge?
Honestly? Mine never sticks around long enough to find out! But seriously, stored properly in an airtight container, it keeps beautifully for about 5 days. The flavors actually get better after a day or two, so don’t worry if you can’t eat it all right away.
Q: Can I use canned Hatch chiles instead of fresh?
You can, but I’ll be honest – it won’t be the same. The magic of this salsa comes from freshly roasted chiles. That said, in a pinch, you can use canned (just drain them well!). You’ll lose some of that incredible smoky depth, but it’ll still taste better than store-bought salsa.
Q: Is there a way to make this less spicy?
Absolutely! First, always remove the seeds and membranes from the chiles – that’s where most of the heat lives. You can also mix in some roasted poblano peppers to tame the fire. Start with half Hatch, half poblano, then adjust to your taste.
Q: My salsa came out watery – what did I do wrong?
Ah, the dreaded salsa soup! This usually happens if your tomatoes were super ripe (or you didn’t drain canned ones). Next time, try seeding your tomatoes first, or let the salsa sit in a strainer for 10 minutes before serving. The flavors will still be amazing!
Q: Can I freeze leftovers?
I don’t recommend it – the texture gets weird and mushy when thawed. Fresh salsa is meant to be enjoyed fresh! If you’ve got extra, share it with neighbors or take it to work. Trust me, you’ll make instant friends.
Final Thoughts
There you have it – my absolute favorite way to make Hatch Chile Salsa! I’d love to hear how yours turns out. Did you go full spice or keep it mild? Tag me if you share pics – nothing makes me happier than seeing people enjoy this recipe as much as I do. Now go grab those chiles and get roasting!
Print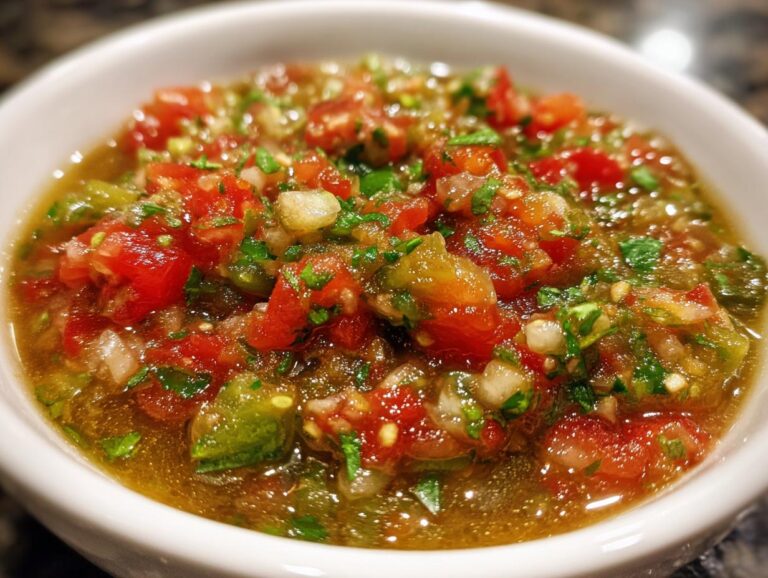
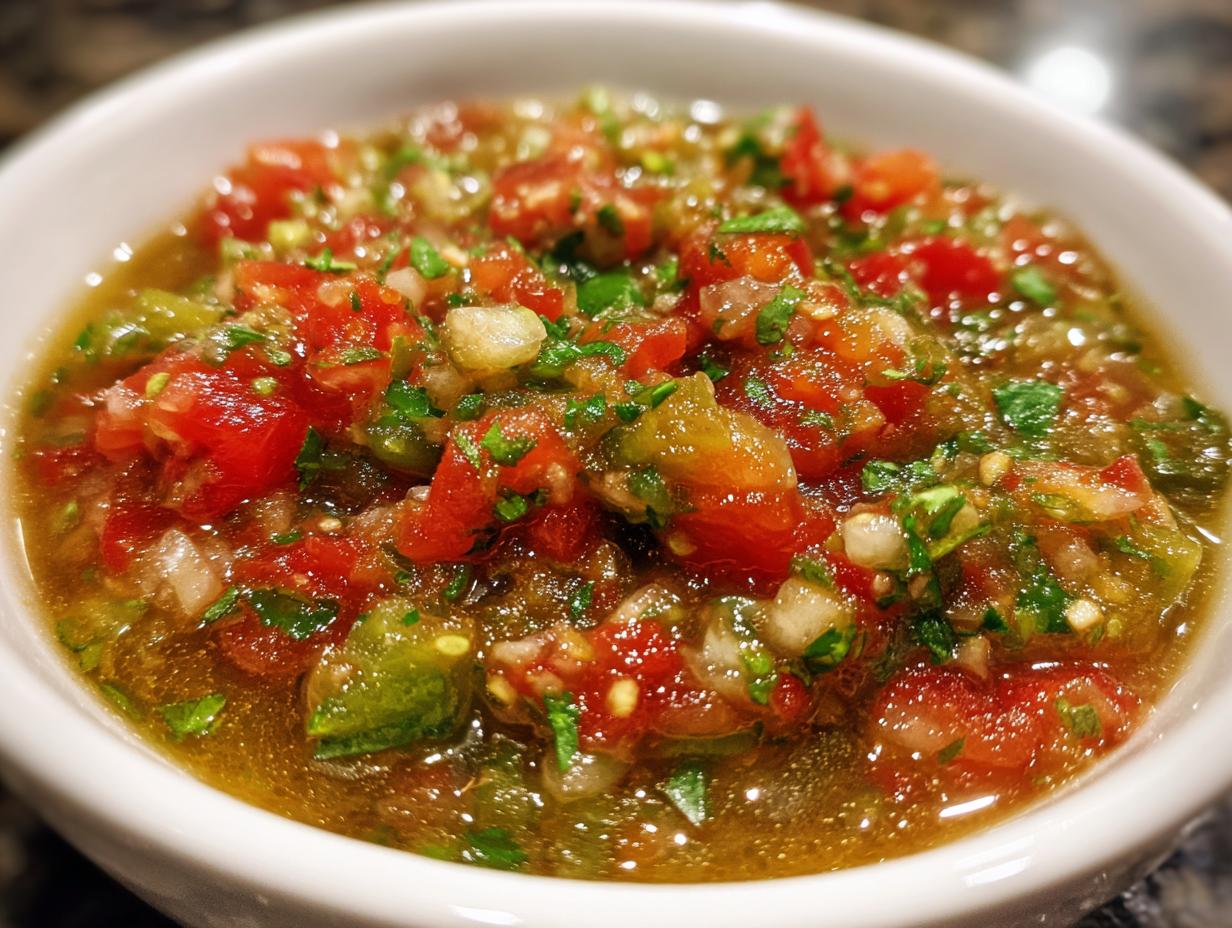
Spicy Hatch Chile Salsa Recipe That Steals Hearts in 15 Minutes
A spicy and flavorful salsa made with roasted Hatch chiles, perfect for dipping or topping your favorite dishes.
- Total Time: 55 mins
- Yield: 2 cups 1x
Ingredients
- 4 Hatch chiles, roasted and peeled
- 1 small onion, diced
- 2 cloves garlic, minced
- 1 tomato, diced
- 1/4 cup fresh cilantro, chopped
- 1 tbsp lime juice
- 1/2 tsp salt
- 1/4 tsp black pepper
Instructions
- Roast Hatch chiles over an open flame or under a broiler until charred. Place in a bowl and cover with plastic wrap for 10 minutes.
- Peel the chiles, remove seeds, and chop finely.
- Combine chopped chiles, onion, garlic, tomato, cilantro, lime juice, salt, and pepper in a bowl.
- Mix well and let sit for 30 minutes to allow flavors to blend.
- Serve chilled with chips or as a topping for tacos.
Notes
- Adjust the number of chiles based on your preferred spice level.
- Store leftovers in an airtight container in the fridge for up to 5 days.
- Prep Time: 15 mins
- Cook Time: 10 mins
- Category: Appetizer
- Method: No-Cook
- Cuisine: Mexican
- Diet: Vegetarian
Nutrition
- Serving Size: 1/4 cup
- Calories: 25
- Sugar: 2g
- Sodium: 150mg
- Fat: 0g
- Saturated Fat: 0g
- Unsaturated Fat: 0g
- Trans Fat: 0g
- Carbohydrates: 5g
- Fiber: 1g
- Protein: 1g
- Cholesterol: 0mg