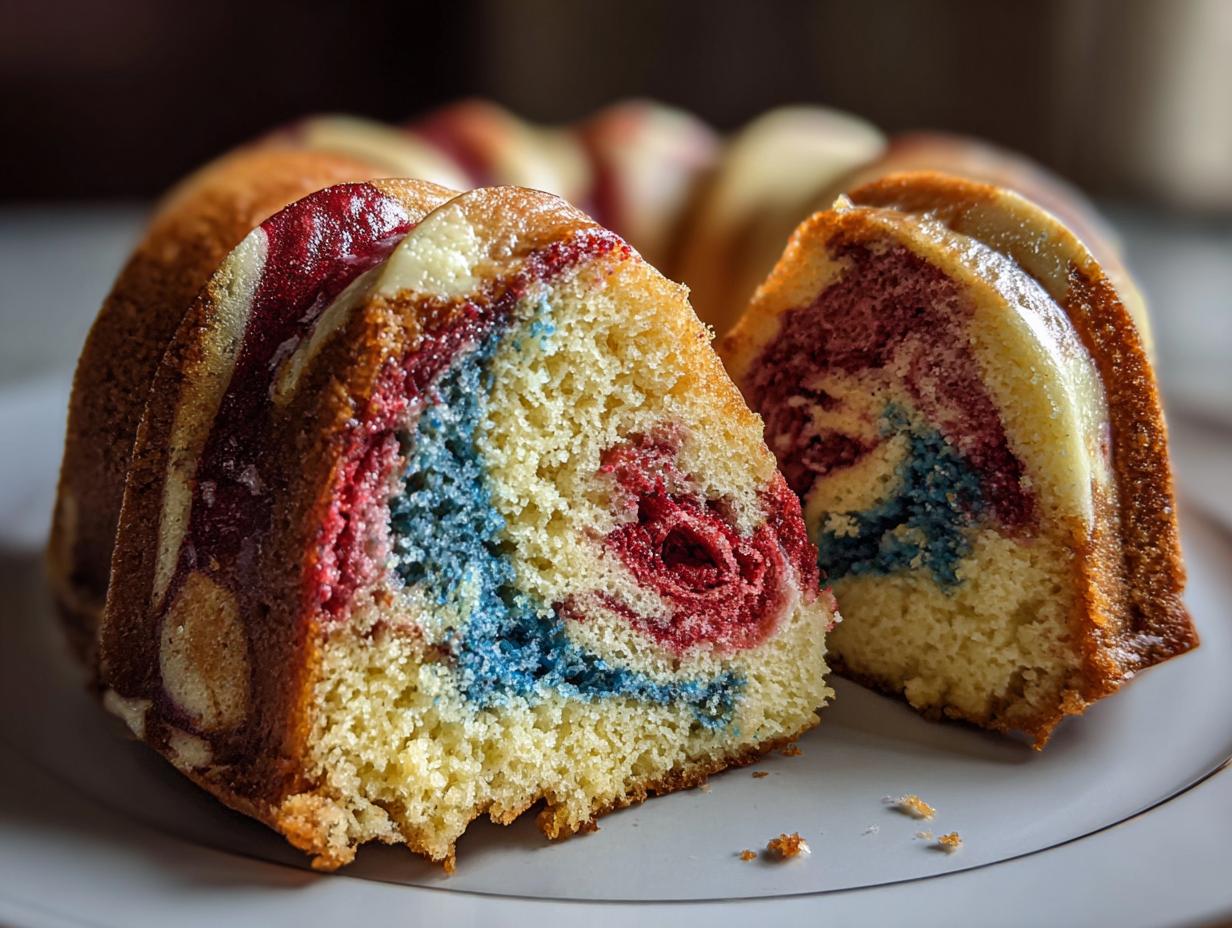
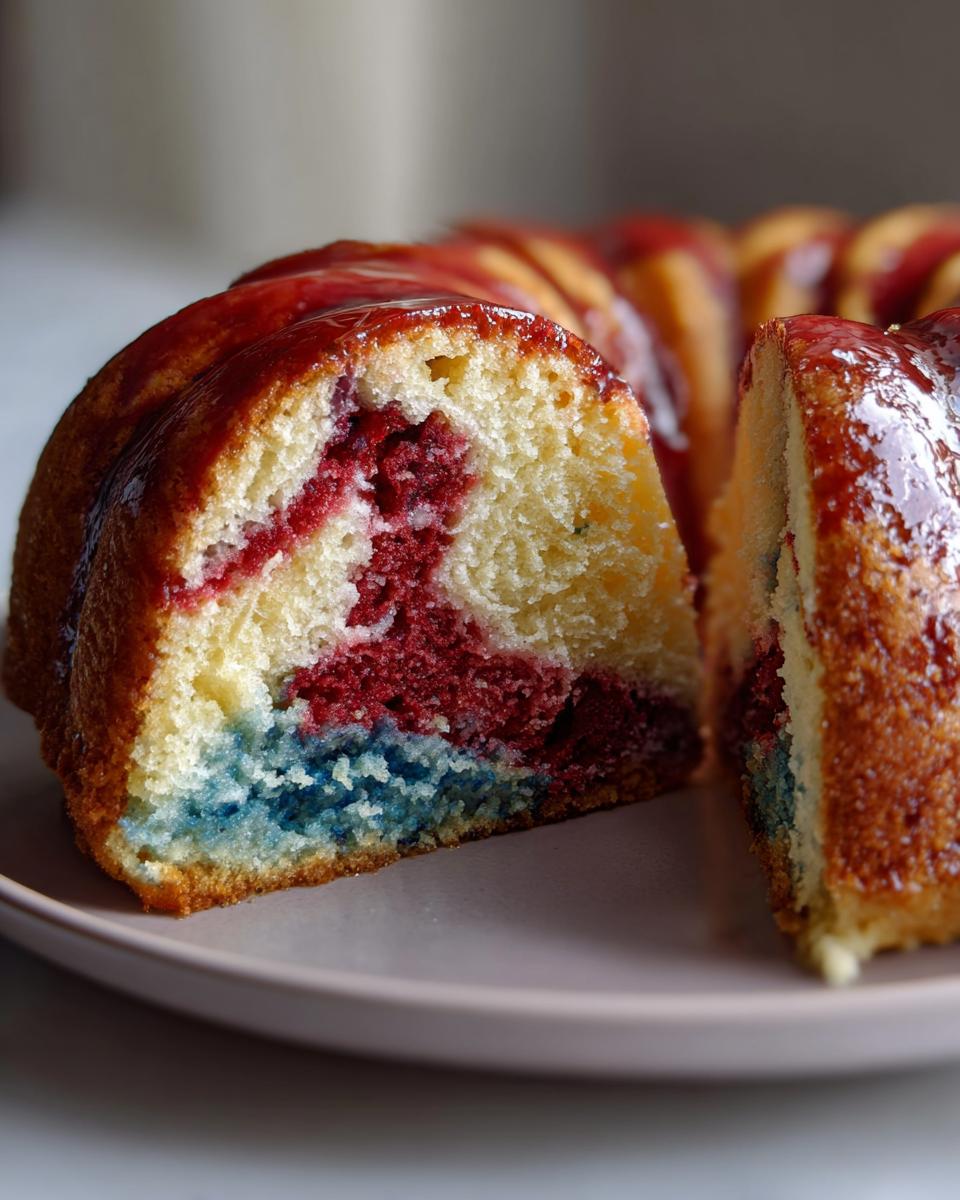
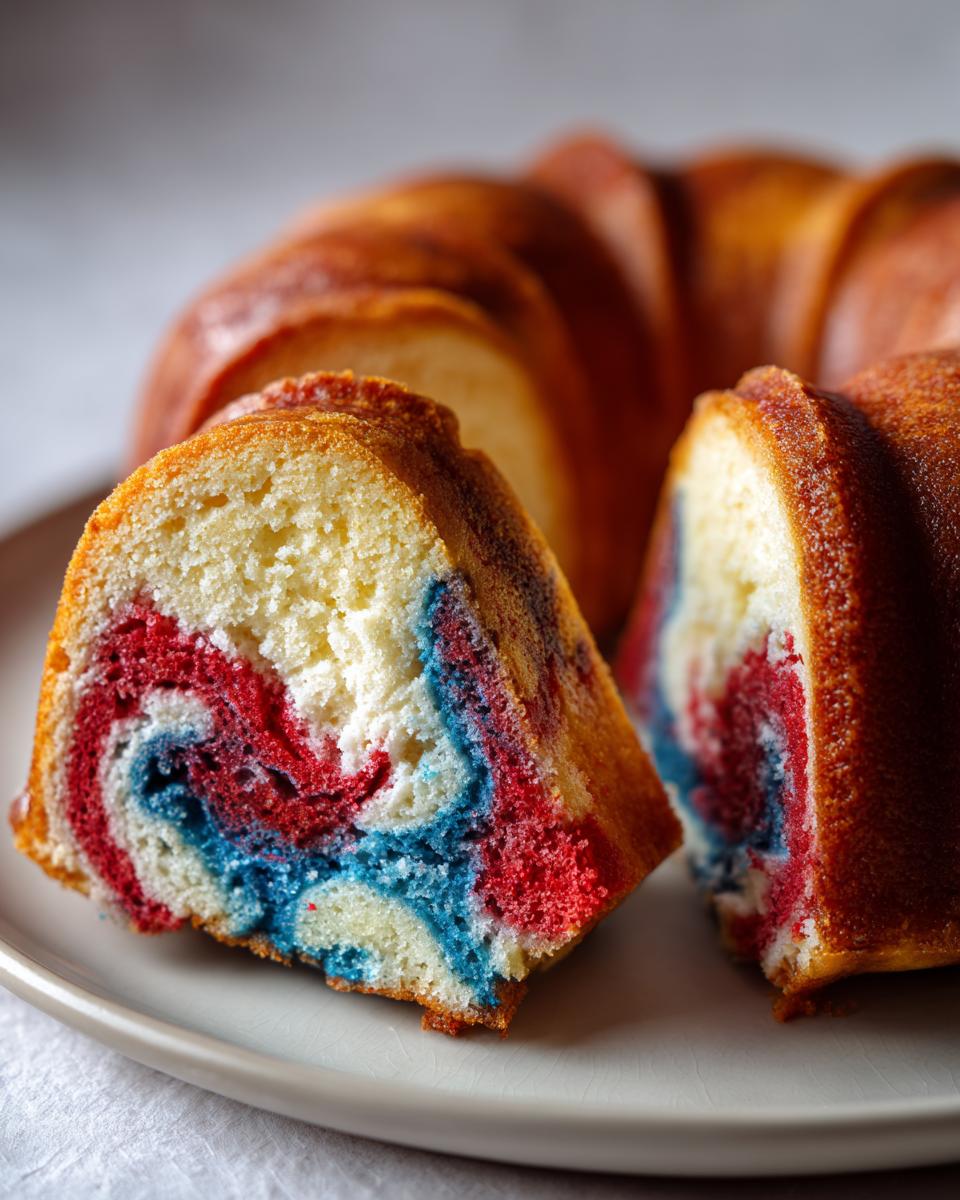
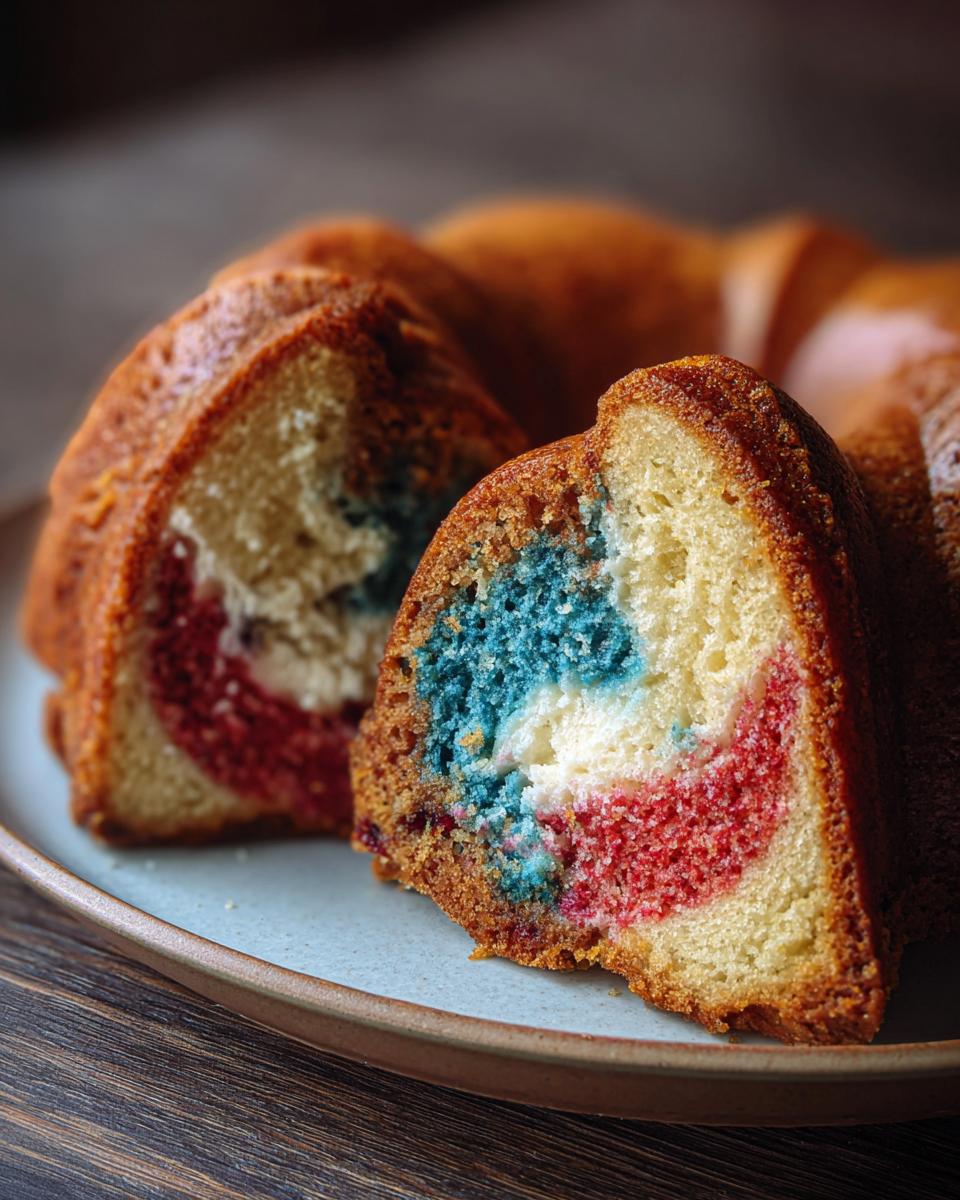
Every summer, my kitchen becomes a patriotic bakery, and this Red, White, and Blue Marble Cake is always the star of the show. I’ll never forget the first time I made it for Fourth of July—my niece’s eyes lit up when she sliced into those vibrant swirls! This isn’t just a cake; it’s a celebration in every bite. The vanilla Bundt stays incredibly moist (thank you, buttermilk!), while the bold red and blue streaks make it almost too pretty to eat. Whether it’s Memorial Day, Labor Day, or just a Tuesday where you’re feeling extra festive, this cake turns any occasion into something special. Trust me, one slice and you’ll be hooked!
Why You’ll Love This Red, White, and Blue Marble Cake
This cake isn’t just a showstopper—it’s downright magical. Here’s why it’s my go-to for every patriotic bash:
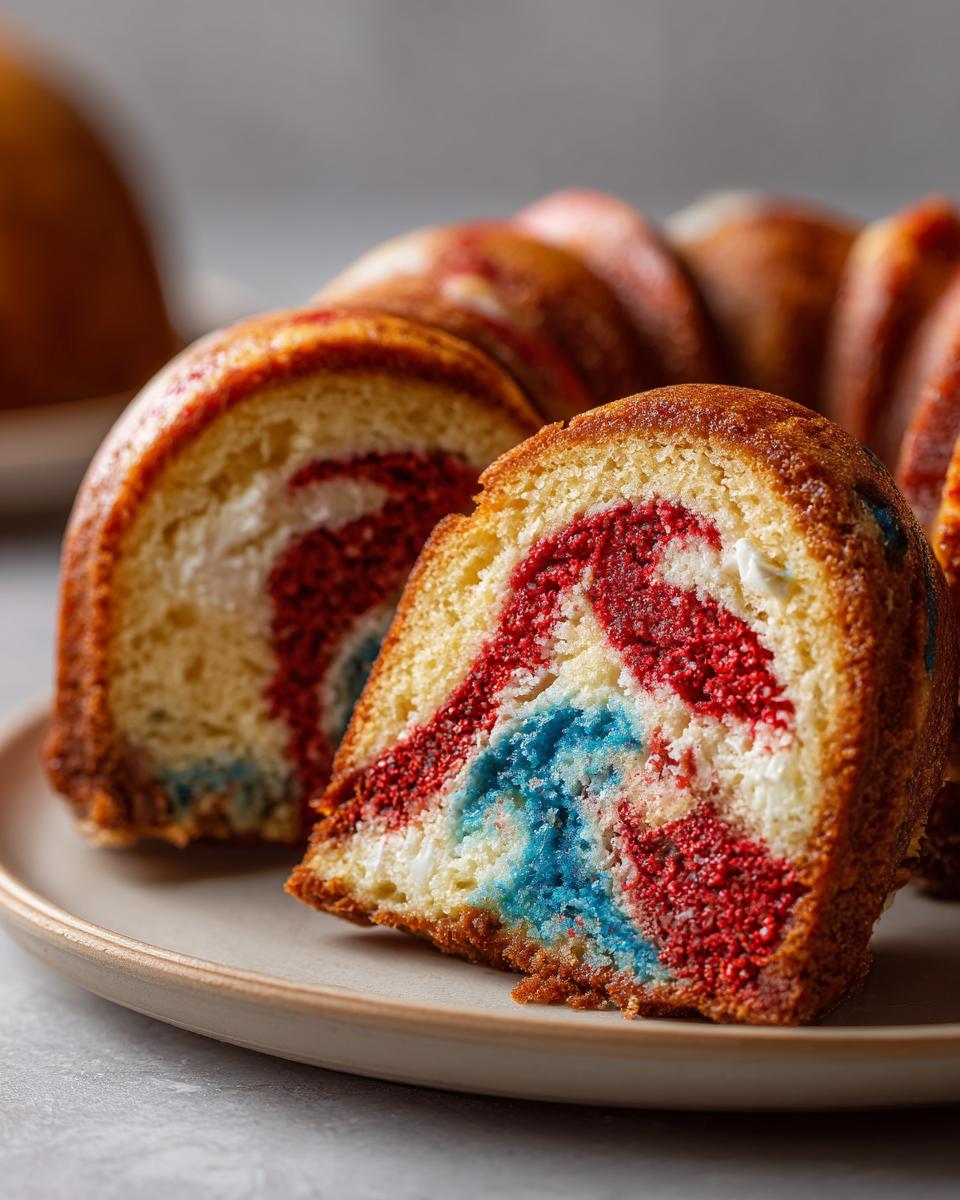
- Stunning swirls that actually stay vibrant (no sad, muted colors here—thanks, gel food coloring!)
- Cloud-soft crumb from that buttermilk secret I swear by
- Surprisingly simple—you’re basically playing with colorful batter layers (my kids beg to help!)
- Instantly festive—slice into it at any summer gathering and watch the “oohs” and “aahs” roll in
Seriously, it’s the cake equivalent of fireworks—but way tastier.
Ingredients for Red, White, and Blue Marble Cake
Here’s everything you’ll need to create this patriotic masterpiece. I’ve learned the hard way—skip the shortcuts (looking at you, cold butter straight from the fridge!), and you’ll be rewarded with the most perfect marble swirls:
- 1 cup butter at room temperature (I leave mine out overnight—soft but not greasy!)
- 2 ½ cups granulated sugar (yes, it’s sweet—this is a celebration cake after all!)
- 1 tablespoon vanilla extract (splurge on the good stuff—it makes all the difference)
- 2 large eggs + 4 large egg whites at room temperature (trust me, no one wants dense streaks in their swirls)
- 1 cup buttermilk at room temperature (the secret weapon for that melt-in-your-mouth crumb)
- 3 cups cake flour (don’t swap for all-purpose—it’s too heavy for this delicate swirl situation)
- 2 teaspoons baking powder (freshness matters—give the can a sniff test)
- ½ teaspoon salt (balances the sweetness like a dream)
- Red and blue gel food coloring (liquid dyes dilute the batter—learned that the messy way!)
See? Nothing fancy—just good old-fashioned ingredients done right. Now let’s make some magic!
Equipment You’ll Need
No fancy gadgets required here—just the usual suspects from your baking arsenal (plus one non-negotiable Bundt pan!):
- Stand mixer (or sturdy hand mixer + elbow grease)
- 12-cup Bundt pan—the curves make those swirls pop!
- Wire rack for cooling (skip this and your cake will steam itself soggy)
- 3 mixing bowls—one for each patriotic color
- Rubber spatula to gently fold those beautiful batters
Bonus points if your Bundt pan has those intricate designs—they turn this cake into edible artwork!
How to Make Red, White, and Blue Marble Cake
Alright, let’s get to the fun part—creating those gorgeous patriotic swirls! I’ll walk you through each step, just like my grandma taught me (with a few colorful upgrades, of course).
Preparing the Batter
First things first—preheat that oven to 350°F and grease your Bundt pan like it’s going out of style. A well-prepared pan means your cake will slide out perfectly, swirls intact!
Now, grab your stand mixer and beat the butter and sugar together until it’s light and fluffy—about 3 minutes. This isn’t the time to rush! Add those room-temperature eggs and egg whites one at a time, mixing well after each. (Cold eggs? Nope—they’ll make your batter curdle, and nobody wants that.) Stir in the vanilla until it’s all heavenly-smelling.
Next, pour in the buttermilk and mix just until combined. Then, gently add the dry ingredients—cake flour, baking powder, and salt. Mix on low until *just* incorporated. Overmixing? That’s the enemy of a tender crumb!
Coloring and Layering the Batter
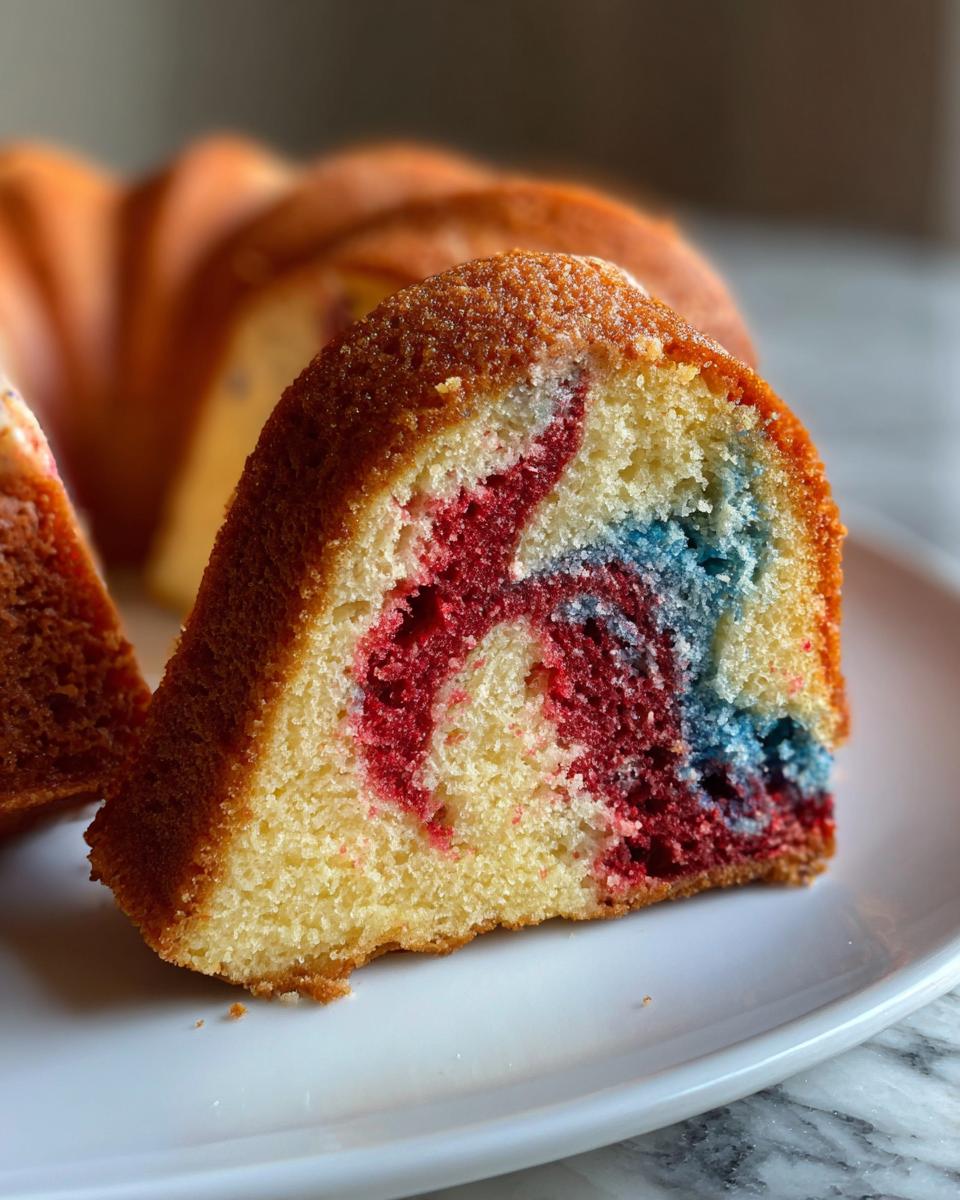
Time to get colorful! Scoop out 1 ½ cups of batter into two separate bowls—one for red, one for blue. Now, add the gel food coloring. Start with a small amount (a toothpick’s worth!) and build up to your desired vibrancy. Pro tip: Blue can be tricky—add a tiny bit of purple gel to avoid a weird greenish tint.
Now, the layering magic: Using a ¼-cup measure, drop plain batter into the pan, then red, then blue. Repeat, repeat, repeat! Don’t worry about perfection—randomness creates the best swirls. Just resist the urge to stir (I know it’s tempting!). Tap the pan lightly on the counter to level things out.
Baking and Cooling
Pop that beauty into the oven and set your timer for 50 minutes. But here’s the thing—ovens lie. Start checking at 50 minutes with a toothpick. If it comes out clean, you’re golden. If not, give it 5 more minutes and check again. (Mine usually takes about 65 minutes.)
Once baked, let the cake cool in the pan for 15 minutes—no cheating! Then, flip it onto a wire rack and let it cool completely. I know, the waiting is torture, but slicing into a warm cake will smudge those pretty swirls. Worth the patience, promise!
Tips for Perfect Red, White, and Blue Marble Cake
After dozens of patriotic baking experiments (and a few colorful disasters!), here are my foolproof secrets for marble cake success:
- Gel food coloring is non-negotiable—liquid dyes water down the batter and give you pastel swirls (not the bold fireworks effect we want!)
- Tap that pan! After layering, give it 2-3 firm taps on the counter to settle the batter without disturbing those perfect streaks
- Room temp everything—cold ingredients make the batter seize up faster than you can say “stars and stripes”
- Resist overmixing—a few flour streaks are better than tough swirls (they’ll bake out, I promise!)
Follow these, and you’ll have a cake worthy of its own parade!
Variations and Substitutions
Out of buttermilk? No problem! Plain yogurt or sour cream (thinned with a splash of milk) works beautifully—I’ve used both in a pinch. For a fun twist, swap vanilla extract for almond or lemon (just reduce to 2 teaspoons). And if you’re feeling extra festive, try adding sprinkles to the white batter—they’ll peek through like little fireworks when sliced!
Serving and Storing Red, White, and Blue Marble Cake
This cake shines brightest at room temperature—the flavors pop and the texture stays dreamy soft. I always let mine sit uncovered for an hour after cooling (if you can resist slicing into it that long!). Store any leftovers in an airtight container—it stays fresh for 3 days, though mine never lasts past the first patriotic party! For longer keeping, wrap slices tightly and freeze for up to 2 months. Just thaw at room temperature when those patriotic cravings hit again.
Nutritional Information
Let’s be real – this is a celebration cake, not health food! But for those curious, here’s the scoop per slice (based on my exact ingredients): 320 calories, 12g fat (7g saturated), and 48g carbs. Remember, nutrition varies based on your specific brands and measurements. Now go enjoy that patriotic perfection guilt-free!
Frequently Asked Questions
Can I use liquid food coloring instead of gel?
Oh honey, I learned this the hard way—liquid dyes dilute your batter and give you sad, washed-out colors. Gel food coloring packs that vibrant punch we want! If it’s all you’ve got, use way less liquid in the batter (maybe reduce buttermilk by a tablespoon per color).
Help! My swirls disappeared after baking!
Don’t panic! This usually means you stirred the batter too much after layering. Next time, just tap the pan gently to settle things—no swirling with a knife! Also, make sure your oven temp is accurate (an oven thermometer is a lifesaver).
Can I make this in regular cake pans?
Absolutely! Two 9-inch rounds work great—just reduce baking time to 30-35 minutes. The layers look stunning when stacked with whipped cream between them. Pro tip: Alternate your colored batter patterns for extra wow factor when sliced!
Why does my cake stick to the Bundt pan?
Been there! Grease every nook with butter (not spray!) and dust with flour right before adding batter. Let the cake cool exactly 15 minutes before flipping—any less and it falls apart, any more and it sticks like glue.
Share Your Creation
Did your swirls turn out as gorgeous as fireworks? I’d love to see! Snap a photo and tag me—nothing makes me happier than spotting your patriotic masterpieces. And if you loved this recipe as much as my family does, leave a star rating so other bakers can find this slice of red, white, and blue heaven too!
Print
Irresistible 1-Bowl Red, White, and Blue Marble Cake Magic
Moist vanilla bundt cake with red, white, and blue swirls throughout. Perfect for patriotic celebrations or any festive occasion.
- Total Time: 80 minutes
- Yield: 16 servings 1x
Ingredients
- 1 cup butter at room temperature
- 2 ½ cups granulated sugar
- 1 tablespoon vanilla extract
- 2 large eggs at room temperature
- 4 large egg whites at room temperature
- 1 cup buttermilk at room temperature
- 3 cups cake flour
- 2 teaspoons baking powder
- 1/2 teaspoon salt
- Red food coloring
- Blue food coloring
Instructions
- Preheat oven to 350 F. Grease and flour a 12-cup Bundt pan. Set aside.
- In the bowl of a stand mixer fitted with a paddle attachment, beat together butter and sugar until well-combined.
- Add eggs and egg whites one at a time, mixing well after each addition.
- Stir in vanilla until combined.
- Mix in buttermilk until well-combined.
- Add cake flour, baking powder, and salt. Stir on low just until incorporated.
- For the red swirl, scoop out 1 ½ cups of the batter and place it into a separate bowl.
- For the blue swirl, scoop out another 1 ½ cups of batter and place it into a third bowl.
- Mix red food coloring into one bowl of plain batter.
- Mix blue food coloring into the other bowl of plain batter.
- Using a 1/4-cup measuring cup, drop one scoop of plain batter into the prepared bundt pan.
- Drop 1/4 cup of red batter on top of the plain batter.
- Drop 1/4 cup of blue batter on top of the red batter.
- Continue alternating between plain and colored batters until all three batters are used.
- Give the pan a couple of taps to level out the batter. Do not stir.
- Bake for 50-70 minutes, or until a toothpick inserted into the center comes out clean.
- Cool cake in the pan on a wire rack for 15 minutes.
- Invert the cake onto a wire rack and cool completely.
Notes
- Use gel food coloring for vibrant colors.
- Room temperature ingredients ensure even mixing.
- Do not overmix the batter to keep the cake tender.
- Prep Time: 20 minutes
- Cook Time: 60 minutes
- Category: Dessert
- Method: Baking
- Cuisine: American
- Diet: Vegetarian
Nutrition
- Serving Size: 1 slice
- Calories: 320
- Sugar: 28g
- Sodium: 180mg
- Fat: 12g
- Saturated Fat: 7g
- Unsaturated Fat: 4g
- Trans Fat: 0g
- Carbohydrates: 48g
- Fiber: 1g
- Protein: 5g
- Cholesterol: 60mg