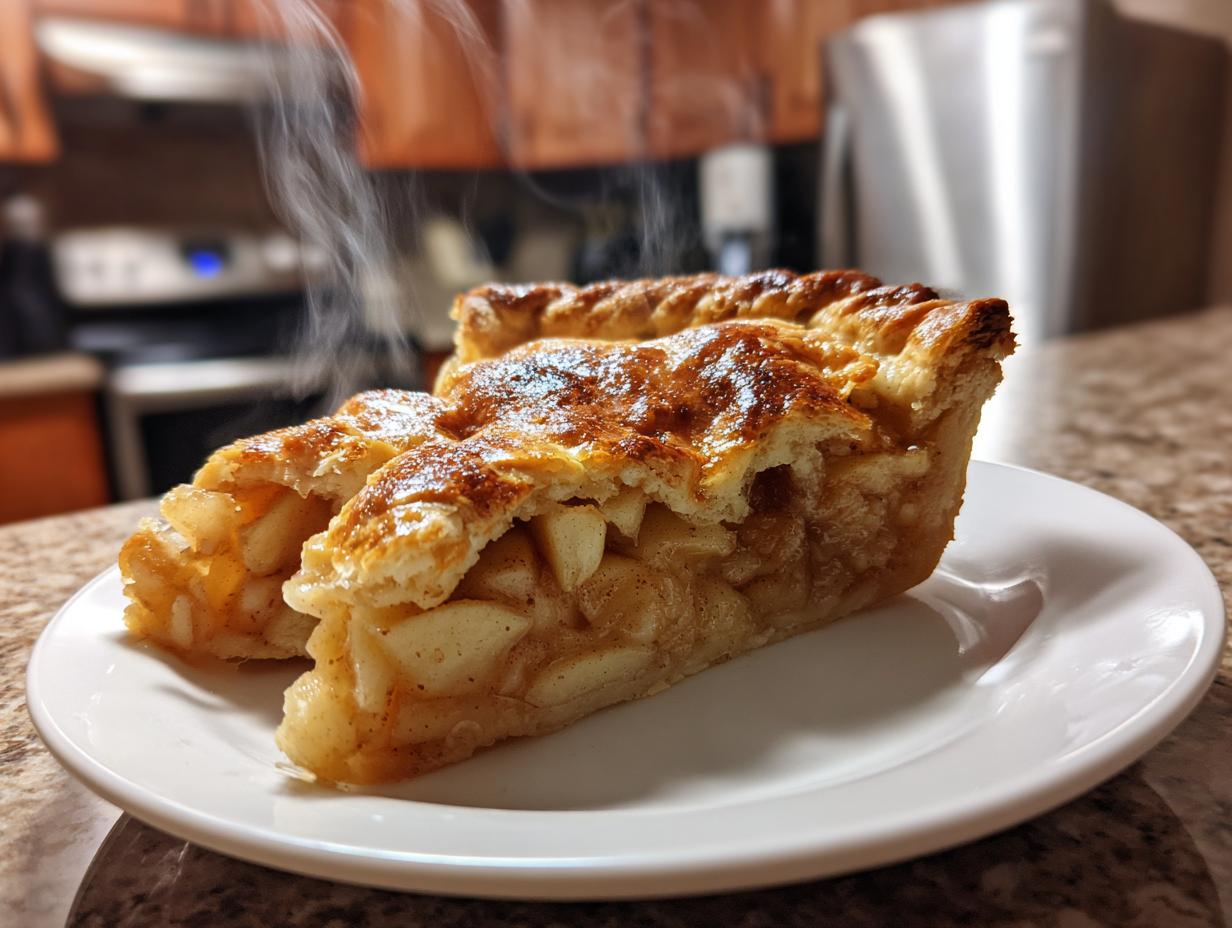
Oh my goodness, friend, you are in for a treat! There’s nothing quite like the smell of a warm, comforting dessert baking in the oven, right? It just wraps you up in a cozy hug. And let me tell you, this Irish Apple Tart recipe is the ultimate hug in dessert form. I first stumbled upon a version of this simple beauty during a particularly rainy afternoon, tucked away in a tiny Irish café, and I swear, one bite changed my life! It was so unpretentious, just pure, sweet apple goodness cradled in a flaky, buttery crust. No fancy frills, just honest-to-goodness deliciousness.
This isn’t one of those intimidating recipes that’ll have you pulling your hair out. Nope! This is the kind of recipe that makes you feel like a baking wizard without breaking a sweat. We’re talking basic ingredients, simple steps, and an outcome that will have everyone asking for seconds (and begging for the recipe!). Trust me, once you make this Irish Apple Tart, it’ll become a go-to in your kitchen. It’s truly that good, and so wonderfully easy to master!
Why You’ll Love This Irish Apple Tart Recipe
Okay, so why *this* Irish Apple Tart? Because it’s a winner, plain and simple! I’ve made so many apple tarts over the years, and this one consistently delivers. It’s got that perfect balance of sweet and tart, that flaky crust that just melts in your mouth, and it’s surprisingly easy to pull off. Seriously, you don’t need to be a pastry chef to make this look and taste amazing. It’s just so versatile, too – perfect for a cozy night in, or fancy enough for a dinner party. Here’s why it’s going to be your new favorite:
- It’s incredibly simple to make, even for beginner bakers.
- The flavors are classic, comforting, and universally loved.
- It uses everyday ingredients you probably already have!
- It’s fantastic warm with a scoop of ice cream, or just as delicious cold for breakfast (don’t judge!).
The Allure of a Classic Irish Apple Tart
There’s just something magical about a classic Irish Apple Tart, isn’t there? It’s not just a dessert; it’s a memory in the making. The way the spices mingle with the sweet apples, all nestled in that golden, tender crust… it’s pure comfort. This recipe captures that timeless, rustic charm perfectly, bringing a little piece of Irish warmth right into your kitchen.
Essential Equipment for Your Irish Apple Tart
You don’t need a fancy kitchen full of gadgets to whip up this amazing Irish Apple Tart! Most of what you’ll need are probably already hanging out in your cupboards. But having the right tools makes all the difference, trust me. Here’s my go-to list for making this tart a breeze:
- Large Mixing Bowls: For both your pastry and your apple filling.
- Pastry Blender or Your Fingertips: To get that butter perfectly incorporated into the flour.
- Rolling Pin: Essential for rolling out that beautiful, flaky pastry.
- 20cm (8-inch) Pie Dish: The perfect size for our tart, giving it that classic shape.
- Sharp Knife: For peeling and slicing those apples safely and efficiently.
Ingredients for a Perfect Irish Apple Tart
Alright, let’s talk ingredients! Like I said, nothing crazy here, just good, honest stuff that comes together to make something truly spectacular. The secret isn’t in some exotic spice, but in the quality and preparation of these simple things. Trust me on this, getting these right makes all the difference for your Irish Apple Tart.
For the Pastry, you’ll need:
- 225g (8oz) plain flour: Just your regular all-purpose flour, nothing fancy.
- 110g (4oz) butter, chilled and cubed: This is crucial! Cold butter makes for flaky pastry. I always cut it into small cubes and pop it back in the fridge for a few minutes before I start.
- Pinch of salt: Balances everything out.
- 2-3 tablespoons cold water: Again, cold is key! You might need a little more or less, depending on your flour and humidity.
And for that glorious Apple Filling:
- 4-5 medium cooking apples (like Bramley), peeled, cored, and sliced: Bramleys are my absolute favorite for baking because they break down beautifully and give that lovely tartness.
- 50g (2oz) caster sugar (adjust to taste): This is a starting point! If your apples are super tart, you might want a tiny bit more. Taste as you go!
- 1 teaspoon ground cinnamon (optional): Oh, it’s not really optional for me! Cinnamon and apples are a match made in heaven.
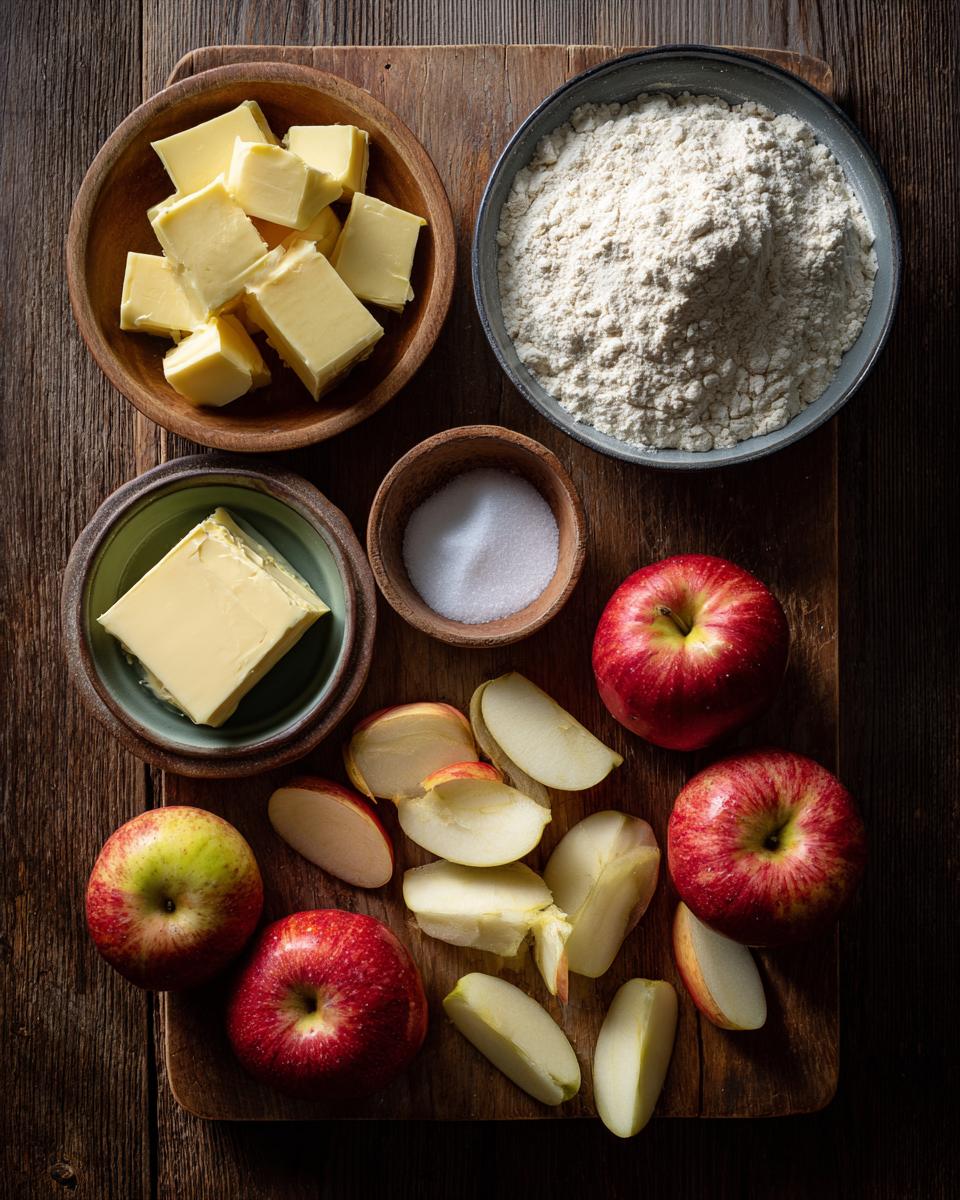
Key Ingredients for Your Irish Apple Tart Filling
For the heart of our Irish Apple Tart, it’s all about those apples! I always reach for a good cooking apple, like a Bramley, because they get wonderfully soft and tangy during baking. The caster sugar just sweetens them up a bit, and a sprinkle of cinnamon? Pure magic, really. It just warms everything right up.
Crafting the Flaky Pastry for Irish Apple Tart
Now, for the shell of our Irish Apple Tart, the pastry! We’re aiming for flaky, tender, and just a little bit buttery. The star here is definitely the chilled butter; it creates those lovely pockets of steam that give you that incredible flakiness. And remember, ice-cold water helps keep that butter from melting too soon, which is exactly what we want!
How to Make This Delicious Irish Apple Tart
Alright, my friend, this is where the real fun begins! Don’t you just love getting your hands a little floury? Making this Irish Apple Tart is a truly satisfying process, and I’m going to walk you through every step so you get that perfect, cozy dessert. Just follow along, and you’ll be pulling a golden, fragrant tart out of your oven in no time. We’ll start with that beautiful, flaky pastry, then get those apples all spiced up, and finally, bring it all together for baking. It’s easier than you think, I promise!
Preparing the Flaky Pastry for Your Irish Apple Tart
First things first, the pastry! In a big bowl, sift your flour and that little pinch of salt. Now, grab your chilled, cubed butter and add it in. This is my favorite part – get your fingertips in there and rub that butter into the flour until it looks like lovely, fine breadcrumbs. You want to work quickly so the butter stays cold! Then, add your cold water, just a tablespoon at a time, mixing gently until the dough *just* comes together. Seriously, don’t overwork it; that’s the secret to tenderness. Divide it, wrap it up, and pop it in the fridge for at least 30 minutes. This chill time is non-negotiable for a flaky crust!
Assembling Your Irish Apple Tart with Ease
Once your pastry has chilled out, preheat your oven to 180°C (350°F). Now, grab the larger piece of dough, roll it out on a lightly floured surface, and carefully line your pie dish. Trim any extra bits hanging over the edge. In another bowl, mix your sliced apples with the caster sugar and cinnamon – give it a good stir! Spoon this lovely apple mixture into your pastry-lined dish, mounding it up a bit in the middle. Roll out the second piece of pastry for the top, lay it over the apples, and crimp those edges to get a good seal. Don’t forget to make a few little slits on top for steam to escape, or you’ll have a puffy tart! A quick brush with milk or an egg wash gives it that gorgeous golden shine.
Baking Your Irish Apple Tart to Golden Perfection
Now for the grand finale – into the oven it goes! Bake your beautiful Irish Apple Tart for about 35-45 minutes. You’re looking for that gorgeous golden-brown color on the pastry, and you want those apples inside to be nice and tender. If you’re not sure, you can always poke a knife through one of the vents to check the apples. Once it’s done, pull it out and let it cool down a bit before you even think about slicing into it. It’s hard, I know, but trust me, it’s worth the wait!
Expert Tips for the Best Irish Apple Tart
Okay, so you’ve got the basic steps down, but if you want to take your Irish Apple Tart from “really good” to “OMG, you HAVE to try this!”, I’ve got a few little tricks up my sleeve. These are the things that make all the difference, the little nuggets of wisdom I’ve picked up over countless batches. Trust me, these expert tips will help you nail that perfect flaky crust, juicy apple filling, and overall show-stopping dessert every single time. It’s all about paying attention to those small details!
Ingredient Notes and Substitutions for Irish Apple Tart
When it comes to apples, don’t be afraid to mix it up! While Bramleys are my go-to for their tartness and how they break down, a mix of sweet and tart apples (like Honeycrisp or Granny Smith) can add more complex flavor. If your apples are super sweet, a squeeze of lemon juice in the filling brightens everything up beautifully. And for the sugar, always taste your apples first – you might need a smidge more or less depending on their natural sweetness!
Serving Suggestions for Your Irish Apple Tart
Oh, the best part! This Irish Apple Tart is absolutely divine on its own, especially when it’s still warm and the kitchen smells incredible. But if you want to go all out, a generous dollop of vanilla ice cream, a swirl of fresh whipped cream, or a warm custard sauce takes it to another level. My personal favorite? A scoop of vanilla bean ice cream that just melts into all those warm, spiced apples. Pure bliss!
Storing and Reheating Your Irish Apple Tart
Okay, so you’ve miraculously managed to have leftovers of this amazing Irish Apple Tart (how, I don’t know!). Luckily, it stores really well! You can keep it at room temperature, loosely covered, for up to two days. If you want it to last longer, pop it in an airtight container in the fridge for up to four days. To reheat, just a few minutes in a moderate oven (around 160°C or 325°F) will bring back that glorious warmth and crispness. Don’t microwave it, trust me, it makes the crust sad!
Common Questions About Irish Apple Tart
I get a lot of questions about making the perfect Irish Apple Tart, and I love answering them! It shows me you’re just as passionate about getting this classic right as I am. So, let’s tackle some of the common queries I hear. Don’t be shy if you have more; I’m always happy to chat about baking! Getting these little details right can really elevate your homemade Irish Apple Tart.
Can I make the Irish Apple Tart pastry ahead of time?
Absolutely, yes! You can totally make the pastry for your Irish Apple Tart a day or two in advance. Just wrap it tightly in cling film and keep it in the fridge. It actually helps the gluten relax, which can make for an even more tender crust!
What kind of apples are best for Irish Apple Tart?
For an Irish Apple Tart, I always reach for cooking apples like Bramleys. They break down beautifully and offer that lovely tart contrast to the sweet pastry. If you can’t find Bramleys, firm, tart apples like Granny Smiths or Honeycrisps work wonderfully too!
How do I prevent a soggy bottom on my Irish Apple Tart?
Ah, the dreaded soggy bottom! My top tip for an Irish Apple Tart is to make sure your oven is properly preheated before the tart goes in. Also, a quick blind bake of the bottom crust for about 10-15 minutes before adding the filling can work wonders. Some folks even sprinkle a thin layer of breadcrumbs or finely ground nuts on the bottom crust before the apples to absorb excess moisture!
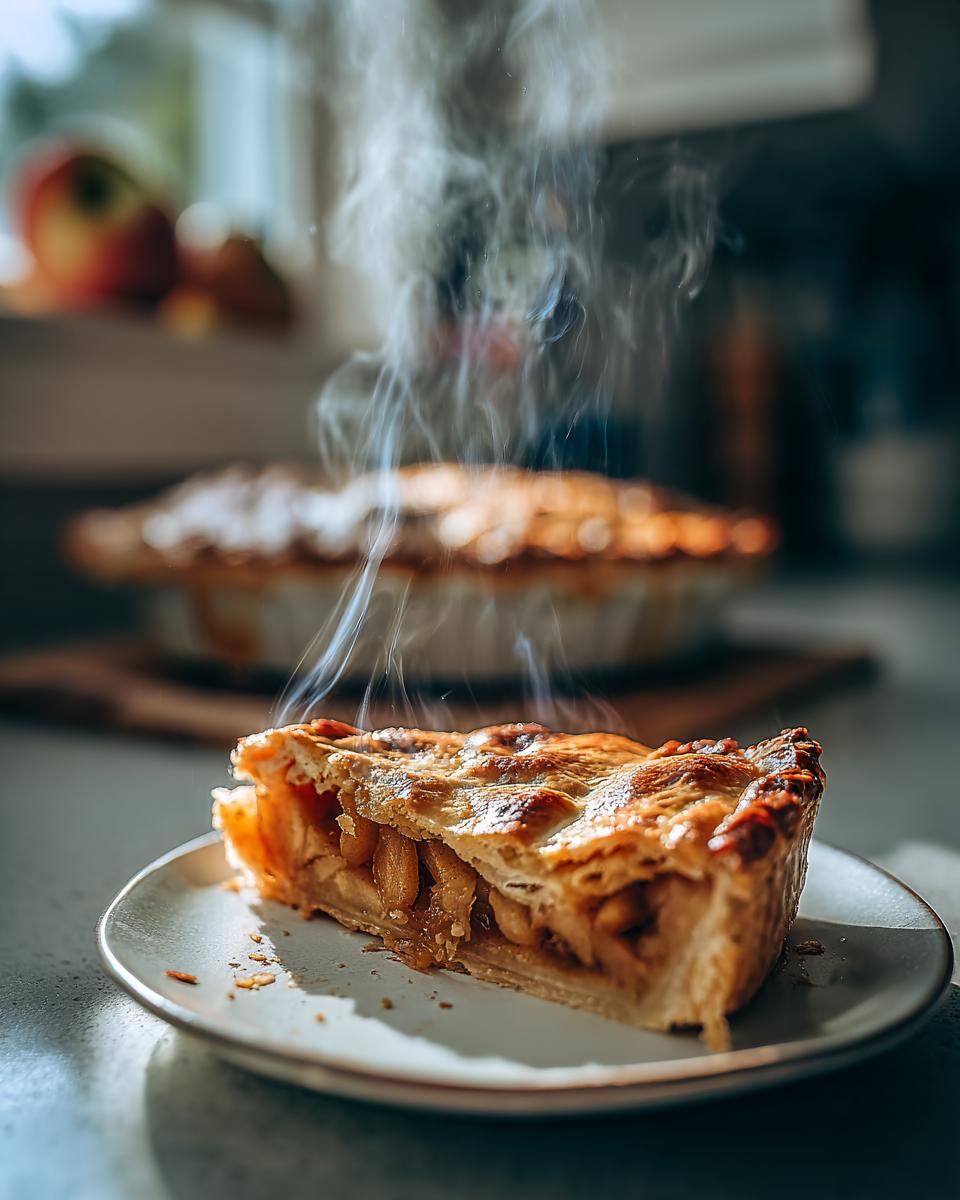
Estimated Nutritional Information for Irish Apple Tart
Now, I know some of you lovely folks like to keep an eye on the numbers, and I totally get it! Just a little heads-up though: the nutritional values I’ve provided are estimates. Baking is such a fluid art, and things like the exact size of your apples, the brand of butter you use, or even how much sugar you sprinkle can shift those numbers a bit. So, please take these as a general guide, not gospel! I’m all about enjoying every bite of this delicious Irish Apple Tart without getting too hung up on precise data.
Share Your Irish Apple Tart Experience
Well, there you have it, my friend! Your very own, absolutely delicious Irish Apple Tart. I am *so* excited for you to try this. Once you’ve baked it (and devoured it!), please, please come back and tell me all about it in the comments below. Did you serve it with ice cream? Did your family go wild for it? Don’t forget to rate the recipe and share your gorgeous photos on social media – tag me! I absolutely love seeing your creations, and it makes my day to know you’re baking along with me!
Print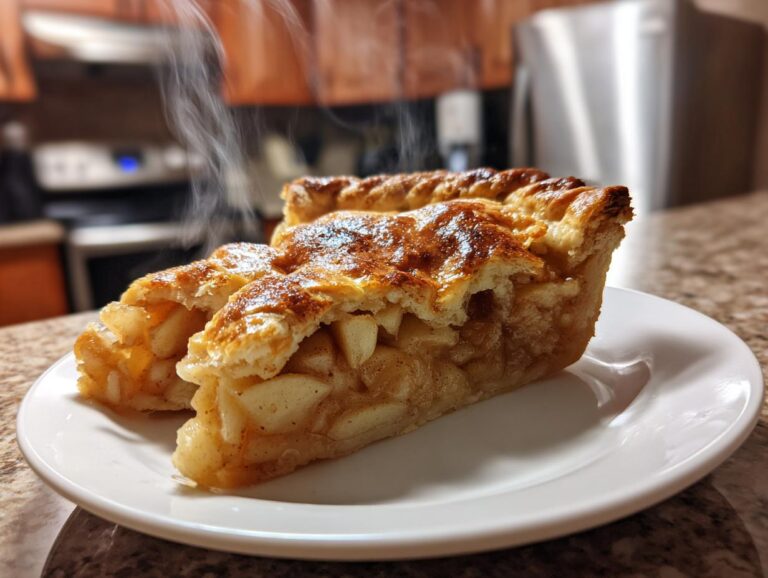
Irish Apple Tart Recipe
This is a simple Irish Apple Tart recipe, perfect for a comforting dessert. It features a buttery crust and a sweet apple filling, making it a delightful treat for any occasion.
- Total Time: 1 hour 15 minutes
- Yield: 6-8 servings 1x
Ingredients
- 225g (8oz) plain flour
- 110g (4oz) butter, chilled and cubed
- Pinch of salt
- 2–3 tablespoons cold water
- 4–5 medium cooking apples (e.g., Bramley), peeled, cored, and sliced
- 50g (2oz) caster sugar (adjust to taste)
- 1 teaspoon ground cinnamon (optional)
- Milk or egg wash, for glazing (optional)
Instructions
- To make the pastry, sift the flour and salt into a large bowl. Add the cubed butter and rub it into the flour with your fingertips until the mixture resembles fine breadcrumbs.
- Gradually add the cold water, one tablespoon at a time, mixing until the dough just comes together. Do not overwork the dough.
- Divide the dough into two unequal portions (one slightly larger for the base). Wrap each portion in cling film and chill in the refrigerator for at least 30 minutes.
- Preheat your oven to 180°C (350°F).
- On a lightly floured surface, roll out the larger portion of pastry and use it to line a 20cm (8-inch) pie dish. Trim any excess pastry.
- In a separate bowl, combine the sliced apples, caster sugar, and cinnamon (if using). Mix well.
- Spoon the apple mixture into the pastry-lined dish, mounding it slightly in the center.
- Roll out the remaining pastry and place it over the apple filling to form the top crust. Trim the edges and crimp them to seal the tart.
- Make a few small slits in the top crust to allow steam to escape during baking. If desired, brush the top with milk or egg wash for a golden glaze.
- Bake for 35-45 minutes, or until the pastry is golden brown and the apples are tender.
- Remove from the oven and let cool slightly before serving.
Notes
- Serve warm with custard, cream, or a scoop of vanilla ice cream.
- The tart can be stored at room temperature for up to 2 days, or refrigerated for up to 4 days.
- For a richer flavor, you can add a tablespoon of lemon juice to the apple filling.
- You can make the pastry ahead of time and keep it refrigerated for up to 2 days.
- Prep Time: 30 minutes
- Cook Time: 45 minutes
- Category: Dessert
- Method: Baking
- Cuisine: Irish
- Diet: Vegetarian
Nutrition
- Serving Size: 1 slice
- Calories: 300
- Sugar: 25g
- Sodium: 150mg
- Fat: 15g
- Saturated Fat: 9g
- Unsaturated Fat: 5g
- Trans Fat: 0.5g
- Carbohydrates: 40g
- Fiber: 3g
- Protein: 4g
- Cholesterol: 40mg