You haven’t truly tasted sweetened condensed milk until you’ve made it yourself! That thick, rich, velvety texture—the kind that turns ordinary desserts into something magical—is so much better when homemade. I discovered this years ago when I ran out of the canned stuff mid-recipe and had to whip up a batch from scratch. Now? I’ll never go back. It’s just milk and sugar, simmered low and slow until it transforms into liquid gold. Perfect for drizzling over pancakes, stirring into coffee, or making those fudgy desserts you crave. And trust me, once you taste the difference, you’ll understand why homemade sweetened condensed milk is worth every minute on the stove.
Why You’ll Love This Sweetened Condensed Milk Recipe
This homemade version beats the store-bought stuff in every way—here’s why:
- Richer flavor: The slow simmering caramelizes the sugars, giving it a deeper, more complex taste than anything from a can.
- No weird additives: Just two ingredients—milk and sugar—means no preservatives or stabilizers.
- Cost-effective: It’s cheaper than buying multiple cans, especially if you bake often.
- Customizable: Want it thicker? Simmer longer. Prefer a hint of vanilla? Stir it in at the end.
- Freshness you can taste: That “just-made” creaminess makes all the difference in desserts.
Sweetened Condensed Milk Ingredients
You won’t believe how simple this is—just two ingredients stand between you and homemade sweetened condensed milk magic! But hear me out: quality matters here. I’ve learned the hard way that shortcuts don’t pay off with this recipe.
- 4 cups whole milk (please, no skim or low-fat—we need that full fat content for proper thickness and richness)
- 1 1/2 cups granulated sugar (plain white sugar works best for that classic condensed milk flavor)
That’s it! Well, almost. Let me tell you why these specifics matter so much. When I first tried making this with 2% milk (because hey, it’s what I had), the result was thin and disappointing—nothing like the thick, luscious texture we’re after. Whole milk makes all the difference.
And about the sugar: I once experimented with brown sugar thinking it would add nice caramel notes (it did!), but the color turned darker than traditional condensed milk. Stick with granulated if you want that classic golden hue.
Oh, and freshness counts too! Older milk can sometimes develop off-flavors during the long simmering process. I always sniff-test my milk before starting—you want that sweet, clean dairy smell.
How to Make Sweetened Condensed Milk
Alright, let’s get cooking! Making sweetened condensed milk is simple, but it does require some patience. Here’s exactly how I do it every time for perfect results:
- Start with a heavy-bottomed saucepan – trust me, this prevents the milk from scorching as it simmers for that long hour.
- Pour in your 4 cups of whole milk and heat it over medium heat until it’s just starting to steam – you’ll see little bubbles forming around the edges.
- Stir in 1 1/2 cups sugar until it completely dissolves. I like to whisk it gently – no sugar crystals left behind!
- Reduce heat to low – this is crucial! High heat will make it boil over or burn. We want a gentle simmer with occasional bubbles breaking the surface.
- Simmer for about 1 hour, stirring every 5-10 minutes (set a timer if you’re forgetful like me!). The magic happens as the mixture reduces by half – you’ll know it’s ready when it coats the back of a spoon thickly.
- Remove from heat and let it cool completely before transferring to a jar. It thickens more as it cools – like a sweet little science experiment!
Pro Tips for Perfect Sweetened Condensed Milk
After burning more batches than I care to admit, here are my hard-won lessons:
- Use a wooden spoon for stirring – it doesn’t conduct heat like metal can, so fewer hot spots that lead to burning.
- Keep the heat low and steady – if it’s bubbling too vigorously, turn it down! Patient simmering is key.
- Scrape the bottom as you stir to prevent any milk solids from sticking and burning.
- Don’t walk away! Even with frequent stirring, this can go from perfect to scorched surprisingly fast.
- Cool completely before sealing – trapped steam can cause condensation in your storage jar.
- Strain it if you see any lumps – sometimes milk proteins can coagulate during the long cooking.
Sweetened Condensed Milk Variations
Once you’ve mastered the basic recipe, it’s so fun to play around with different flavors and ingredients! Here are my favorite twists on classic sweetened condensed milk—each one brings something special to the table.
Coconut Milk Version (Dairy-Free)
For my lactose-intolerant friends, this one’s a game-changer! Swap the whole milk for full-fat coconut milk (the canned kind, not the carton beverage). The tropical flavor comes through beautifully—perfect for Thai iced tea or coconut-flavored desserts. Just note: it thickens faster than dairy milk, so check it at 45 minutes.
Brown Sugar Caramel Twist
When I’m feeling fancy, I’ll use dark brown sugar instead of white. It gives the condensed milk this incredible caramel depth that’s amazing in tres leches cake or drizzled over ice cream. The color turns a gorgeous amber—just be aware it won’t look like traditional condensed milk.
Vanilla Bean Infusion
Split a vanilla bean lengthwise and scrape those precious seeds into the milk as it simmers. The floral aroma fills your whole kitchen! This version elevates everything from coffee to fruit salads. Pro tip: save the spent pod—rinse, dry, and tuck it into your sugar jar for vanilla sugar later.
Sweetened Condensed Cream
Okay, this one’s decadent—replace half the milk with heavy cream. The result is so luxuriously thick it’s practically spoonable. I use this for special occasions when making caramel sauce or ultra-rich fudge. It’s not an everyday thing, but wow does it make desserts extraordinary!
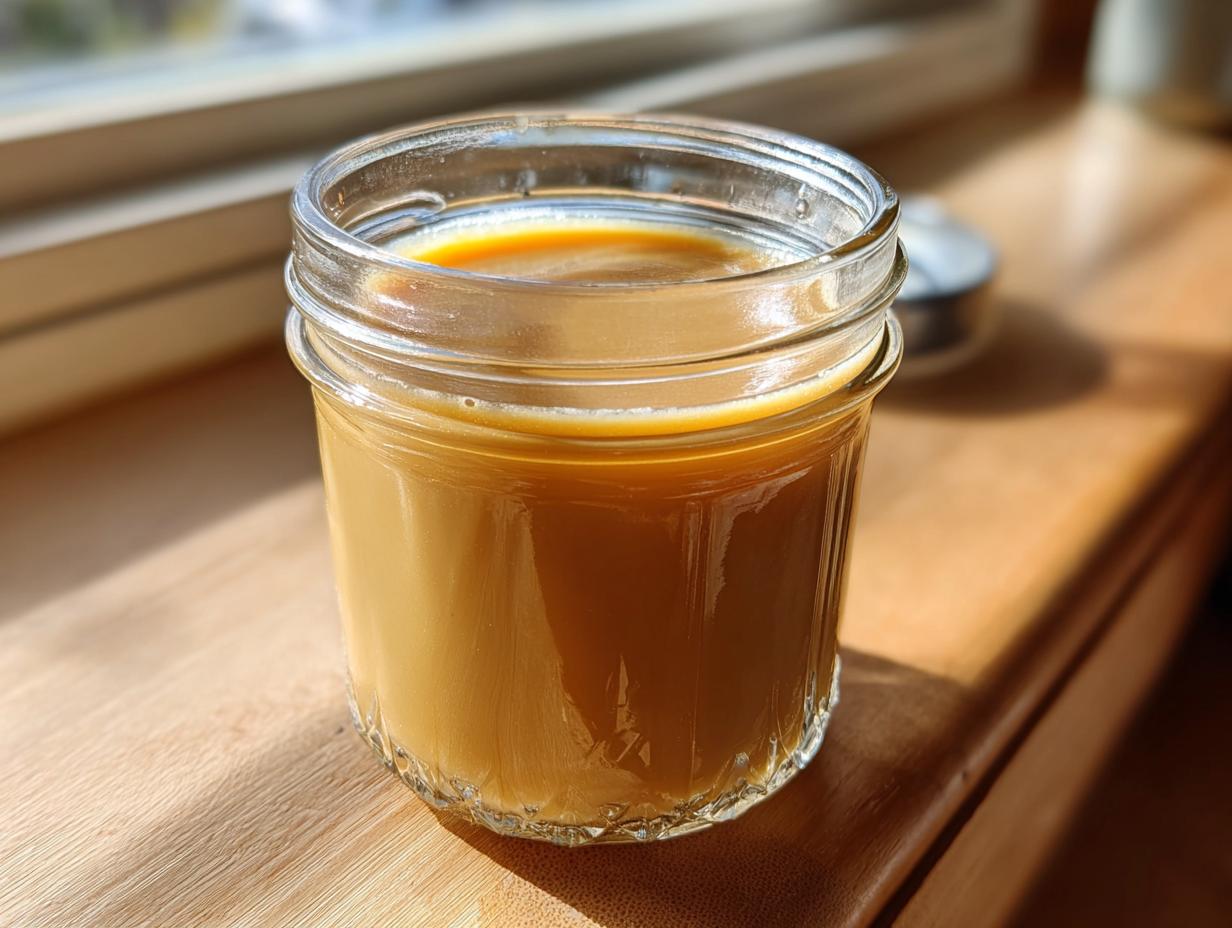
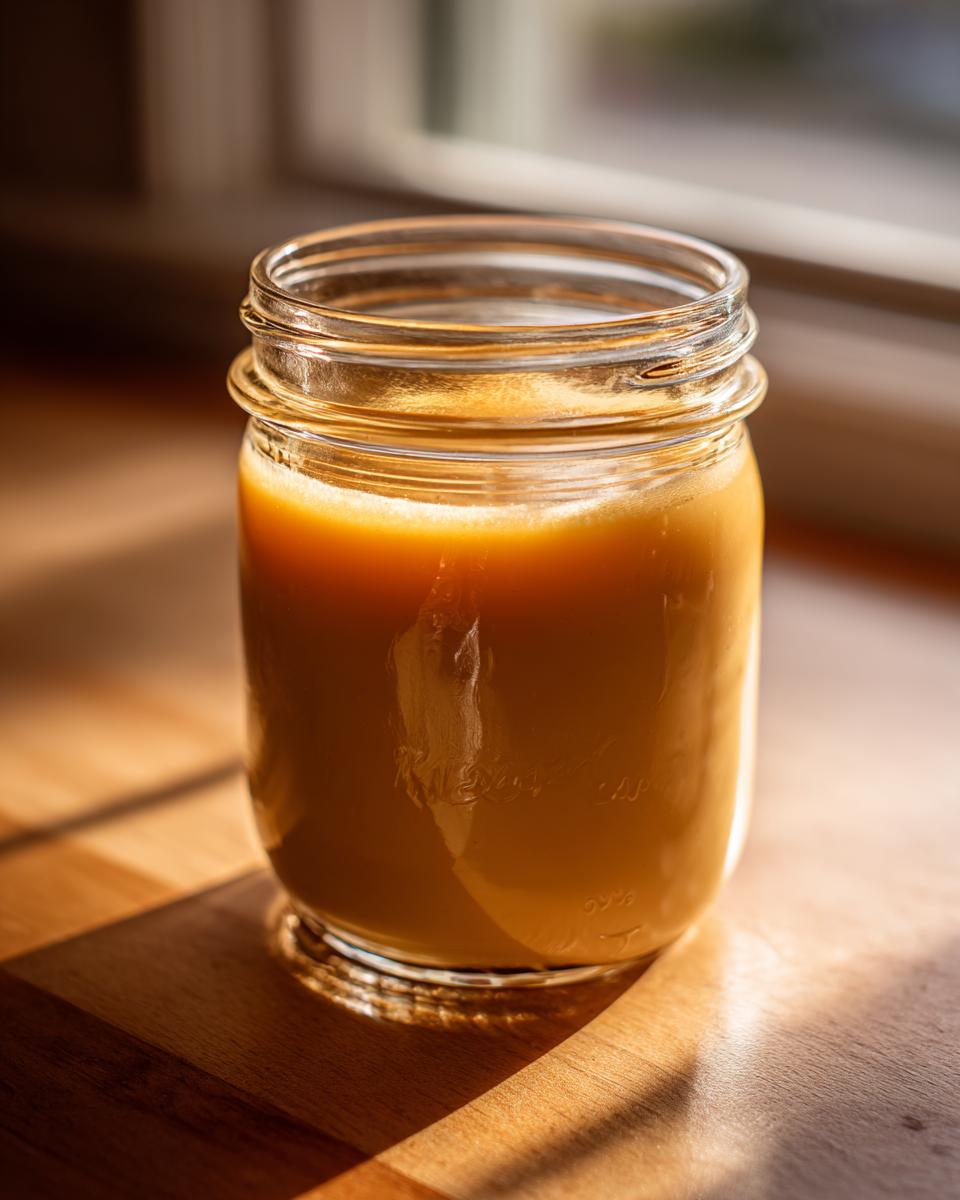
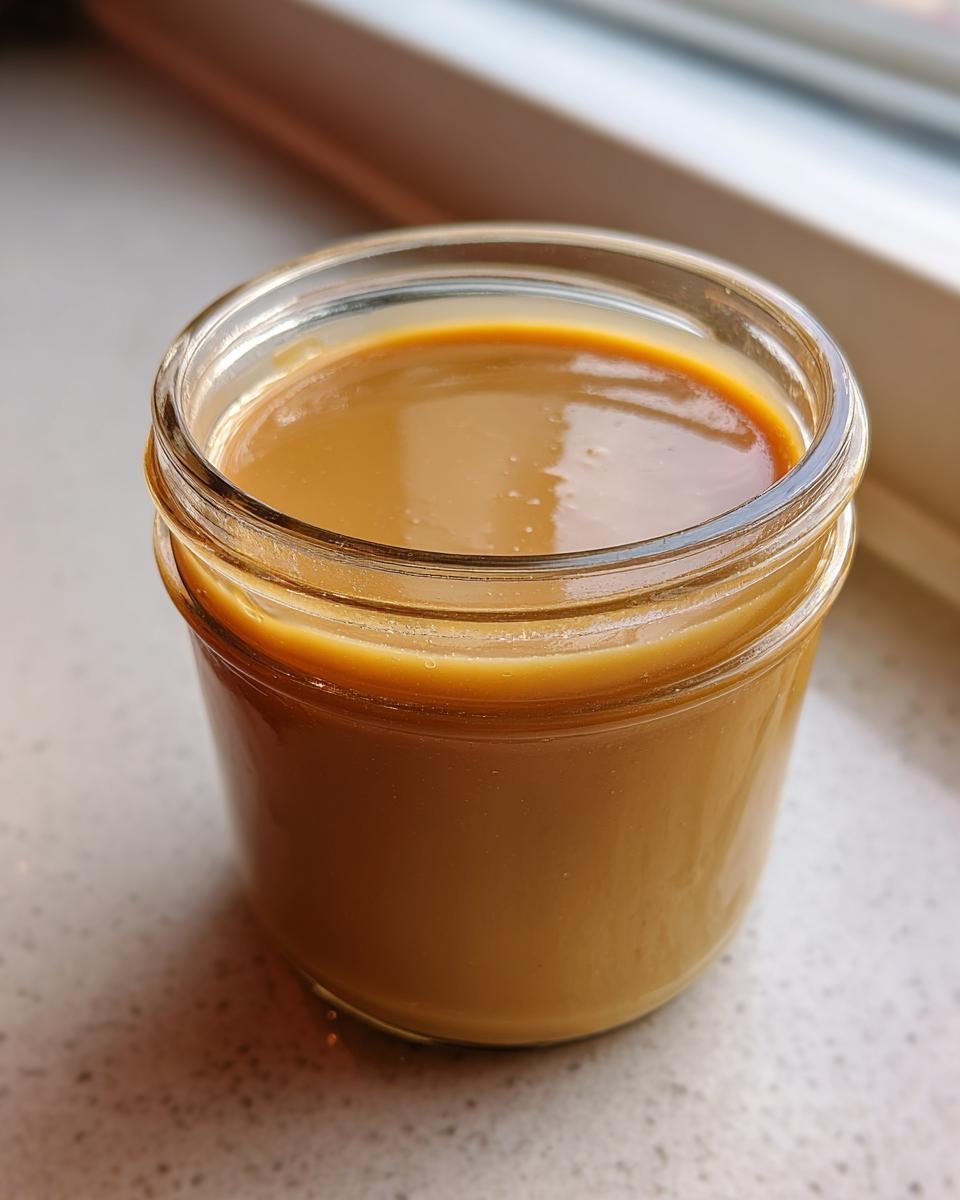
Storing and Using Sweetened Condensed Milk
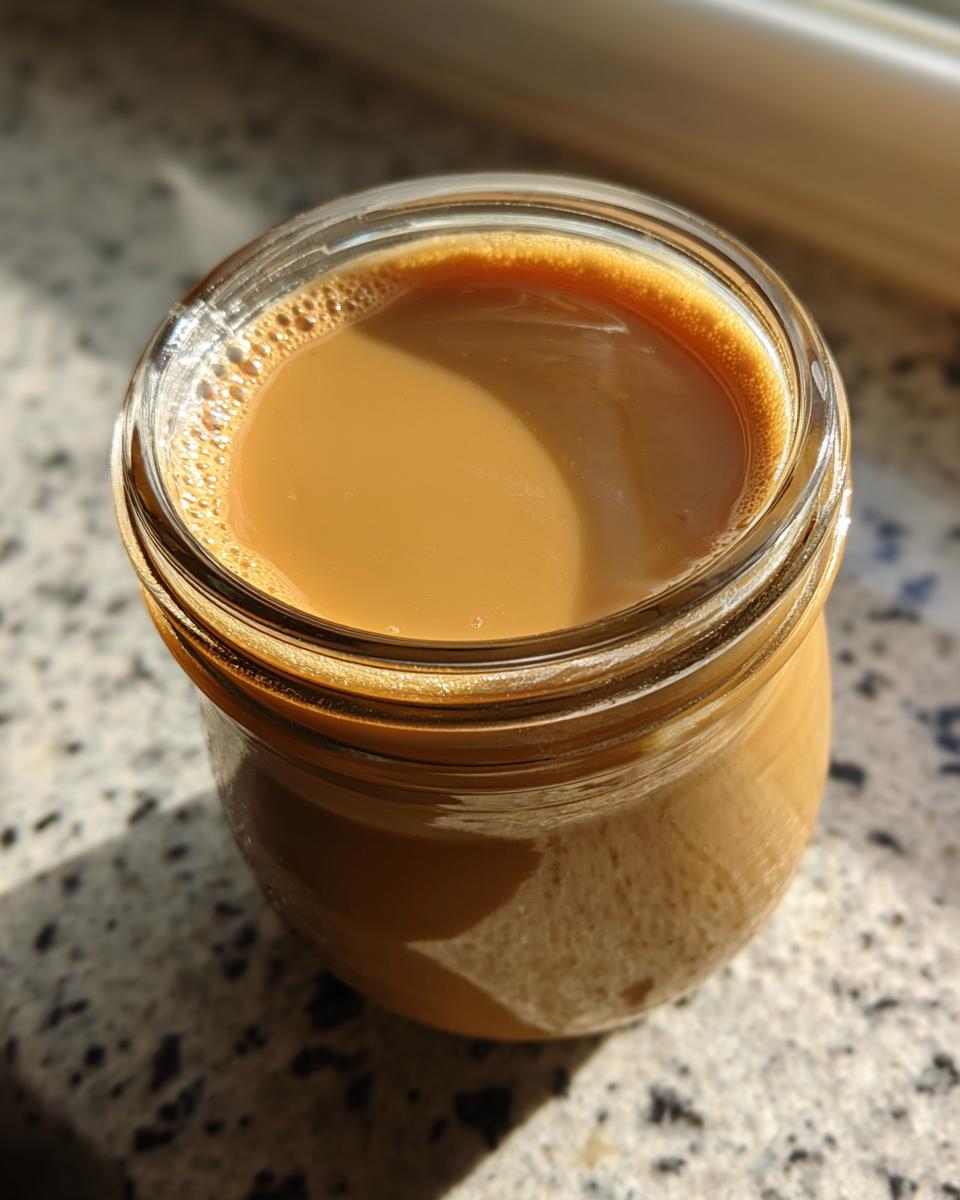
Here’s the beautiful thing about homemade sweetened condensed milk—it keeps well, and oh, the things you can do with it! First, let’s talk storage because no one wants to waste this liquid gold. I always pour mine into a clean glass jar while it’s still warm (but not hot—thermal shock is real!) and seal it tight. It’ll keep happily in the fridge for up to 2 weeks. I like to date the lid with a marker because, trust me, you’ll forget whether it’s been 10 days or 17.
Now for the fun part—how to use it! My kitchen adventures have led me to some glorious discoveries:
- Dessert magic: This is my secret weapon for no-churn ice cream (just whip it with heavy cream—mind blown), magic cookie bars, or that famous key lime pie that always disappears first at potlucks.
- Coffee upgrade: A spoonful transforms ordinary coffee into Vietnamese iced coffee levels of amazing. I keep a squeeze bottle in the fridge just for my morning brew.
- Breakfast game-changer: Drizzle over pancakes, swirl into oatmeal, or mix into yogurt. My kids call it “milk caramel” and beg for it on toast.
- Unexpected savories: Sounds weird, but a tiny bit brushed on grilled peaches or mixed into barbecue sauce? Absolute revelation.
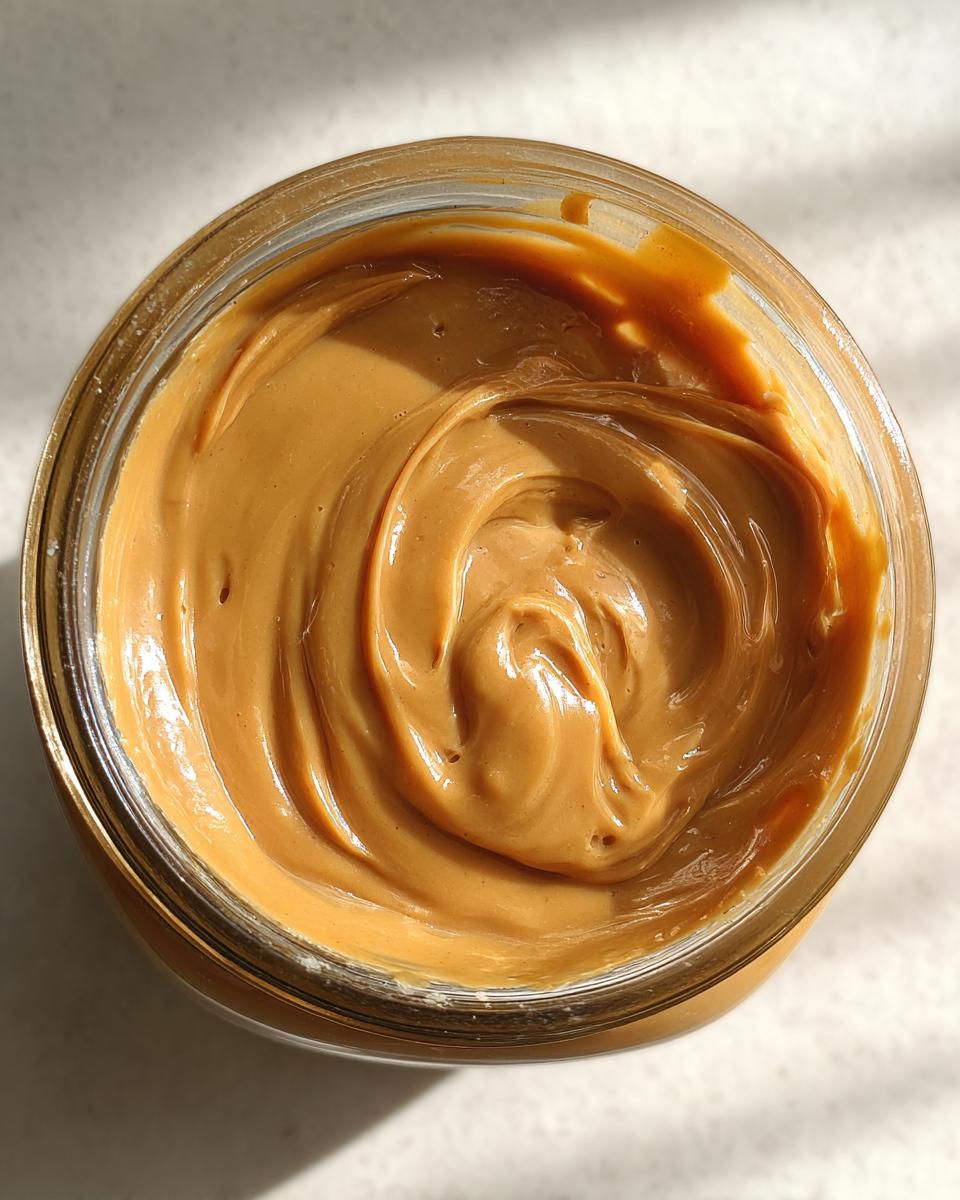
One last tip from experience: if your condensed milk thickens too much in the fridge, just set the jar in warm water for 5 minutes and give it a good stir. It’ll go right back to that perfect pourable consistency. Now go forth and sweeten everything in sight!
Sweetened Condensed Milk FAQ
Over the years, I’ve gotten all sorts of questions about making sweetened condensed milk at home—here are the ones that come up most often, along with my tried-and-true answers!
Can I use low-fat or skim milk instead of whole milk?
Oh honey, don’t do it! I learned this the hard way—low-fat milk just doesn’t have enough fat content to give you that luxurious, thick texture we’re after. My test batch with 2% milk turned out disappointingly thin, more like sweet milk syrup than proper condensed milk. Whole milk’s extra fat is what makes it get beautifully thick and creamy as it reduces.
How do I know when it’s done cooking?
Here’s my foolproof test: dip a clean spoon into the mixture and run your finger down the back. If the line holds its shape without dripping, you’re golden! The milk should’ve reduced by about half (from 4 cups down to around 1 1/2 cups) and will coat the spoon like a thin custard. It’ll thicken more as it cools, so don’t over-reduce it—I’ve made that mistake too many times!
Why is my condensed milk grainy?
This usually happens if the sugar didn’t fully dissolve at the beginning. Always make sure to stir until no sugar crystals remain before starting the simmer. If you do end up with graininess, you can rescue it by straining through a fine-mesh sieve while it’s still warm. And next time? Lower heat and more patience when dissolving that sugar!
Can I make this dairy-free?
Absolutely! My coconut milk version (see Variations section) works like a dream. Just use full-fat canned coconut milk—the kind in the carton won’t thicken properly. The flavor’s different but equally delicious, with a tropical twist that’s amazing in Thai tea or vegan desserts.
How long does homemade sweetened condensed milk last?
Stored properly in a clean, airtight container in the fridge, it keeps for about 2 weeks. I always give mine a sniff test if it’s been sitting a while—fresh condensed milk should smell sweet and milky, not sour. Pro tip: the high sugar content acts as a natural preservative, so it lasts longer than you might think!
Nutrition Information
Let’s talk numbers—because I know some of us (okay, me!) like to keep tabs on what we’re indulging in. Just remember: these values are estimates since your exact results can vary based on your milk’s fat content and how much you reduce the mixture. But here’s the general scoop per tablespoon of this luscious homemade sweetened condensed milk:
- Calories: About 60
- Sugar: 10g (yes, it’s sweet—that’s why a little goes such a long way!)
- Fat: 1.5g
- Saturated Fat: 1g
- Protein: 1g
- Sodium: 15mg
- Carbohydrates: 12g
Now, I’ll be honest—when I’m drizzling this over fresh berries or swirling it into my coffee, I’m not counting grams. But it’s nice to know what’s in that spoonful of creamy goodness. The sugar content might look high, but remember: this is a condensed product meant to be used sparingly. Compared to store-bought versions, at least you know exactly what went into it—just milk and sugar, no mysterious additives!
Share Your Results!
Nothing makes me happier than seeing what you create with this homemade sweetened condensed milk! Whether you’ve whipped up a batch of dreamy no-churn ice cream, transformed your morning coffee, or baked something spectacular—I want to see it all. Snap a photo of your kitchen masterpiece and tag me on Instagram @[yourhandle] so I can cheer you on!
Did you put your own spin on the recipe? Maybe added a pinch of cinnamon or tried the coconut milk version? Tell me all about it in the comments below—your creativity inspires me to keep experimenting too. And if this recipe became your new kitchen staple, pay it forward by leaving a star rating! Those little stars help other home cooks discover this gem.
Now go forth and make something delicious—then come back and share the sweet success! (Pun absolutely intended.)
Print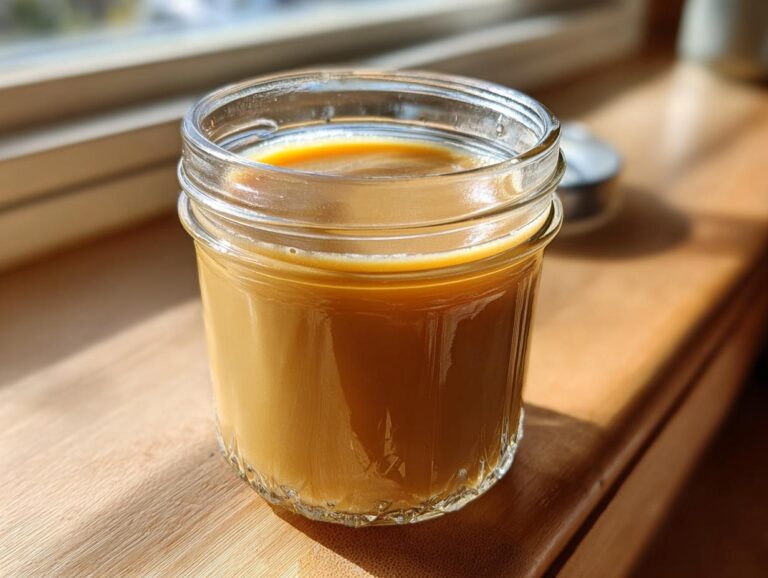
Homemade Sweetened Condensed Milk Recipe in 60 Minutes
A rich and creamy sweetened condensed milk recipe perfect for desserts and baking.
- Total Time: 1 hour 5 mins
- Yield: 1 1/2 cups 1x
Ingredients
- 4 cups whole milk
- 1 1/2 cups granulated sugar
Instructions
- Pour milk into a heavy-bottomed saucepan and heat over medium heat.
- Stir in sugar until fully dissolved.
- Simmer on low heat, stirring frequently, until the mixture thickens and reduces by half (about 1 hour).
- Remove from heat and let cool before storing in an airtight container.
Notes
- Store in the refrigerator for up to 2 weeks.
- Use in coffee, desserts, or as a topping.
- Prep Time: 5 mins
- Cook Time: 1 hour
- Category: Dessert
- Method: Stovetop
- Cuisine: International
- Diet: Vegetarian
Nutrition
- Serving Size: 1 tbsp
- Calories: 60
- Sugar: 10g
- Sodium: 15mg
- Fat: 1.5g
- Saturated Fat: 1g
- Unsaturated Fat: 0.5g
- Trans Fat: 0g
- Carbohydrates: 12g
- Fiber: 0g
- Protein: 1g
- Cholesterol: 5mg