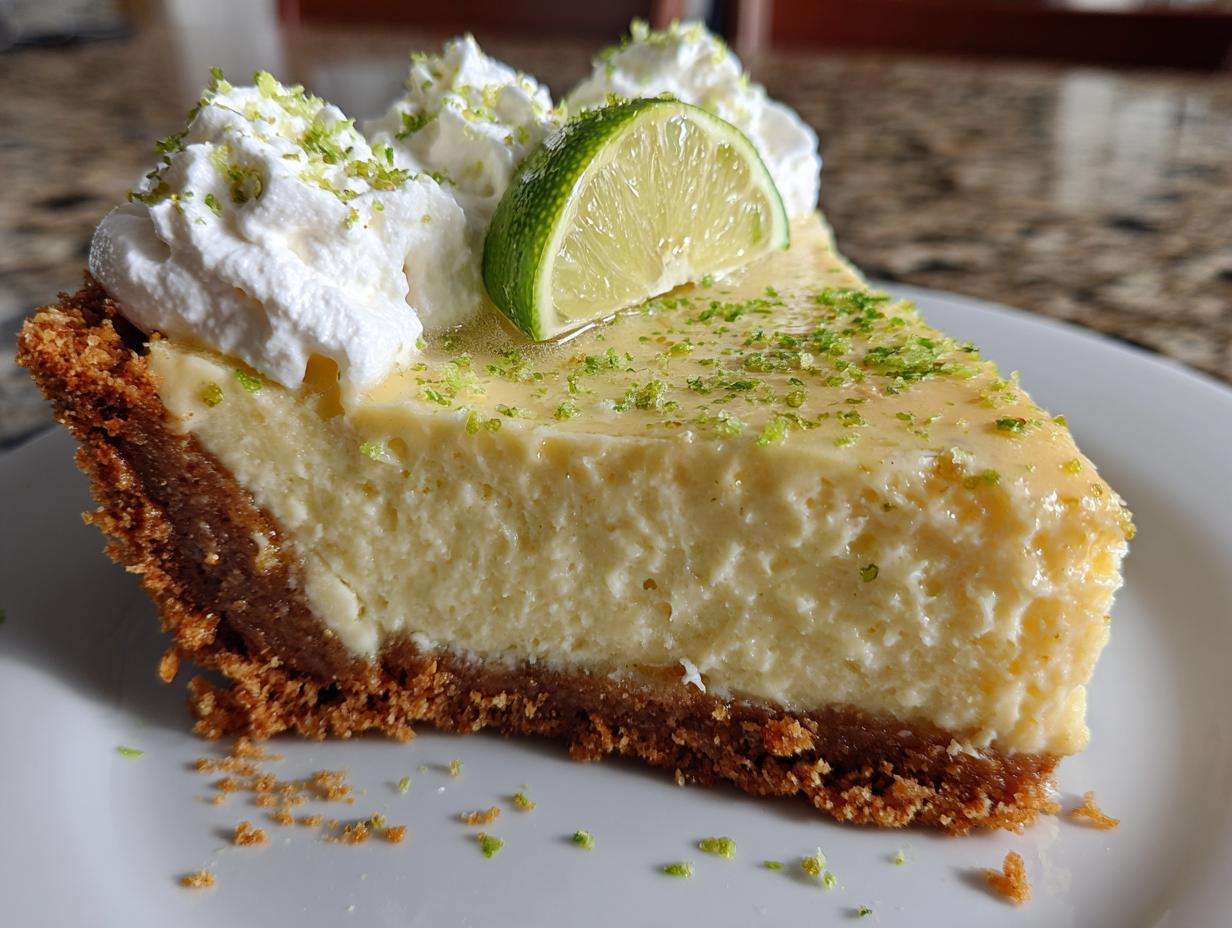
Oh my goodness, get ready to have your taste buds do a happy dance because we’re diving headfirst into the glorious world of Key Lime Pie! Seriously, if there’s one dessert that just screams sunshine and good times, it’s this one. That perfect balance of tangy, sweet, and oh-so-creamy, all nestled in a buttery, crunchy graham cracker crust? Pure magic, I tell ya!
I’ve been making Key Lime Pie for what feels like forever, and every single time, it brings a smile to everyone’s face. It’s that refreshing zing that just cuts through everything else, making it the absolute ideal treat, especially when the weather warms up. My kitchen always smells incredible when one of these beauties is chilling in the fridge, and honestly, the joy it brings is just contagious. This isn’t just any Key Lime Pie recipe; it’s *the* one that will make you feel like you’ve been transported straight to a tropical paradise with every single bite. You’re going to absolutely adore it!
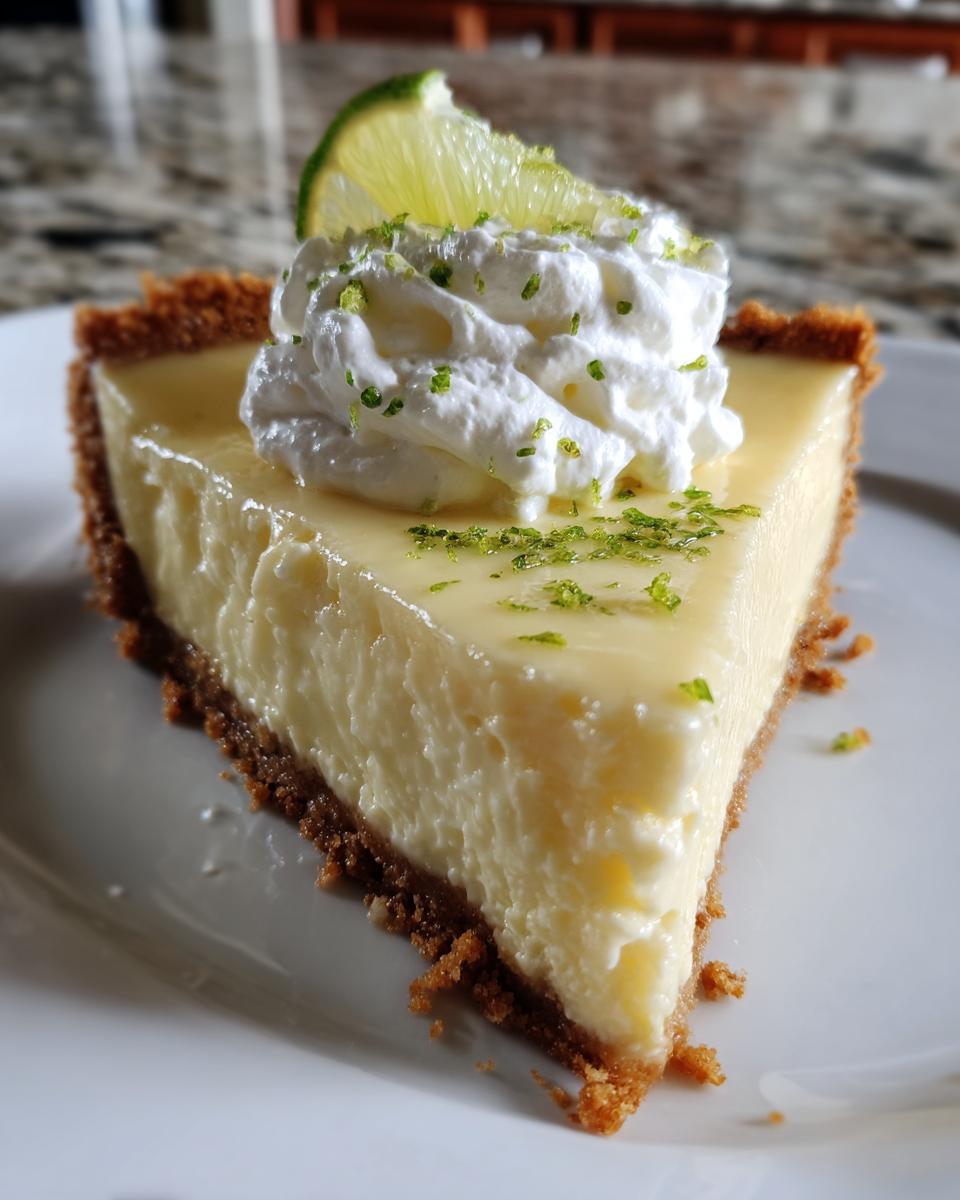
Why You’ll Love This Key Lime Pie Recipe
Okay, so why *this* Key Lime Pie recipe? Because it’s honestly the best, and I’m not just saying that! It’s designed to be super straightforward, even if you’re new to pie-making. You’ll get that perfect, vibrant key lime flavor without any fuss. Here’s why it’s going to be your new go-to:
- So Easy, Even I Can Do It! Seriously, no complicated steps or fancy equipment needed.
- That Perfect Tangy-Sweet Balance: It’s not too sweet, not too tart—just right!
- Creamy, Dreamy Filling: The texture is absolutely divine, smooth and rich.
- Crunchy, Buttery Crust: It’s the ideal counterpoint to the silky filling.
- Super Refreshing: Perfect for any time you need a little burst of sunshine!
The Allure of Key Lime Pie
There’s just something about Key Lime Pie, isn’t there? It’s more than just a dessert; it’s a little slice of Americana, a taste of Florida sunshine. It has this timeless, classic appeal that makes it a favorite at every gathering. It’s light, it’s zesty, and it just makes you happy!
Essential Ingredients for Your Key Lime Pie
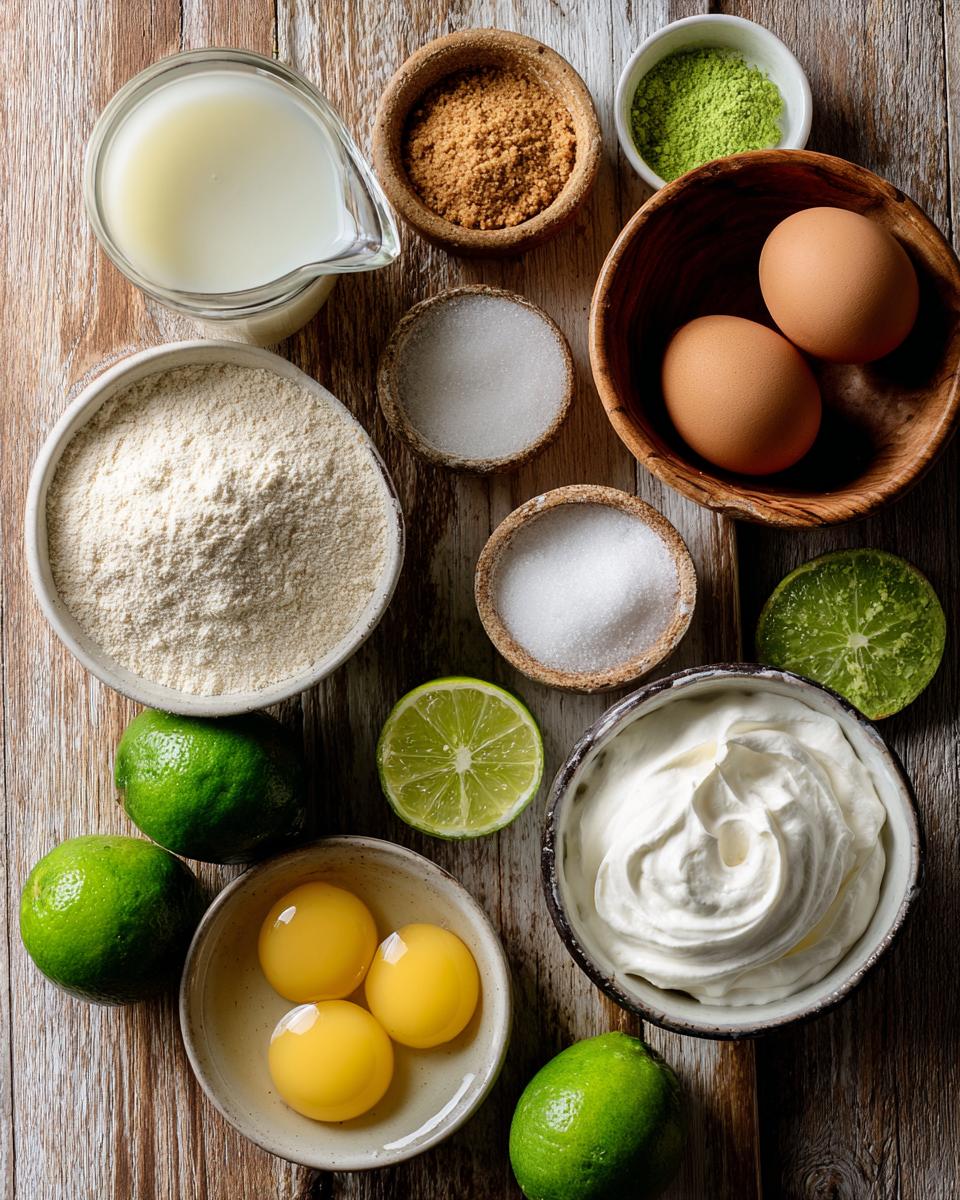
Alright, let’s get down to the nitty-gritty: what you’ll need to whip up this amazing Key Lime Pie! Don’t you worry, it’s all pretty standard stuff you can grab at any grocery store. But trust me, using good quality ingredients really does make a difference here. We’re talking:
- 1 1/2 cups graham cracker crumbs (get the pre-crushed stuff or crush your own!)
- 1/4 cup granulated sugar
- 6 tablespoons unsalted butter, melted (don’t skimp on the real butter!)
- 4 large egg yolks (just the yolks, please!)
- 1 (14 ounce) can sweetened condensed milk (the star of the show!)
- 1/2 cup fresh key lime juice (this is HUGE for flavor, but bottled works in a pinch!)
- 1 teaspoon lime zest (optional, but oh-so-pretty for garnish!)
- Whipped cream (for serving, because, well, why not?!)
Key Lime Pie Ingredients Breakdown
Okay, let’s chat about *why* these ingredients are so important for our Key Lime Pie. That fresh key lime juice? It’s the absolute heart of the pie, giving it that signature zing. Sweetened condensed milk is our magic thickener and sweetens everything up perfectly. For the crust, melted butter and graham cracker crumbs are non-negotiable—they create that perfectly crisp, buttery base we all love!
Equipment You’ll Need for Key Lime Pie
Good news! You won’t need a ton of fancy gadgets for this Key Lime Pie. Mostly, we’re talking about basic kitchen stuff you probably already have. You’ll definitely want a sturdy 9-inch pie plate, a couple of mixing bowls (one medium, one large), and a good whisk. A measuring cup and spoons are a must, of course, and maybe a rubber spatula for scraping down those bowls. Easy peasy!
Crafting Your Perfect Key Lime Pie: Step-by-Step Instructions
Alright, my friends, it’s time to get our hands a little dirty (in the best way possible!) and bring this incredible Key Lime Pie to life. Don’t stress, I’m going to walk you through every single step, just like I would if we were baking side-by-side in my kitchen. We’ll go from crust to creamy filling, and before you know it, you’ll have a masterpiece chilling in your fridge. The key here is to have fun and trust the process—it’s surprisingly simple, I promise!
Preparing the Key Lime Pie Crust
First things first, let’s get that oven warmed up to 350°F (175°C). While that’s happening, grab a medium bowl and toss in your graham cracker crumbs, sugar, and that lovely melted butter. Mix it all up really well until it looks like wet sand. Now, here’s a crucial step: press that mixture *firmly* into your 9-inch pie plate. I mean, really press it down, especially up the sides – use the bottom of a glass if you need to! Bake it for just 10 minutes, then pull it out and let it cool a bit while we make the filling.
Mixing the Key Lime Pie Filling
Okay, for the heart of our Key Lime Pie! In a large bowl, whisk those beautiful egg yolks with the sweetened condensed milk until everything is super smooth and creamy. Next, and this is important for that perfect texture, gradually whisk in the key lime juice. You’ll notice it starts to thicken up almost immediately—that’s the magic happening! Keep whisking until it’s nicely combined and slightly thicker. Don’t overdo it, just until it’s all happy together.
Baking and Chilling Your Key Lime Pie
Now, pour that gorgeous, tangy filling right into your pre-baked crust. Pop it back into the 350°F (175°C) oven for about 15-20 minutes. You’re looking for the center to be mostly set but still have a slight jiggle to it when you gently nudge the pie plate. Once it’s done, take it out and let it cool completely on a wire rack. This is where patience is a virtue, my friend! Finally, the hardest part: refrigerate your Key Lime Pie for at least 4 hours, or even better, overnight. That chilling time is essential for it to set up perfectly!
Tips for the Best Key Lime Pie
Listen up, because these little secrets are what will take your Key Lime Pie from “good” to “oh-my-gosh-I-need-another-slice!” First, always, always, *always* use fresh key lime juice if you can get your hands on it. The flavor is just unparalleled. If not, a good quality bottled key lime juice is your next best bet. For the crust, make sure you press those crumbs down really, really firmly – a loose crust is a sad crust! And don’t overbake your pie! That slight jiggle in the center is exactly what you want; it means it’ll be perfectly creamy once it chills. Trust me on these, they make all the difference!
Key Lime Pie Serving Suggestions and Storage
Okay, you’ve waited patiently, and now it’s time for the grand reveal! When your Key Lime Pie is perfectly chilled, slice into it with a sharp knife (running it under hot water first helps with clean cuts!). My favorite way to serve it is with a generous dollop of fresh whipped cream – seriously, it’s a match made in heaven! A little sprinkle of fresh lime zest on top adds a pop of color and extra zing. As for leftovers (if there are any!), simply cover the pie tightly with plastic wrap and pop it back in the fridge. No reheating needed for this beauty!
How to Store Key Lime Pie
To keep your Key Lime Pie tasting its best, make sure it’s always covered tightly and stored in the refrigerator. It’ll stay absolutely delicious for about 3-4 days. After that, the crust might start to get a little soft, but the filling will still be tasty!
Frequently Asked Questions About Key Lime Pie
Can I use bottled lime juice for Key Lime Pie?
Oh, this is a question I get all the time! And the short answer is yes, you *can* use bottled key lime juice for your Key Lime Pie. It’ll still be delicious! BUT, and this is a big but, if you can get your hands on fresh key limes, the flavor is just out of this world. It’s brighter, more nuanced, and has that authentic zing that really makes a Key Lime Pie sing. So, for the absolute best Key Lime Pie experience, I always recommend fresh. If not, don’t sweat it, bottled will still give you a fantastic pie!
How do I know when my Key Lime Pie is baked?
This is a super important one for a perfect Key Lime Pie! You’re looking for the edges of the pie filling to be set, maybe even slightly puffed, but the very center should still have a gentle wobble or “jiggle” when you lightly nudge the pie dish. It shouldn’t be sloshing around, but it won’t be completely firm either. That slight jiggle tells you it’s cooked just enough, and it will firm up perfectly as it cools and chills. Overbaking can make the filling less creamy, so keep an eye on it!
Why did my Key Lime Pie filling not set?
Darn it, a runny Key Lime Pie filling is such a bummer! There are a few common culprits. The biggest one is usually not enough chilling time. This pie absolutely needs those 4 hours (or better yet, overnight!) in the fridge to properly set up. Another reason could be using too much liquid – make sure you’re measuring your key lime juice accurately. Also, sometimes if the egg yolks aren’t whisked thoroughly with the condensed milk at the start, or if the pie was underbaked, it won’t firm up correctly. Just make sure to follow the steps closely, especially the chilling part, and your Key Lime Pie will be perfectly set!
Estimated Nutritional Information for Key Lime Pie
Just a quick heads-up about the nutritional info for this Key Lime Pie! I’ve included some estimates in the recipe card, but please remember that these are just that—estimates! The actual numbers can totally vary depending on the specific brands of ingredients you use, how big your slices are (no judgment here, I like a big slice!), and any little tweaks you make. So, take it with a grain of salt (or a sprinkle of lime zest!) and enjoy your delicious homemade pie!
Enjoy Your Homemade Key Lime Pie!
So there you have it, my friends! Your very own, absolutely incredible Key Lime Pie, ready to make any day feel like a vacation. I truly hope you give this recipe a whirl and fall in love with it just as much as I have. When you do, please come back and tell me all about it! Leave a comment below, share your photos, or rate the recipe. I can’t wait to hear how much you loved your little slice of sunshine!
Print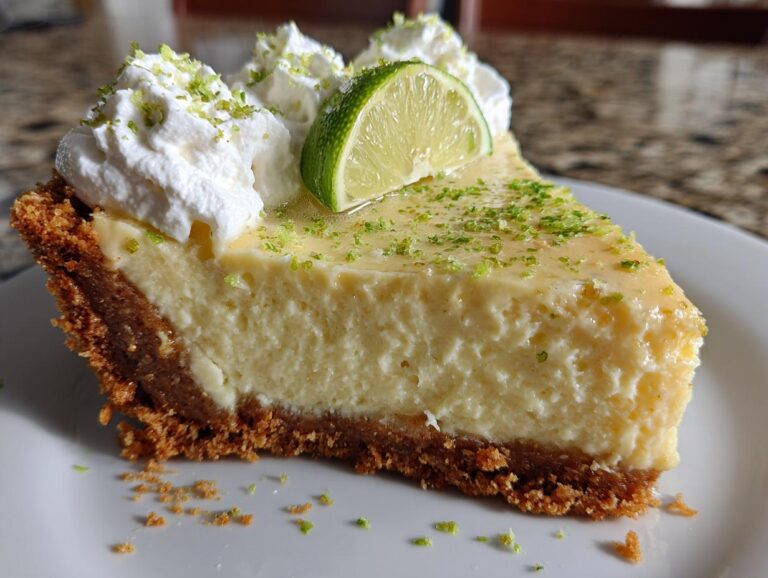
Homemade Key Lime Pie
Key Lime Pie is a classic American dessert. It features a tangy, sweet, and creamy filling made from key lime juice, egg yolks, and sweetened condensed milk, all nestled in a buttery graham cracker crust. This pie is a refreshing treat, especially popular in warmer climates.
- Total Time: 4 hours 45 minutes
- Yield: 8 servings 1x
Ingredients
- 1 1/2 cups graham cracker crumbs
- 1/4 cup granulated sugar
- 6 tablespoons unsalted butter, melted
- 4 large egg yolks
- 1 (14 ounce) can sweetened condensed milk
- 1/2 cup fresh key lime juice
- 1 teaspoon lime zest (optional, for garnish)
- Whipped cream (for serving)
Instructions
- Preheat oven to 350°F (175°C).
- In a medium bowl, combine graham cracker crumbs, sugar, and melted butter. Mix until well combined.
- Press the mixture firmly into the bottom and up the sides of a 9-inch pie plate.
- Bake the crust for 10 minutes. Remove from oven and let cool slightly while you prepare the filling.
- In a large bowl, whisk together egg yolks and sweetened condensed milk until smooth.
- Gradually whisk in the key lime juice until the mixture thickens slightly.
- Pour the filling into the pre-baked crust.
- Bake for 15-20 minutes, or until the center is set but still slightly jiggly.
- Let the pie cool completely on a wire rack.
- Refrigerate for at least 4 hours, or preferably overnight, before serving.
- Garnish with lime zest and whipped cream, if desired.
Notes
- For best results, use fresh key lime juice. Bottled key lime juice can also be used.
- Ensure the pie is thoroughly chilled before slicing to achieve clean cuts.
- You can make individual mini key lime pies using tartlet pans.
- Prep Time: 20 minutes
- Cook Time: 25 minutes
- Category: Dessert
- Method: Baking
- Cuisine: American
- Diet: Vegetarian
Nutrition
- Serving Size: 1 slice
- Calories: 420
- Sugar: 45g
- Sodium: 250mg
- Fat: 22g
- Saturated Fat: 13g
- Unsaturated Fat: 7g
- Trans Fat: 0g
- Carbohydrates: 50g
- Fiber: 1g
- Protein: 7g
- Cholesterol: 150mg