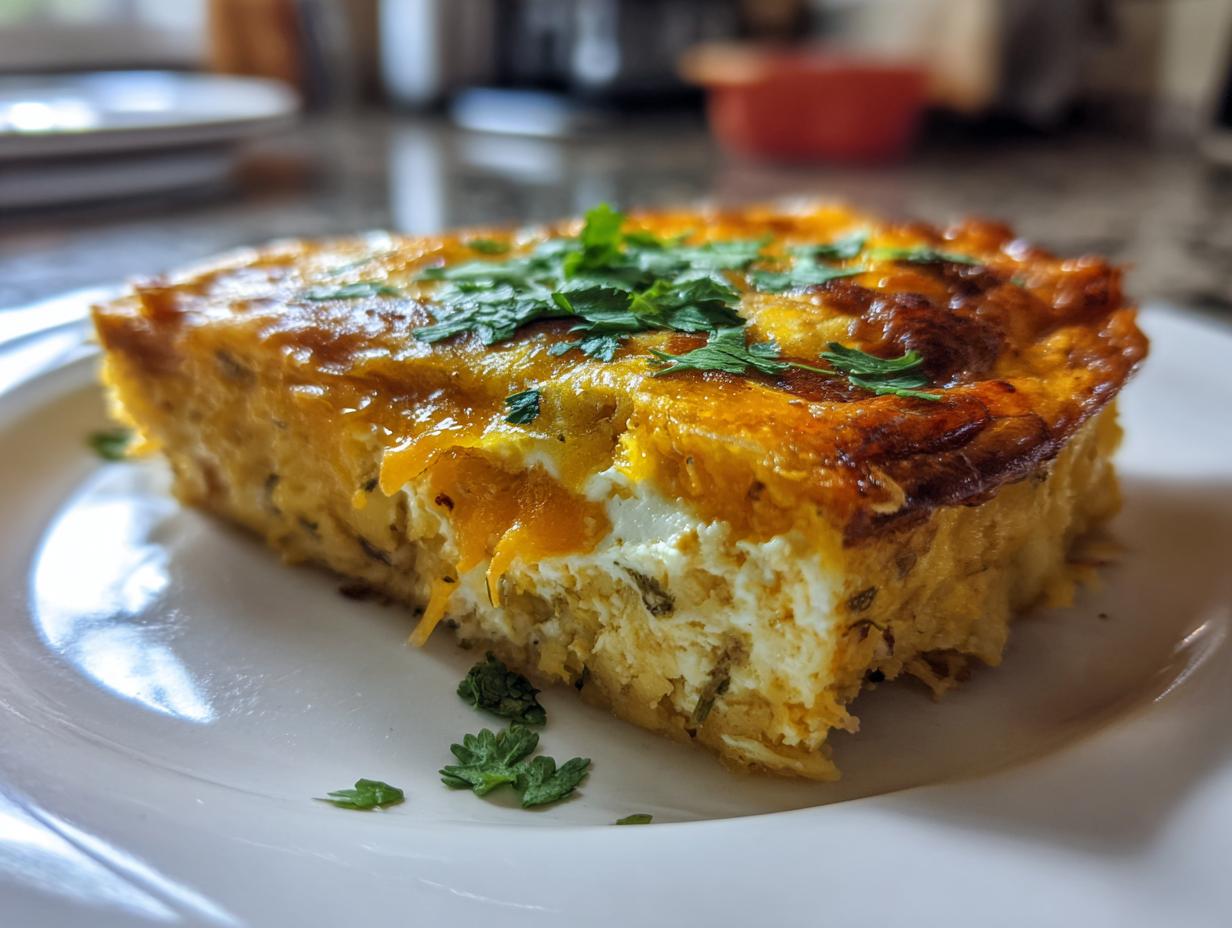
Oh man, let me tell you about my first encounter with Hatch chiles – I was visiting a friend in New Mexico who swore by these smoky, slightly sweet peppers. One bite of her stuffed chiles had me hooked! When I got home, I immediately started experimenting with ways to capture that magic in an easy weeknight dish. That’s how this Hatch Chile Relleno Casserole was born. It’s got all the rich, cheesy goodness of traditional rellenos but comes together in a snap. The best part? That incredible roasted chile flavor shines through every single bite. Trust me, once you try this, you’ll be making it on repeat!
Why You’ll Love This Hatch Chile Relleno Casserole
This casserole has become my go-to comfort food for so many reasons:
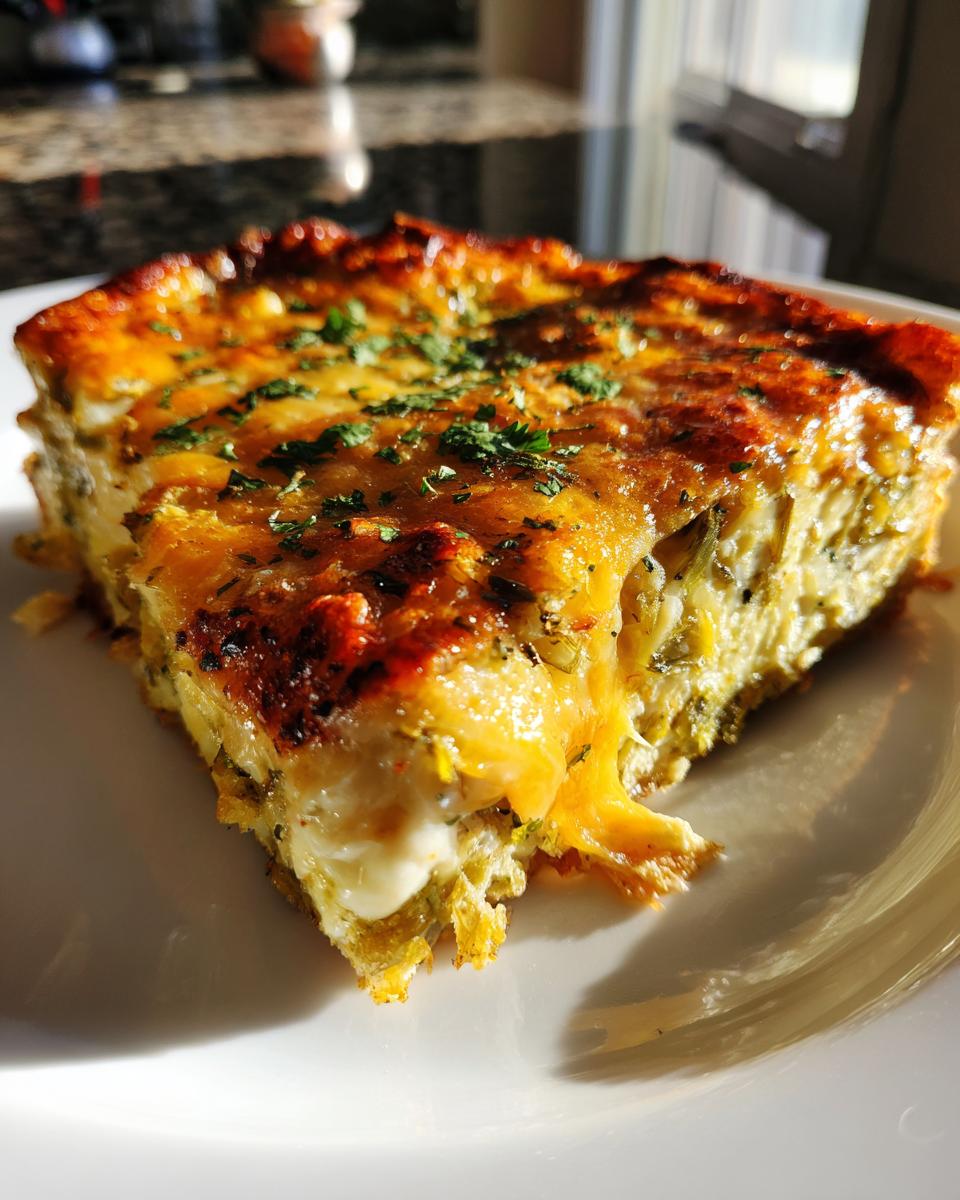
- That unbeatable cheesy pull – the melty Monterey Jack and cheddar combo makes every forkful irresistible
- Effortless enough for weeknights – no stuffing individual chiles, just layer and bake!
- The perfect balance of flavors – smoky chiles cut through the rich eggs and cheese
- Always a crowd-pleaser – my family fights over the last serving (I may or may not hide leftovers)
Seriously, what’s not to love about cheesy, spicy goodness that practically makes itself?
Ingredients for Hatch Chile Relleno Casserole
Okay, confession time – I’ve made this casserole with all sorts of ingredients over the years, but this combination? It’s absolute magic. Here’s exactly what you’ll need (and why each one matters):
- 6 large Hatch chiles, roasted and peeled – trust me, fresh is best here (those store-bought canned ones just don’t have the same smoky depth)
- 8 large eggs – they create that perfect custardy base that holds everything together
- 1 cup whole milk – don’t skimp here, the fat makes all the difference in texture
- 1/2 cup all-purpose flour – just enough to give structure without making it dense
- 1 tsp baking powder – my little trick for the perfect puff
- 1/2 tsp salt – balances all those rich flavors
- 2 cups packed shredded Monterey Jack cheese – I always shred my own (pre-shredded has anti-caking agents that mess with melting)
- 1 cup packed shredded sharp cheddar – that extra tang cuts through the richness
- 1/4 cup chopped fresh cilantro – the bright pop that takes it from good to “wow!”
Pro tip: When roasting your Hatch chiles, I like to leave just a tiny bit of char on them – it adds incredible depth to the final dish!
How to Make Hatch Chile Relleno Casserole
Alright, let’s get cooking! This casserole comes together so easily, you’ll wonder why you ever bothered stuffing individual chiles. Just follow these simple steps for perfect results every time.
Step 1: Prepare the Chiles and Dish
First things first – grab those gorgeous roasted Hatch chiles. I like to lay them flat on my cutting board and carefully slit them open lengthwise with kitchen shears (way easier than a knife!). Scoop out the seeds – don’t go crazy here, a few stubborn ones won’t hurt. Then arrange them in your greased baking dish like little green boats ready to be filled with cheesy goodness. Overlap them slightly if needed – we’re going for full coverage!
Step 2: Mix the Batter
Now for the magic binder – grab your biggest mixing bowl and whisk together the eggs until they’re nice and frothy. Slowly stream in the milk while whisking (this prevents curdling), then add the flour, baking powder and salt. Here’s my secret: whisk vigorously for a full minute – you want absolutely no lumps! The mixture should look like thin pancake batter when it’s ready. Taste? Oh, I always sneak a finger dip – it should be slightly salty but balanced.
Step 3: Layer and Bake
Okay, time to assemble! Pour half your silky batter right over those waiting chiles – it’ll pool in the crevices perfectly. Now sprinkle half your cheese blend and cilantro over top (try to distribute evenly, but don’t stress). Repeat with remaining batter and cheese – I sometimes give the pan a gentle shake to settle everything. Pop it in your preheated oven and set that timer for 35 minutes. The wait is torture – my kitchen smells incredible at this point! You’ll know it’s done when the top is golden brown and the center barely jiggles. Let it rest 5 minutes – this is crucial for clean slices!
Tips for the Best Hatch Chile Relleno Casserole
After making this casserole more times than I can count, I’ve picked up some foolproof tricks:
- Roast your own chiles – that fresh-smoky flavor beats canned every time (plus, the char adds bonus flavor!)
- Let the baked casserole rest – those 5 minutes out of the oven make slicing so much cleaner
- Use room temp ingredients – cold eggs and milk can make the batter lumpy
- Watch the bake time closely – pull it when the edges are golden but center still has a slight jiggle
Follow these, and you’re guaranteed that perfect custardy texture every time!
Ingredient Substitutions
Listen, I’m all about sticking to the original recipe – but life happens! Here’s how to adapt this casserole when you’re in a pinch, with honest notes on how each swap affects the final dish:
Cheese Variations
The Monterey Jack/cheddar combo is my holy grail, but these work too:
- Pepper Jack – adds a spicy kick (my husband’s favorite version)
- Queso quesadilla – gives an ultra-creamy melt (just reduce salt slightly)
- Colby Jack – milder but still delicious (great for kids)
Warning: Pre-shredded cheese works in emergencies, but it won’t melt as smoothly – you’ll get those telltale white specks from the anti-caking agents.
Milk Options
Whole milk gives the richest texture, but here are alternatives:
- 2% milk – works fine, just slightly less creamy
- Half-and-half – decadent! (Reduce bake time by 3-5 minutes)
- Unsweetened almond milk – okay for dairy-free, but adds a nutty note
Avoid skim milk – the batter turns out too thin and watery.
Chile Alternatives
Can’t find Hatch chiles? Try:
- Poblano peppers – milder but still tasty (roast them extra for smokiness)
- Anaheim chiles – closer in heat level to Hatch (my second choice)
- Canned green chiles – drain well and pat dry (last resort option)
Remember – the flavor changes most here. Poblanos make it earthier, while Anaheims keep it brighter.
My rule? Never compromise on the eggs or baking powder – those are non-negotiable for the perfect texture!
Serving Suggestions for Hatch Chile Relleno Casserole
Now for my favorite part – loading up my plate with all the delicious things that make this casserole sing! Here’s how I love to serve it (and trust me, I’ve tried every combo imaginable):
The must-have toppings:
- Cooling contrast – A big dollop of cold sour cream or Mexican crema right on top (the creamy tang cuts through the richness perfectly)
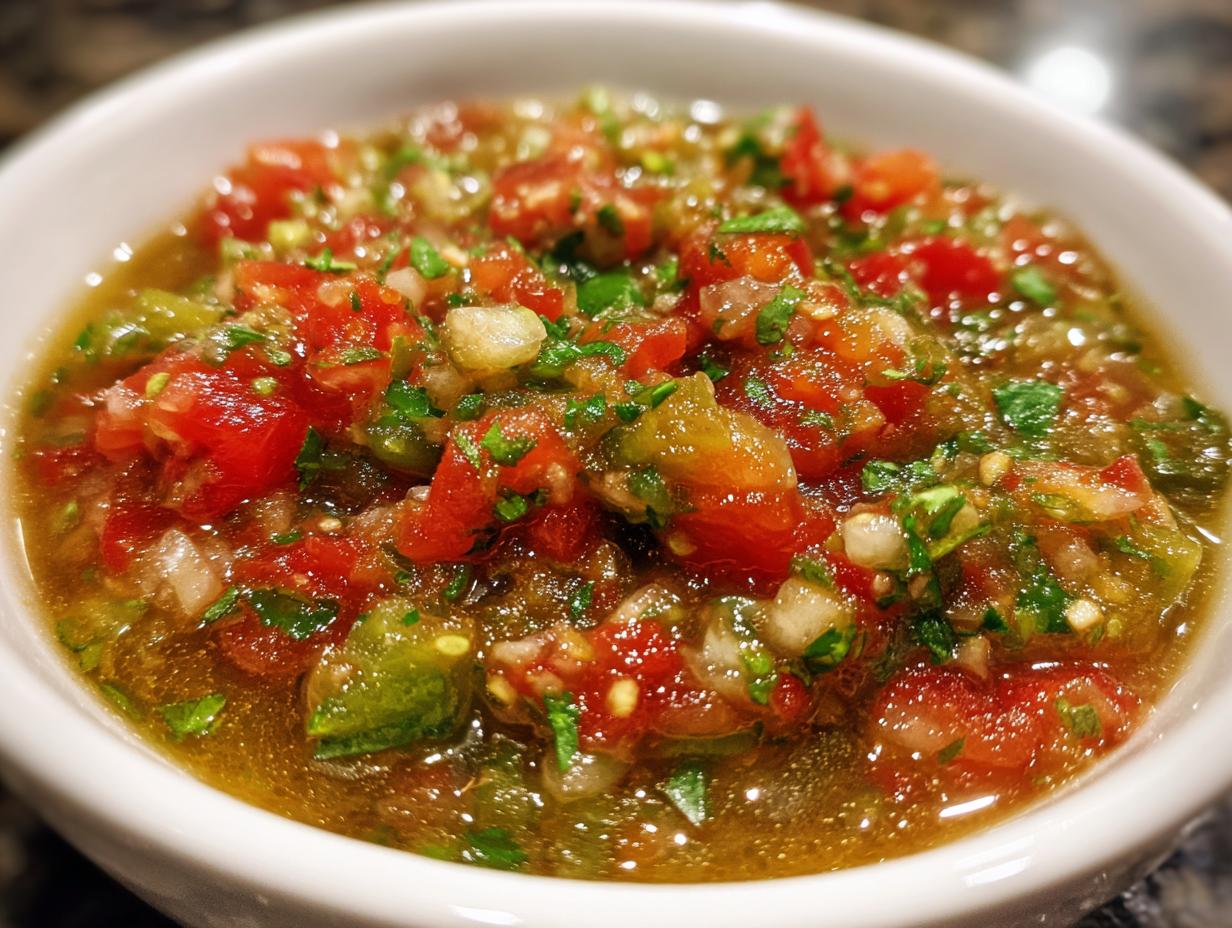
- Bright salsa – My homemade tomatillo salsa verde is killer here, but store-bought pico de gallo works in a pinch
- Extra crunch – Thinly sliced radishes or pickled red onions add the perfect crisp texture
On the side:
- Simple greens – A crisp romaine salad with lime vinaigrette balances the richness (I toss in avocado when I’m feeling fancy)
- Beans! – Warm refried black beans or charro beans make it a heartier meal
- Warm tortillas – Flour or corn, doesn’t matter – perfect for scooping up every last cheesy bite
Breakfast twist: Leftovers? Oh honey, reheat a slice and top with a fried egg – runny yolk takes it to brunch heaven!
Pro tip: For parties, I set up a topping bar with all these options – lets everyone customize their perfect bite. Watch how fast that casserole disappears!
Storage and Reheating
Okay, let’s talk leftovers – because (shocker) this casserole tastes even better the next day! Here’s exactly how I store and reheat it to keep that perfect texture:
Fridge Storage
First rule: Let the casserole cool completely before storing – no one wants a soggy mess! I cover the baking dish tightly with foil or transfer portions to airtight containers. It keeps beautifully in the fridge for 3-4 days – though in my house, it never lasts that long. The flavors actually deepen overnight, making day-two slices extra delicious.
Freezing Tips
Want to make it ahead? No problem! Here’s my freeze-and-reheat method:
- Cool completely (this prevents ice crystals from forming)
- Wrap individual portions in plastic wrap, then foil (double protection against freezer burn)
- Label with date – it keeps for 2-3 months in the freezer
Pro tip: Freeze it unbaked for best results – the texture stays perfect when you bake from frozen (just add 10-15 extra minutes).
Reheating Like a Pro
Now, the secret to bringing leftovers back to life:
- Oven method (my favorite!): Preheat to 350°F, cover with foil, and bake 15-20 minutes until heated through. Remove foil last 5 minutes to crisp the top.
- Air fryer magic: 300°F for 5-7 minutes – gets the edges perfectly crispy again!
- Microwave in a pinch: Cover with a damp paper towel and heat in 30-second bursts to prevent rubberiness.
One warning: Never refreeze after thawing – food safety first, people! But honestly, you won’t have leftovers to worry about once you taste this.
Hatch Chile Relleno Casserole FAQs
I’ve gotten so many questions about this recipe over the years – here are the ones that pop up most often (with my honest answers!):
How spicy is this casserole?
Well, that depends on your Hatch chiles! The beauty of this recipe is you can control the heat. Mild Hatch chiles give just a gentle warmth, while hot ones bring serious fire. My trick? Mix half mild and half hot for perfect balanced spice. If you’re nervous, remove ALL the seeds and membranes – that’s where most heat lives.
Can I make this ahead?
Absolutely! Two great options: 1) Assemble everything in the baking dish (unbaked), cover tightly, and refrigerate overnight – just add 5 extra minutes baking time. 2) Bake fully, let cool, then freeze (see my freezer tips above). Both methods work beautifully for stress-free entertaining!
Why did my casserole deflate after baking?
Oh honey, we’ve all been there! Usually means either: 1) You overmixed the batter (develops too much gluten), or 2) Opened the oven door too early. The baking powder needs that steady heat to work its magic. Resist peeking until at least the 30-minute mark!
Can I use egg substitutes?
I’ve tried – and honestly, nothing gives the same rich custard texture as real eggs. For egg-free, I’d suggest a firm tofu scramble mixture as binder, but expect it to be denser. If you’re just reducing eggs, try 6 whole eggs plus 2 extra yolks for richness.
What’s the best way to roast Hatch chiles?
My foolproof method: Place whole chiles directly on gas burner flames (or under broiler), turning with tongs until blistered all over. Immediately seal in a bowl covered with plastic wrap for 10 minutes – the steam loosens skins beautifully. Peel when cool enough to handle. Pro tip: Wear gloves if you’re sensitive to capsaicin!
Got more questions? Hit me up in the comments – I’ve probably tested every variation imaginable by now!
Nutritional Information
Okay, let’s talk numbers – because I know some of you (like me) like to keep an eye on these things. Here’s the nutritional breakdown per serving of this glorious casserole, based on my standard recipe. But remember – these are estimates, and your exact amounts might vary depending on specific ingredients or tweaks you make.
- Calories: 280 (that rich cheese adds up, but it’s so worth it!)
- Protein: 16g (thanks to all those eggs and cheese)
- Carbohydrates: 12g (most from the chiles and flour)
- Fiber: 2g (those chile skins add nice roughage)
- Sugar: 3g (just the natural sweetness from the chiles)
- Fat: 18g (remember – fat equals flavor here)
- Saturated Fat: 10g (I never said this was health food!)
- Sodium: 450mg (easy to reduce if you use low-sodium cheeses)
A few quick notes: If you swap to lower-fat cheeses or milk, the numbers will decrease – but so might that incredible creamy texture we love. Using extra chiles? The fiber goes up (bonus!). And if you’re like me and can’t resist that extra sprinkle of cheese on top… well, I won’t tell if you don’t!
As always, these are estimates based on standard ingredients. Your exact nutrition will vary depending on brands, exact measurements, and how generous you are with the cheese (no judgment here). For precise dietary needs, I’d recommend inputting your exact ingredients into a nutrition calculator.
Print
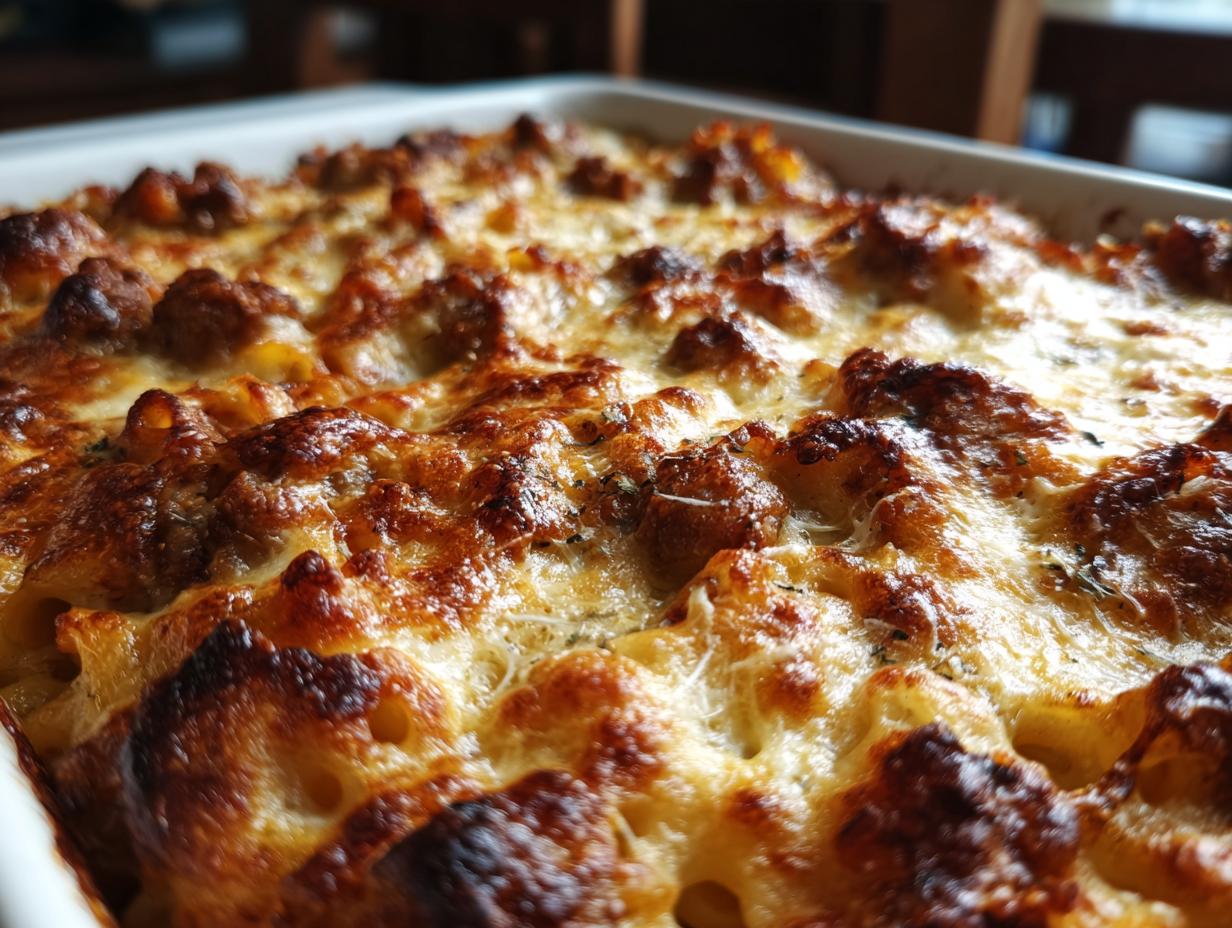
Smoky Hatch Chile Relleno Casserole – A 6-Ingredient Comfort Feast
A savory and cheesy casserole featuring roasted Hatch chiles, eggs, and cheese, baked to perfection.
- Total Time: 60 mins
- Yield: 8 servings 1x
Ingredients
- 6 large Hatch chiles, roasted and peeled
- 8 large eggs
- 1 cup milk
- 1/2 cup all-purpose flour
- 1 tsp baking powder
- 1/2 tsp salt
- 2 cups shredded Monterey Jack cheese
- 1 cup shredded cheddar cheese
- 1/4 cup chopped fresh cilantro
Instructions
- Preheat oven to 350°F (175°C). Grease a 9×13-inch baking dish.
- Slice roasted Hatch chiles open, remove seeds, and lay flat in the baking dish.
- In a bowl, whisk eggs, milk, flour, baking powder, and salt until smooth.
- Pour half the egg mixture over the chiles.
- Sprinkle half the cheeses and cilantro over the mixture.
- Repeat layers with remaining egg mixture and cheeses.
- Bake for 35-40 minutes until golden and set.
- Let cool for 5 minutes before serving.
Notes
- Use fresh Hatch chiles for best flavor.
- Adjust cheese types to your preference.
- Serve with sour cream or salsa if desired.
- Prep Time: 20 mins
- Cook Time: 40 mins
- Category: Main Dish
- Method: Baked
- Cuisine: Southwestern
- Diet: Vegetarian
Nutrition
- Serving Size: 1 slice
- Calories: 280
- Sugar: 3g
- Sodium: 450mg
- Fat: 18g
- Saturated Fat: 10g
- Unsaturated Fat: 6g
- Trans Fat: 0g
- Carbohydrates: 12g
- Fiber: 2g
- Protein: 16g
- Cholesterol: 220mg