Oh my goodness, friend, if you haven’t experienced the sheer joy of a warm, fresh-from-the-oven Irish Scone, you are in for such a treat! There’s just something so comforting and utterly perfect about these little beauties. I remember the first time I had a proper one; I was visiting a quaint little tea shop, and the aroma alone just pulled me right in. It was light, flaky, and just a tiny bit sweet, melting in my mouth with a dollop of jam. From that moment, I was hooked!
I rushed home determined to recreate that magic, and after a *lot* of trial and error (and a few dense, hockey-puck-like attempts, oops!), I finally cracked the code. These homemade Irish scones are truly a breeze to whip up, and they bring that cozy, welcoming feeling right into your kitchen. Seriously, you won’t believe how easy it is to make these delightful treats. They’re perfect for a lazy Sunday morning breakfast, an elegant afternoon tea, or honestly, just because you deserve a little bit of deliciousness in your day!
Why You’ll Love These Irish Scones
Trust me, these Irish scones are going to become a fast favorite in your kitchen! Why? Well, for starters:
- They’re incredibly quick to make – seriously, 30 minutes start to finish!
- Super versatile, perfect for breakfast, brunch, or an afternoon pick-me-up.
- The texture is just divine: light, fluffy, and with that perfect crumbly edge.
- You can customize them with your favorite add-ins – get creative!
- They make your whole house smell absolutely heavenly while they bake!
The Allure of Fresh Irish Scones
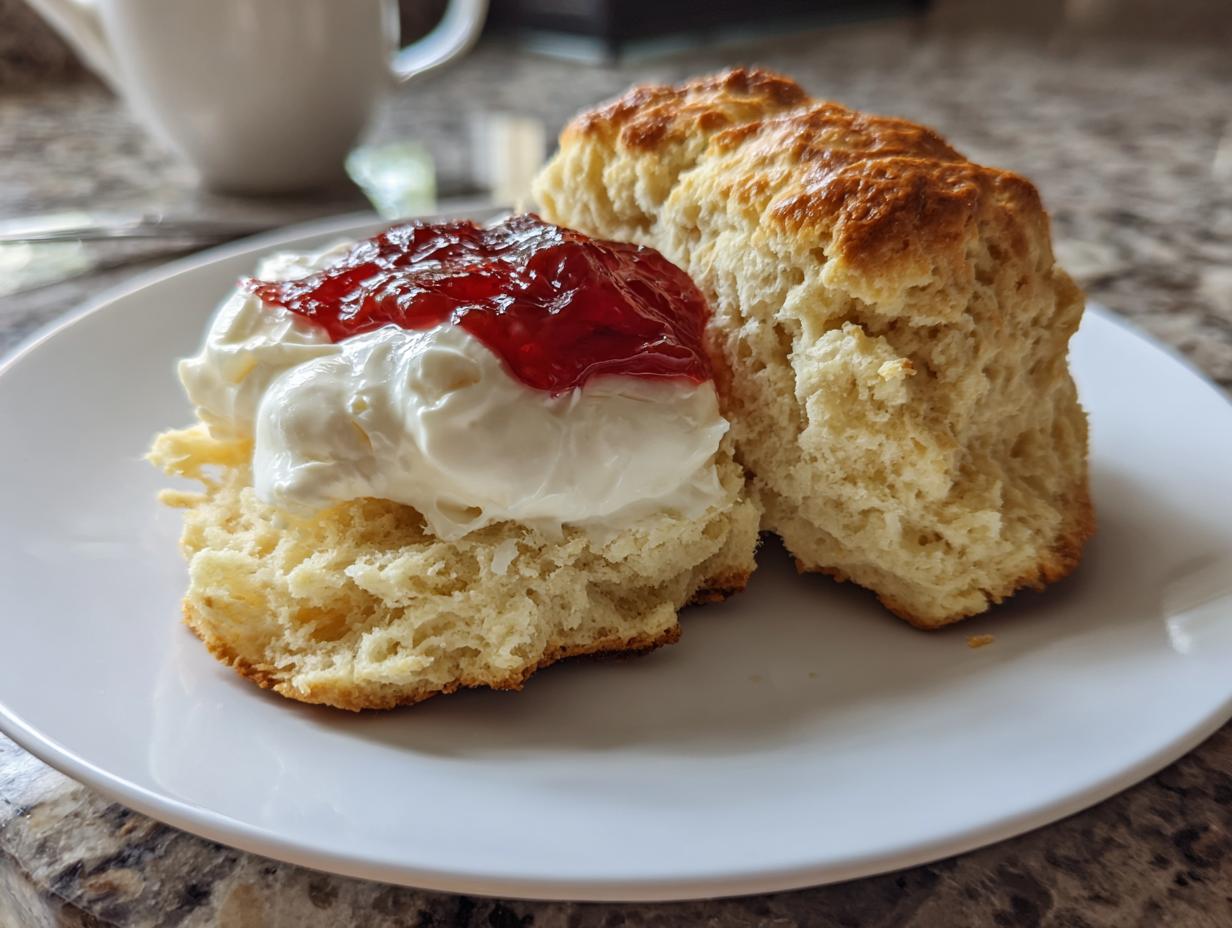
There’s nothing quite like pulling a batch of warm Irish scones from the oven. That golden-brown crust, the way they just beg to be broken open, revealing a steamy, soft interior. The smell of sweet butter and baked goodness filling your home? Oh, it’s pure bliss, a cozy hug in food form. They just scream comfort, don’t they?
Essential Ingredients for Perfect Irish Scones
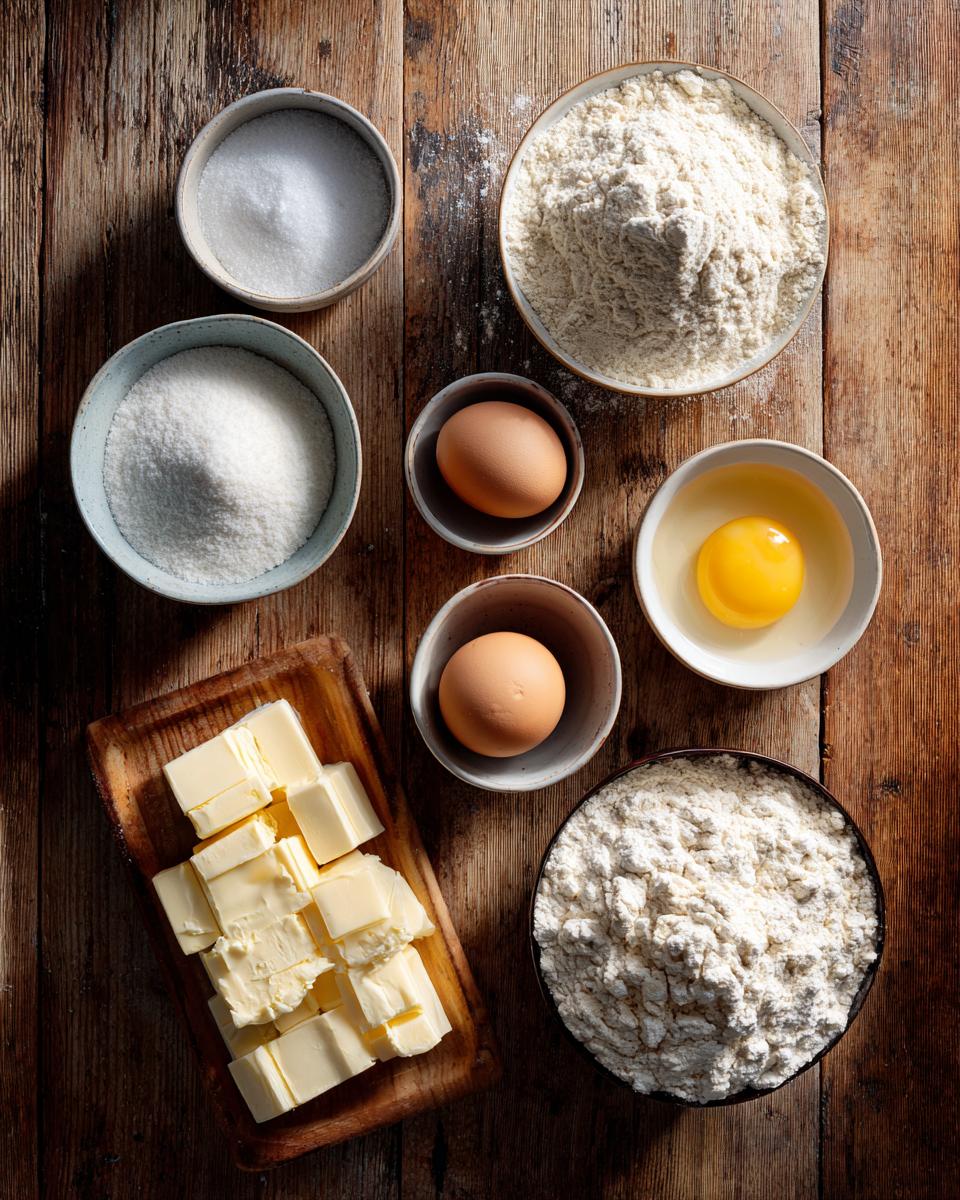
Okay, so before we dive into the fun part, let’s talk ingredients! You don’t need a crazy long list for these amazing Irish scones, but getting the right stuff and treating it right makes all the difference. It’s like building a masterpiece – you need good quality paints, right? First up, we’ll need some good old all-purpose flour, nothing fancy here. Then, granulated sugar – just enough to give a hint of sweetness without being overly sugary. Baking powder is our leavening hero, making these babies rise beautifully, and a pinch of salt balances everything out. Now, the stars of the show: super cold unsalted butter, cut into little cubes (this is SO important for flakiness!), and cold buttermilk. Trust me, the colder, the better for both of these, it’s my secret weapon! Oh, and one large egg for an optional, but totally worth it, egg wash to get those golden tops.
Equipment Needed for Your Irish Scones
Alright, before we get our hands all floury, let’s gather our tools! You won’t need anything super fancy for these Irish scones, just the basics. You’ll definitely want a nice big bowl for mixing, a whisk, and a pastry blender or even just your fingertips for cutting in that butter. A rolling pin (or a clean wine bottle in a pinch!) comes in handy, and of course, a round cookie cutter. Don’t forget a baking sheet and some parchment paper to make cleanup a breeze!
How to Make Delicious Irish Scones
Alright, this is where the magic happens! Don’t be intimidated; making these Irish scones is actually super fun and satisfying. We’re going to break it down so it’s super easy to follow. You’ll be pulling warm, golden scones from your oven in no time, I promise!
Preparing Your Irish Scones Dough
First things first, let’s get that oven preheating to a toasty 400°F (200°C) – you want it nice and hot when your scones are ready to go in. While it’s warming up, grab your big mixing bowl. Toss in your flour, sugar, baking powder, and salt. Give it a good whisk until everything’s happy and combined. Now for the crucial part: those cold, cubed butter pieces! You’re going to use a pastry blender or your fingertips to *cut* the butter into the flour mixture. You want it to look like coarse crumbs, almost like wet sand. Don’t overdo it; tiny pea-sized bits are perfect. Next, pour in that cold buttermilk. Mix it gently with a spoon or your hands until it just comes together into a soft dough. Seriously, stop mixing the second it forms a ball! Overmixing is the enemy of tender scones, and we want fluffy, not tough!
Baking Your Irish Scones to Golden Perfection
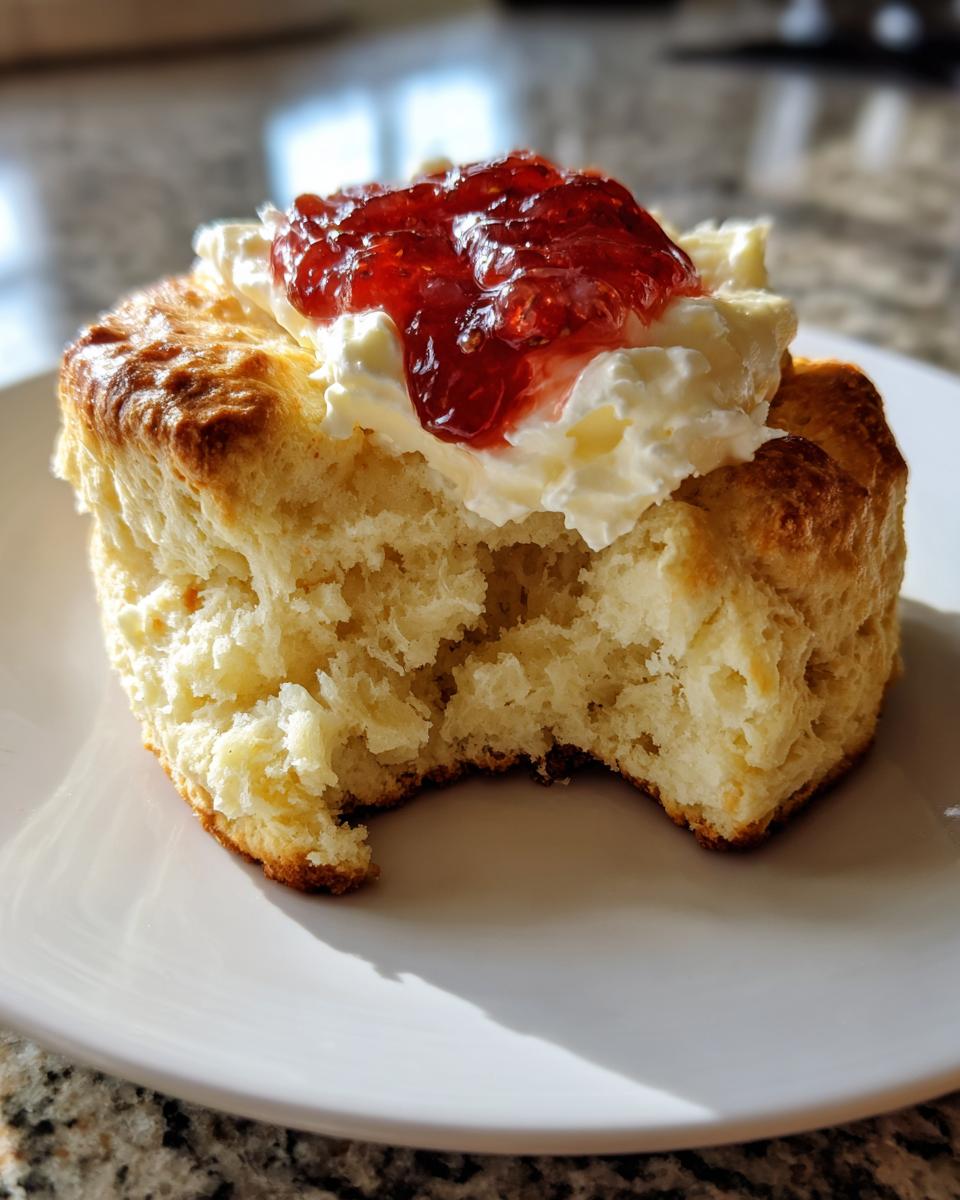
Once your dough is ready, turn it out onto a lightly floured surface. Don’t knead it, just gently pat or roll it out to about 1-inch thickness. Now, grab your 2-inch round cutter and start cutting out your scone shapes! Try to get as many as you can from the first go. Gather up the scraps, gently press them together (don’t knead!), and cut out any remaining scones. Place these beauties on your parchment-lined baking sheet. If you want that gorgeous, golden-brown top, quickly brush them with a beaten egg. Pop them into your preheated oven for about 12-15 minutes. Keep an eye on them – they’re done when they’re beautifully golden on top and a wooden skewer inserted into the center comes out clean. Let them cool just a tiny bit on a wire rack, and then, oh my, enjoy!
Tips for Success with Your Irish Scones
Alright, friend, now that you’ve got the basic steps down, let me share a few of my absolute favorite insider tips for making these Irish scones truly sing! These little tricks are what take them from “good” to “oh-my-goodness-I-need-another-one” amazing. First, and I can’t stress this enough, **keep everything COLD!** Your butter, your buttermilk – chill ’em! Cold ingredients create those lovely pockets of steam in the oven, giving you that incredible light and flaky texture. Also, resist the urge to overmix the dough. Seriously, the less you handle it, the happier (and tenderer) your scones will be. Just mix until it barely comes together, and then stop!
Mastering the Art of Irish Scones
So, to get those perfectly light and fluffy Irish scones every single time, here’s my secret: don’t twist the cutter! Just press straight down and pull straight up. Twisting can seal the edges, which stops them from rising as high. And when you pat out the dough, aim for that 1-inch thickness – it’s the sweet spot for a good rise and a tender middle. Trust me, these small details make a HUGE difference!
Frequently Asked Questions About Irish Scones
Okay, I know you’ve probably got a few questions bubbling up, especially if this is your first time making these delightful Irish scones! Don’t you worry, I’ve got you covered. I’ve been asked pretty much every scone-related question under the sun, so let’s tackle a few common ones to make sure your baking journey is super smooth and delicious.
Can I Add Flavor Variations to My Irish Scones?
Absolutely, yes! This is where you can really have some fun with your Irish scones. I love adding a handful of dried cranberries or golden raisins to the dough for a little burst of sweetness and chewiness. Chocolate chips are also a fantastic idea, especially if you’re serving them for a treat! Just gently fold them into the dough right before you pat it out. You could even add a little citrus zest, like orange or lemon, for a brighter flavor. The possibilities are endless!
How to Store Leftover Irish Scones?
If you actually have any leftover Irish scones (a rare occurrence in my house!), you can store them in an airtight container at room temperature for about 2-3 days. To bring them back to life, a quick zap in the microwave for 10-15 seconds, or a few minutes in a warm oven, will make them taste almost freshly baked again. They’re best enjoyed warm, especially with a little butter or jam!
Estimated Nutritional Information for Irish Scones
Okay, for those of you who like to keep an eye on what you’re eating, I’ve got some estimated nutritional info for these Irish scones. Remember, these are just estimates, and they can totally vary based on the exact ingredients you use and how big you cut your scones! But generally, for one scone, you’re looking at around 250 calories, about 12g of fat, 30g of carbohydrates, and 4g of protein. Just a little heads-up! For more recipe ideas, you can check out Simply Recipes.
Print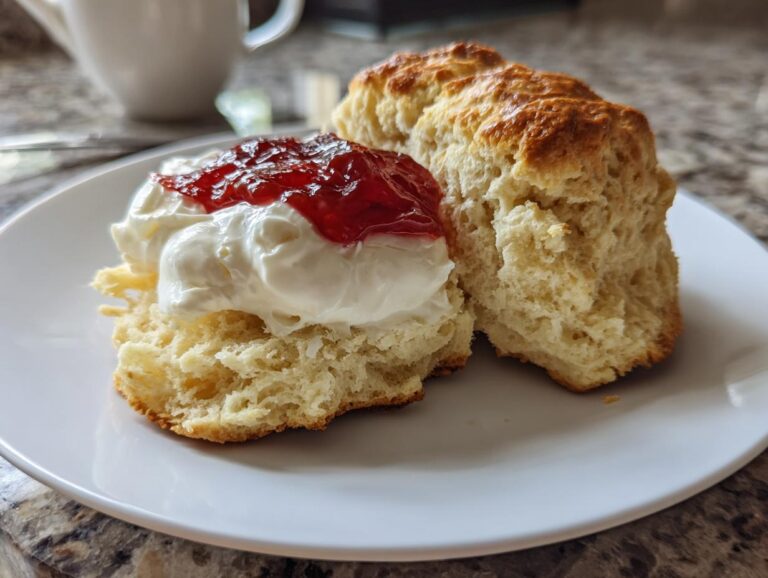
Easy Irish Scones Recipe
These Irish Scones are light, fluffy, and perfect for breakfast or afternoon tea. They are easy to make and can be customized with your favorite additions.
- Total Time: 30 minutes
- Yield: 8-10 scones 1x
Ingredients
- 2 cups all-purpose flour
- 1/4 cup granulated sugar
- 1 tablespoon baking powder
- 1/2 teaspoon salt
- 1/2 cup unsalted butter, cold and cubed
- 3/4 cup buttermilk
- 1 large egg, beaten (for egg wash, optional)
Instructions
- Preheat your oven to 400°F (200°C). Line a baking sheet with parchment paper.
- In a large bowl, whisk together the flour, sugar, baking powder, and salt.
- Cut in the cold butter using a pastry blender or your fingertips until the mixture resembles coarse crumbs.
- Gradually add the buttermilk, mixing until just combined and a soft dough forms. Do not overmix.
- Turn the dough out onto a lightly floured surface. Gently pat or roll the dough to about 1-inch thickness.
- Using a 2-inch round cutter, cut out scones. Re-roll the scraps gently and cut out additional scones.
- Place the scones on the prepared baking sheet. If desired, brush the tops with a beaten egg for a golden finish.
- Bake for 12-15 minutes, or until the tops are golden brown and a wooden skewer inserted into the center comes out clean.
- Let cool slightly on a wire rack before serving.
Notes
- For best results, ensure your butter and buttermilk are very cold.
- Avoid overworking the dough, as this can lead to tough scones.
- Serve warm with jam, clotted cream, or butter.
- You can add raisins, dried cranberries, or chocolate chips to the dough for variations.
- Leftover scones can be stored in an airtight container at room temperature for up to 2-3 days.
- Prep Time: 15 minutes
- Cook Time: 15 minutes
- Category: Baked Goods
- Method: Baking
- Cuisine: Irish
- Diet: Vegetarian
Nutrition
- Serving Size: 1 scone
- Calories: 250
- Sugar: 8g
- Sodium: 300mg
- Fat: 12g
- Saturated Fat: 7g
- Unsaturated Fat: 3g
- Trans Fat: 0g
- Carbohydrates: 30g
- Fiber: 1g
- Protein: 4g
- Cholesterol: 35mg