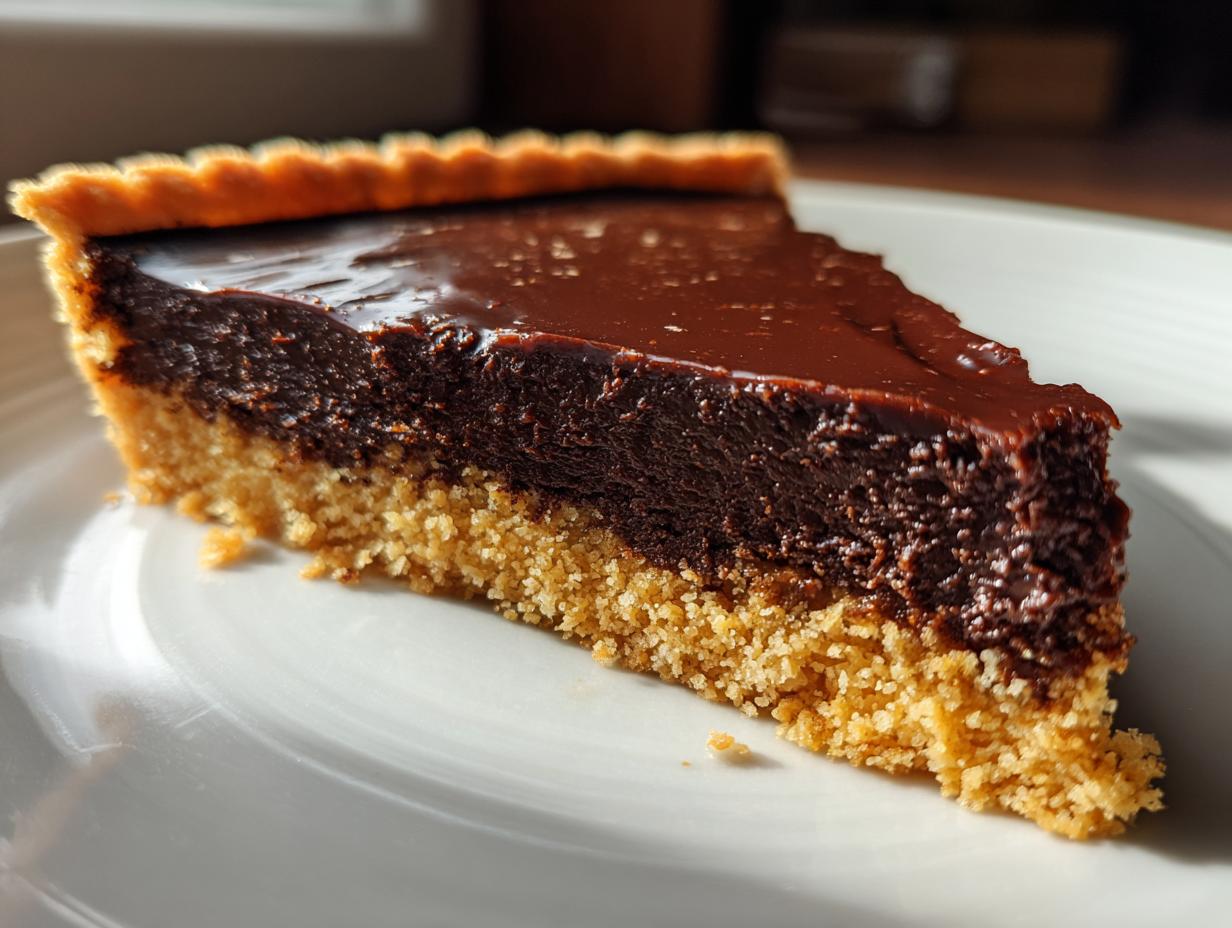
Oh, this chocolate tart—it’s pure magic! The French really nailed it with this one. A crisp, buttery crust hugging that rich, velvety chocolate filling? It’s the kind of dessert that makes people close their eyes and sigh after the first bite. The best part? It’s way simpler to make than it looks. Just a handful of ingredients and a little patience while it chills, and you’ve got a showstopper. Trust me, once you try this chocolate tart, you’ll want to make it for every special occasion (and let’s be honest—Tuesday nights count too).
Ingredients for Chocolate Tart
Here’s everything you’ll need to create this dreamy chocolate tart—and yes, every single ingredient matters! I learned the hard way that skimping on quality here makes all the difference between “good” and “oh-my-goodness-I-need-another-slice.”
- 200g all-purpose flour – The backbone of our crisp, buttery crust
- 100g unsalted butter – Cold and cubed for perfect flakiness
- 50g powdered sugar – Just enough sweetness to balance the chocolate
- 1 egg yolk – For richness and that golden crust color
- 200g dark chocolate – At least 70% cocoa (trust me on this!)
- 150ml heavy cream – The secret to that silky-smooth filling
- 2 tbsp cocoa powder – For an extra chocolatey punch
Pro tip from my many kitchen experiments: measure everything before you start. When that chocolate’s melting, you don’t want to be scrambling for ingredients!
How to Make Chocolate Tart
Okay, let’s dive into the fun part! I’ll walk you through each step—from that buttery crust to the glossy chocolate filling. Don’t worry if your kitchen looks like a flour bomb went off halfway through (mine always does). Just follow these steps, and you’ll have a chocolate tart that’ll make your guests think you trained in Paris!
Preparing the Crust
First things first—get that oven preheating to 180°C (350°F). While it’s warming up, let’s make magic happen with the crust. In a big bowl, rub the cold butter into the flour and powdered sugar until it looks like coarse breadcrumbs. Then, add that golden egg yolk and mix until it just comes together. No kneading! Just press the dough into your tart tin—I use my fingers to push it evenly up the sides. Pop it in the oven for 15 minutes until lightly golden. Oh, and don’t forget to prick the base with a fork so it doesn’t puff up!
Making the Chocolate Filling
Now for the star of the show! Break up that dark chocolate into small pieces—the smaller, the faster it melts. Heat the cream until it’s just simmering (watch it like a hawk—burnt cream is tragic!), then pour it over the chocolate. Let it sit for a minute before stirring into a smooth, glossy pool of deliciousness. Stir in the cocoa powder last—it’ll thicken things up beautifully. My secret? I always add a tiny pinch of salt here—it makes the chocolate flavor sing!
Baking and Setting
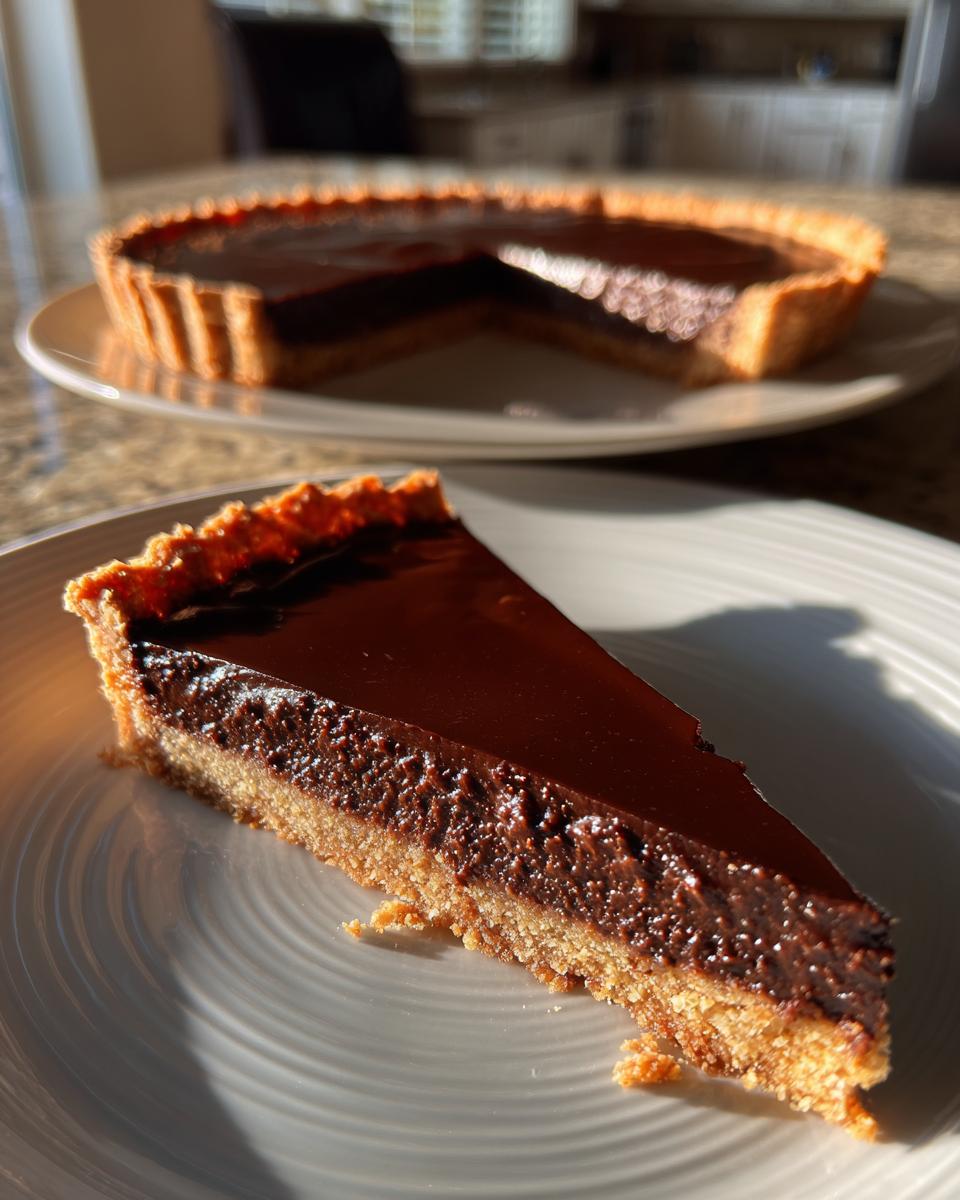
Pour that molten chocolate into your baked crust immediately—it should fill it right to the top. Give the tin a gentle tap on the counter to release any air bubbles. Now comes the hard part: waiting! Let it chill in the fridge for at least 2 hours. I know, I know—the temptation to sneak a spoonful is real. But trust me, that patience pays off in perfect slices that hold their shape when you cut them.
Tips for the Perfect Chocolate Tart
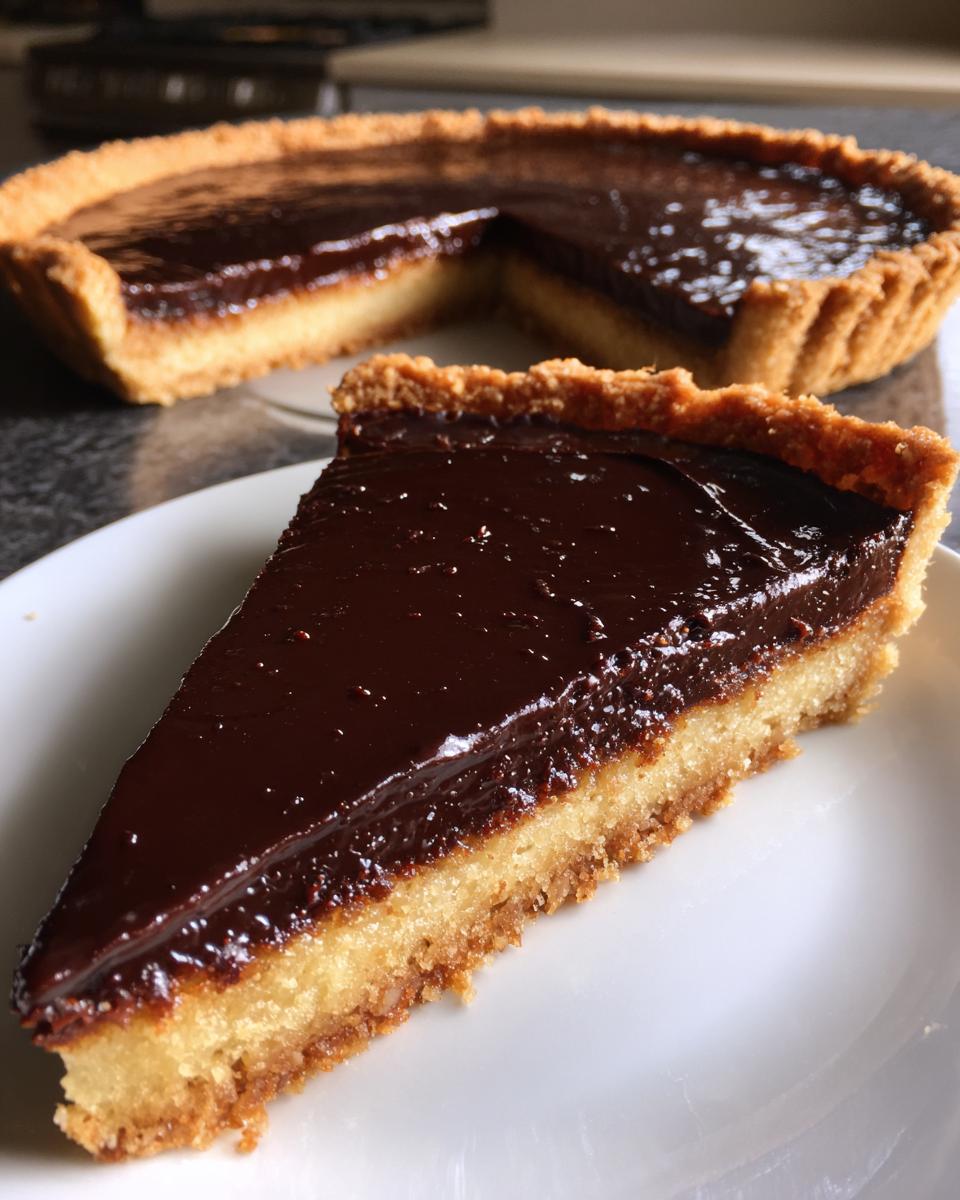
Listen, I’ve made this tart more times than I can count—here are my hard-won tricks for absolute perfection! First, splurge on good chocolate. Cheap stuff makes a grainy filling (learned that lesson the messy way). When chilling, resist the urge to peek—opening the fridge lets warm air in and slows setting. And here’s my favorite hack: run your knife under hot water before slicing for those clean, Instagram-worthy edges every time!
Serving Suggestions for Chocolate Tart
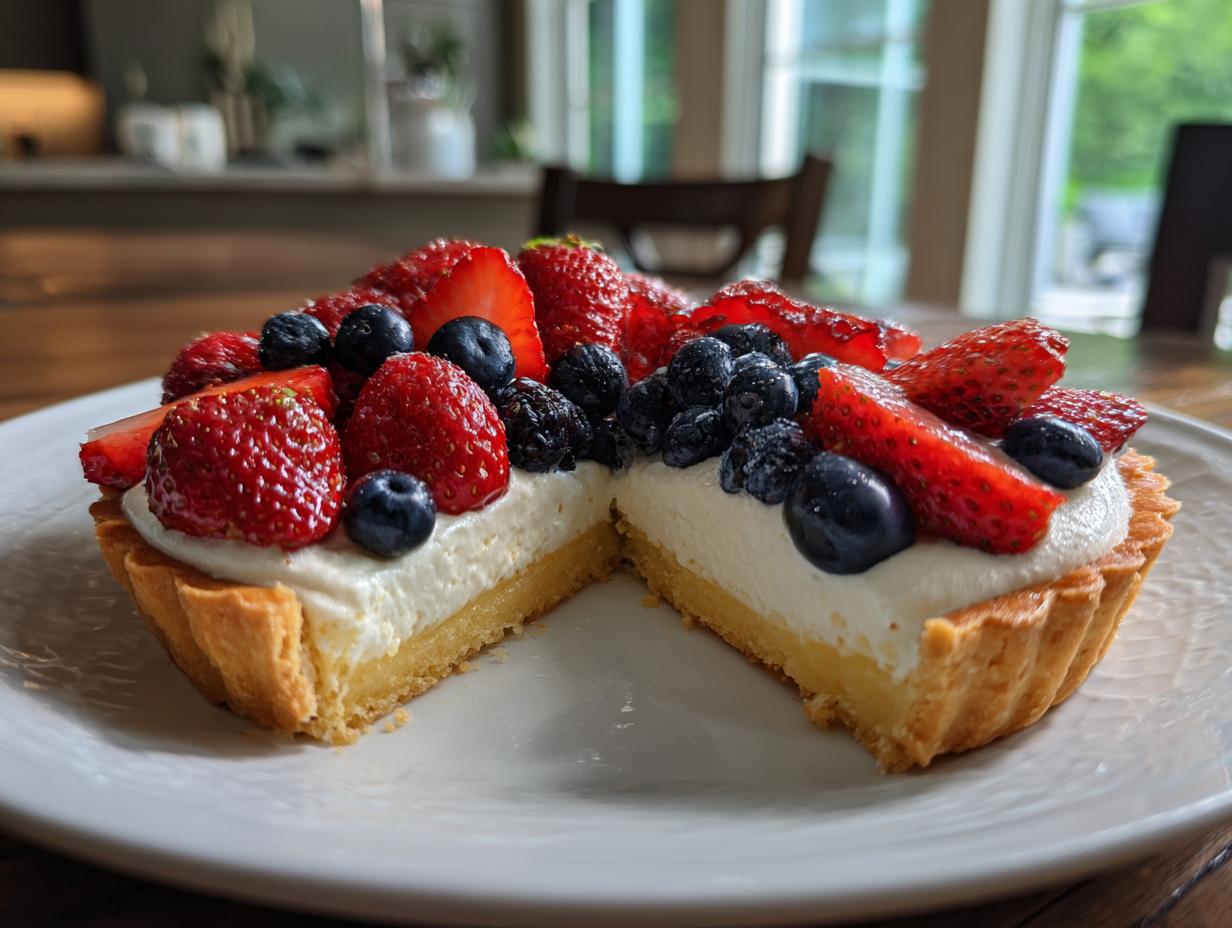
Oh, the possibilities! This chocolate tart shines all on its own, but a dollop of barely-sweetened whipped cream takes it over the top. For summer, I pile on fresh raspberries—their tartness cuts right through the richness. And listen—a strong espresso alongside? Absolute perfection. Just don’t skimp on that flaky sea salt sprinkle right before serving!
Storing and Reheating Chocolate Tart
Here’s the best part—this chocolate tart actually gets better after a night in the fridge! Just cover it loosely with plastic wrap (press it right against the surface to prevent condensation). It’ll keep beautifully for 3-4 days. No reheating needed—serve straight from the fridge for clean slices that hold their shape. Though I won’t judge if you sneak a bite while it’s still cold!
Chocolate Tart Nutritional Information
Okay, let’s be real—we’re not eating chocolate tart for its health benefits! But for those curious, here’s the scoop per slice (and yes, I’ve definitely had two slices in one sitting—no shame!). Approximately:
- 320 calories – Mostly from that glorious chocolate and butter
- 22g fat – The good kind that makes it silky smooth
- 28g carbs – Worth every single one
- 3g fiber – Hey, cocoa powder counts for something!
Remember—nutrition can vary based on exact ingredients and portion sizes. But honestly? Just enjoy every decadent bite!
Frequently Asked Questions
Over the years, I’ve gotten so many questions about this chocolate tart—and made plenty of mistakes myself! Here are the answers I wish I’d had when I first started baking this beauty:
Can I use milk chocolate instead of dark?
You can, but the tart will be much sweeter. If you do, reduce the powdered sugar in the crust by half. My trick? Use 70% dark chocolate—it gives that perfect balance between rich and sweet.
Help! My filling cracked while chilling!
Oh honey, I’ve been there! This usually happens if the fridge is too cold. Next time, let the tart cool at room temperature for 15 minutes before chilling. For this one? Dust with powdered sugar—no one will notice!
Can I make this gluten-free?
Absolutely! Swap the all-purpose flour for a gluten-free blend. Just add 1/4 tsp xanthan gum if your mix doesn’t include it—this helps the crust hold together.
How do I know when the crust is done?
It should be lightly golden and smell like shortbread. The edges will pull slightly from the tin. Underbaked crust = soggy bottom (we don’t want that!).
Can I freeze leftovers?
You bet! Wrap slices tightly in plastic, then foil. Thaw in the fridge overnight. The texture might be slightly firmer, but still delicious!
There you have it—your ticket to chocolate tart heaven! Now I want to hear all about your baking adventures. Did you add a twist with orange zest or maybe some chili flakes? Drop me a comment below—I read every single one (and yes, I’ll probably ask for a slice!). And if this recipe made your dessert dreams come true, don’t be shy—give it a star rating so others can find this little slice of joy too. Sharing is caring, so pin it, tweet it, or tell your neighbor about it (then invite them over for tart, obviously). Happy baking, my fellow chocolate lovers!
Print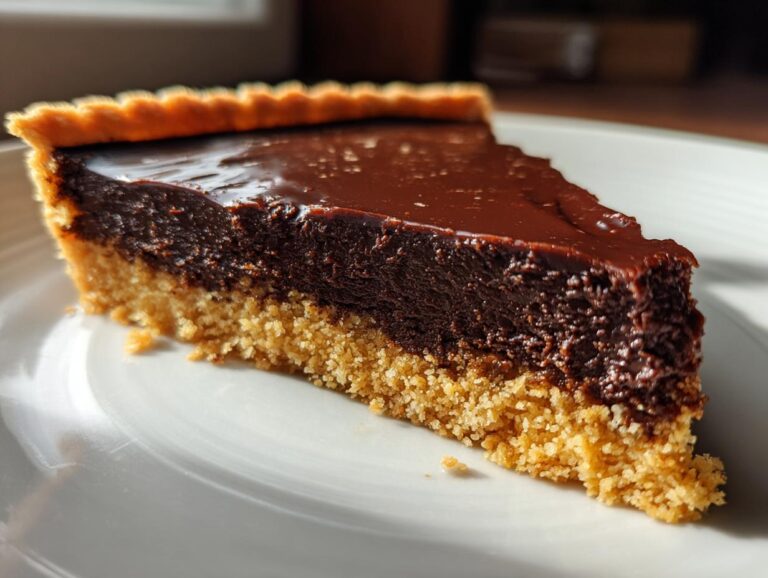
Decadent Chocolate Tart Recipe for a Heavenly Dessert
A rich and decadent chocolate tart with a crisp crust.
- Total Time: 2 hours 35 minutes
- Yield: 8 servings 1x
Ingredients
- 200g all-purpose flour
- 100g unsalted butter
- 50g powdered sugar
- 1 egg yolk
- 200g dark chocolate
- 150ml heavy cream
- 2 tbsp cocoa powder
Instructions
- Preheat oven to 180°C.
- Mix flour, butter, powdered sugar, and egg yolk to form a dough.
- Press the dough into a tart tin and bake for 15 minutes.
- Melt chocolate with heavy cream and cocoa powder.
- Pour the chocolate mixture into the baked crust.
- Chill for at least 2 hours before serving.
Notes
- Use high-quality chocolate for best results.
- Allow tart to set completely before slicing.
- Prep Time: 20 minutes
- Cook Time: 15 minutes
- Category: Dessert
- Method: Baking
- Cuisine: French
- Diet: Vegetarian
Nutrition
- Serving Size: 1 slice
- Calories: 320
- Sugar: 18g
- Sodium: 50mg
- Fat: 22g
- Saturated Fat: 13g
- Unsaturated Fat: 7g
- Trans Fat: 0g
- Carbohydrates: 28g
- Fiber: 3g
- Protein: 4g
- Cholesterol: 70mg