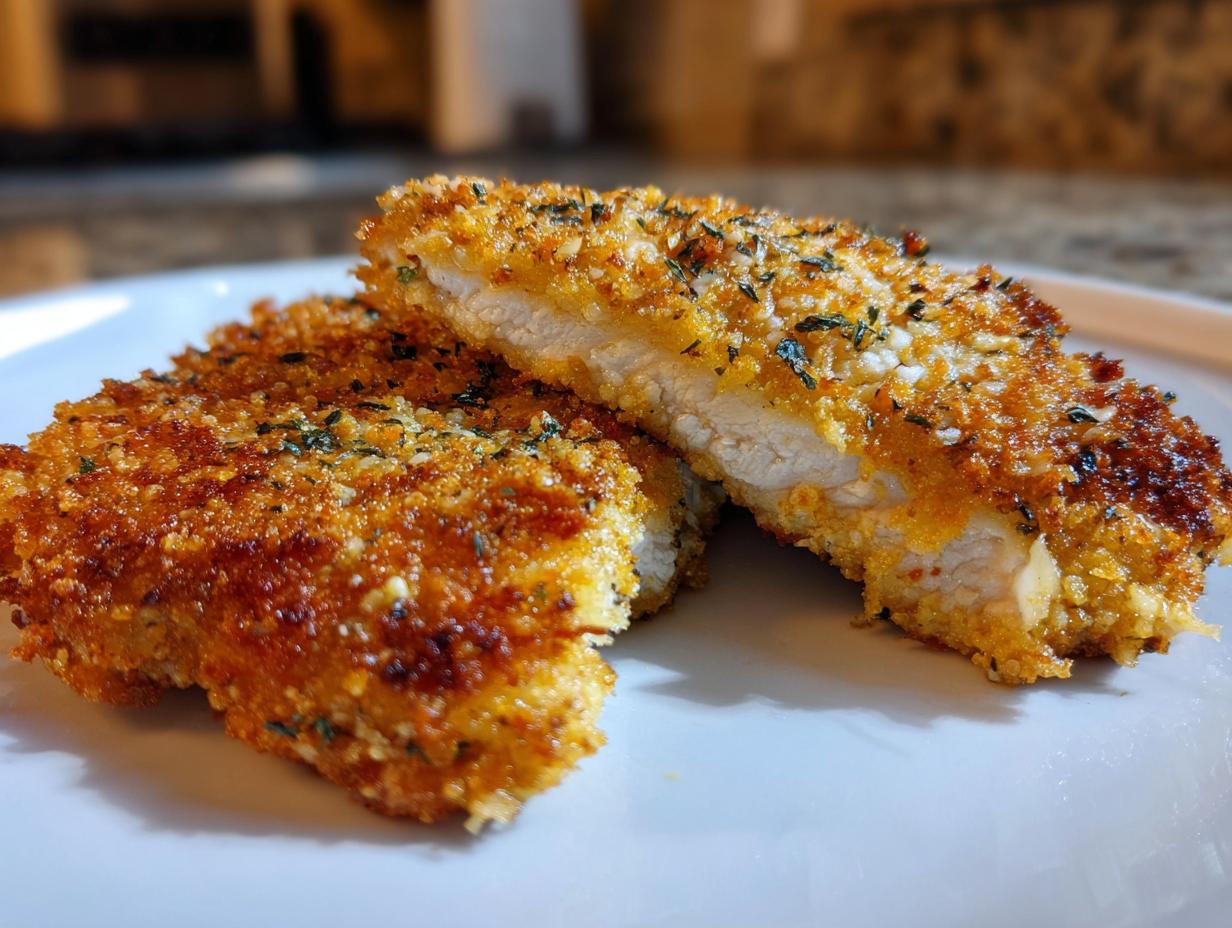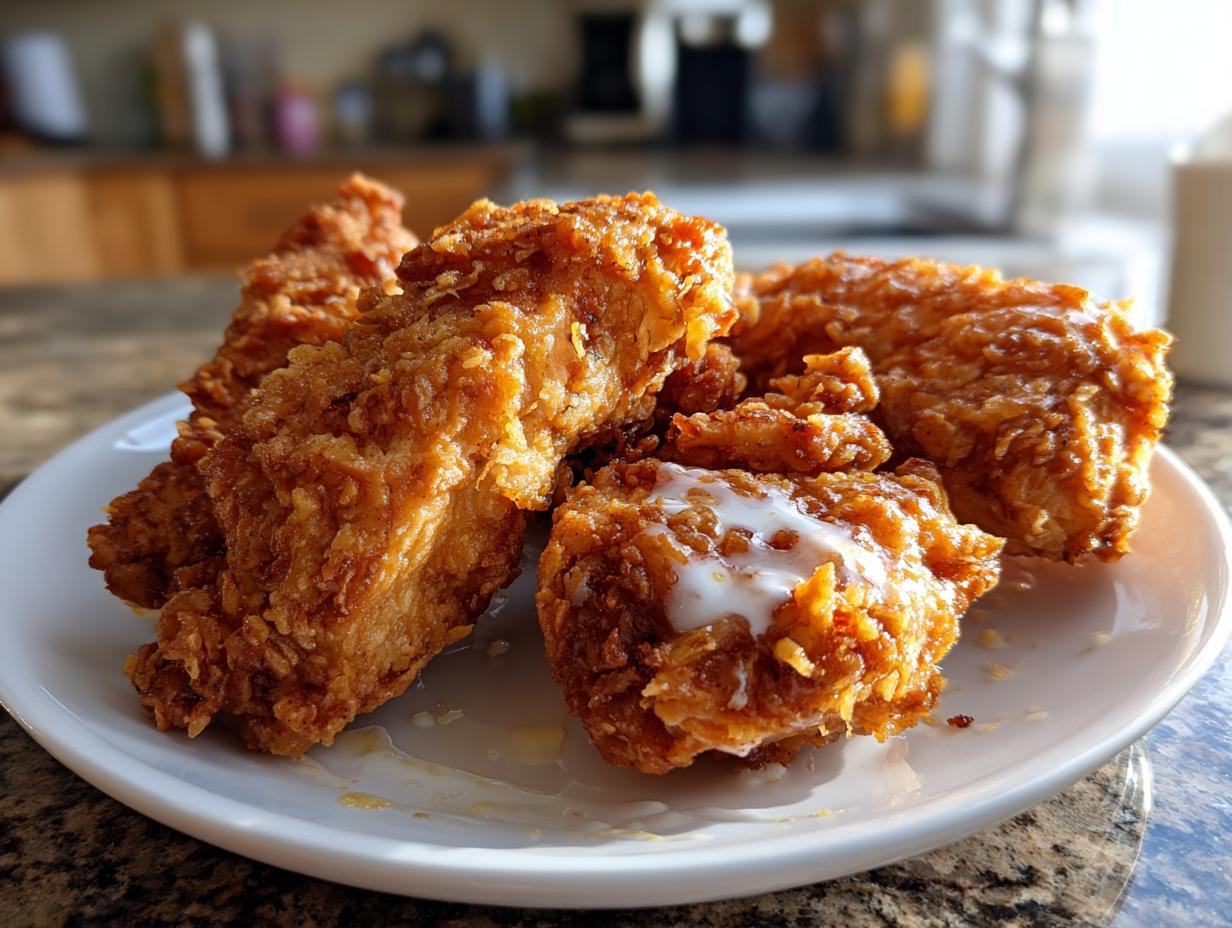
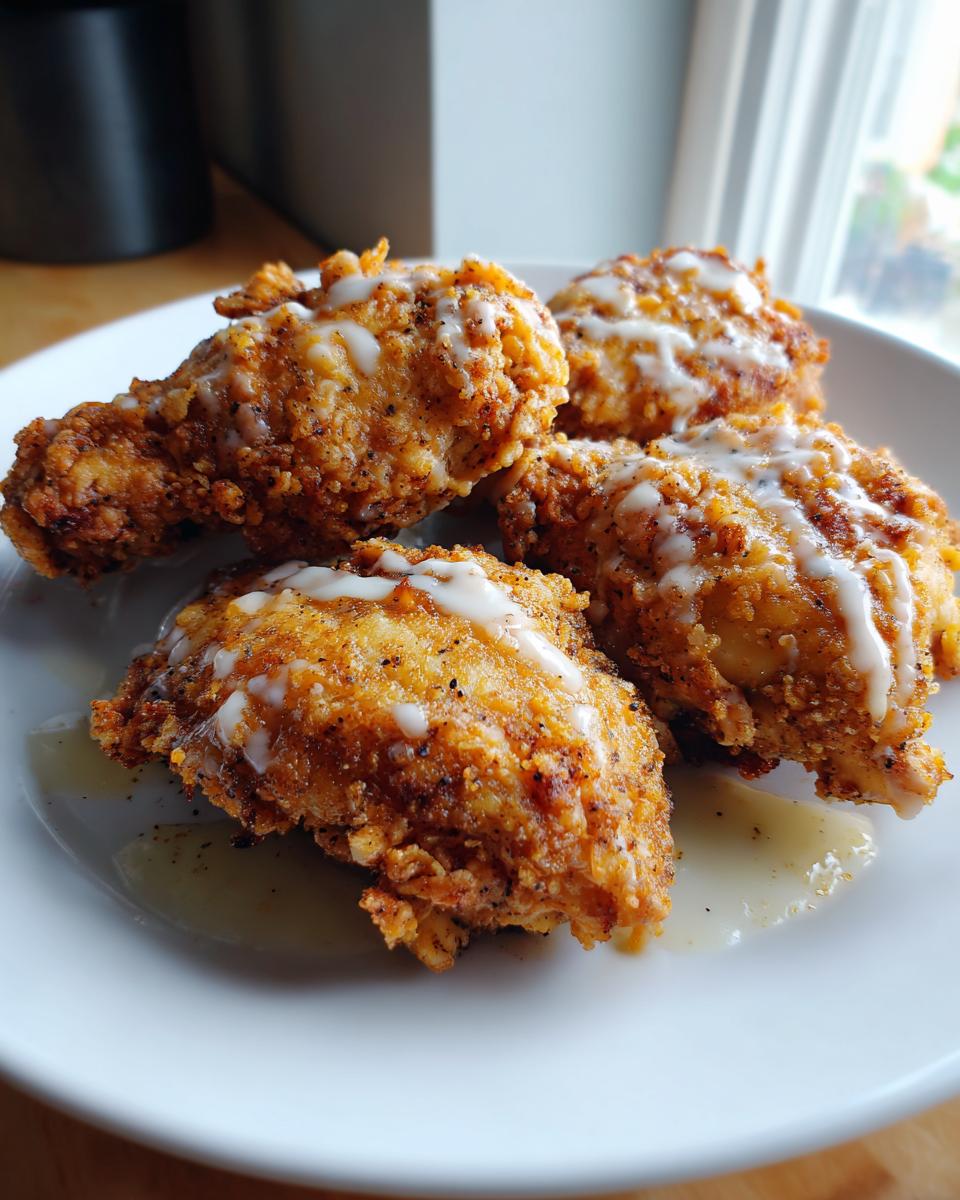
There’s nothing quite like biting into a piece of golden, crispy Country Fried Chicken—that satisfying crunch giving way to juicy, tender meat inside. It reminds me of Sunday dinners at my aunt’s house, where the scent of sizzling chicken would fill the whole neighborhood. She’d serve it piping hot with creamy mashed potatoes and sweet cornbread, and we’d all fight over the crispiest pieces.
This recipe keeps things simple but perfects every detail—from the well-seasoned flour coating to the ideal frying temperature. Whether you’re craving classic comfort food or need a foolproof dish for gatherings, this Country Fried Chicken never disappoints. It’s the kind of meal that makes everyone gather around the kitchen, forks ready, before you even call them to the table.
Why You’ll Love This Country Fried Chicken
This recipe has been my go-to for years, and here’s why it’ll become yours too:
- That perfect crunch – The double-dipping method creates an extra crispy coating that stays crunchy even after resting
- Pantry-friendly ingredients – No fancy items needed, just basic spices you probably already have
- Quick weeknight dinner – Ready in 30 minutes flat (I’ve timed it during my busiest evenings!)
- Customizable heat level – Add more cayenne if you like it spicy, or leave it out for picky eaters
- Better than takeout – Fresh from your skillet beats soggy delivery every single time
Trust me, once you taste that first bite, you’ll understand why my family requests this at least twice a week.
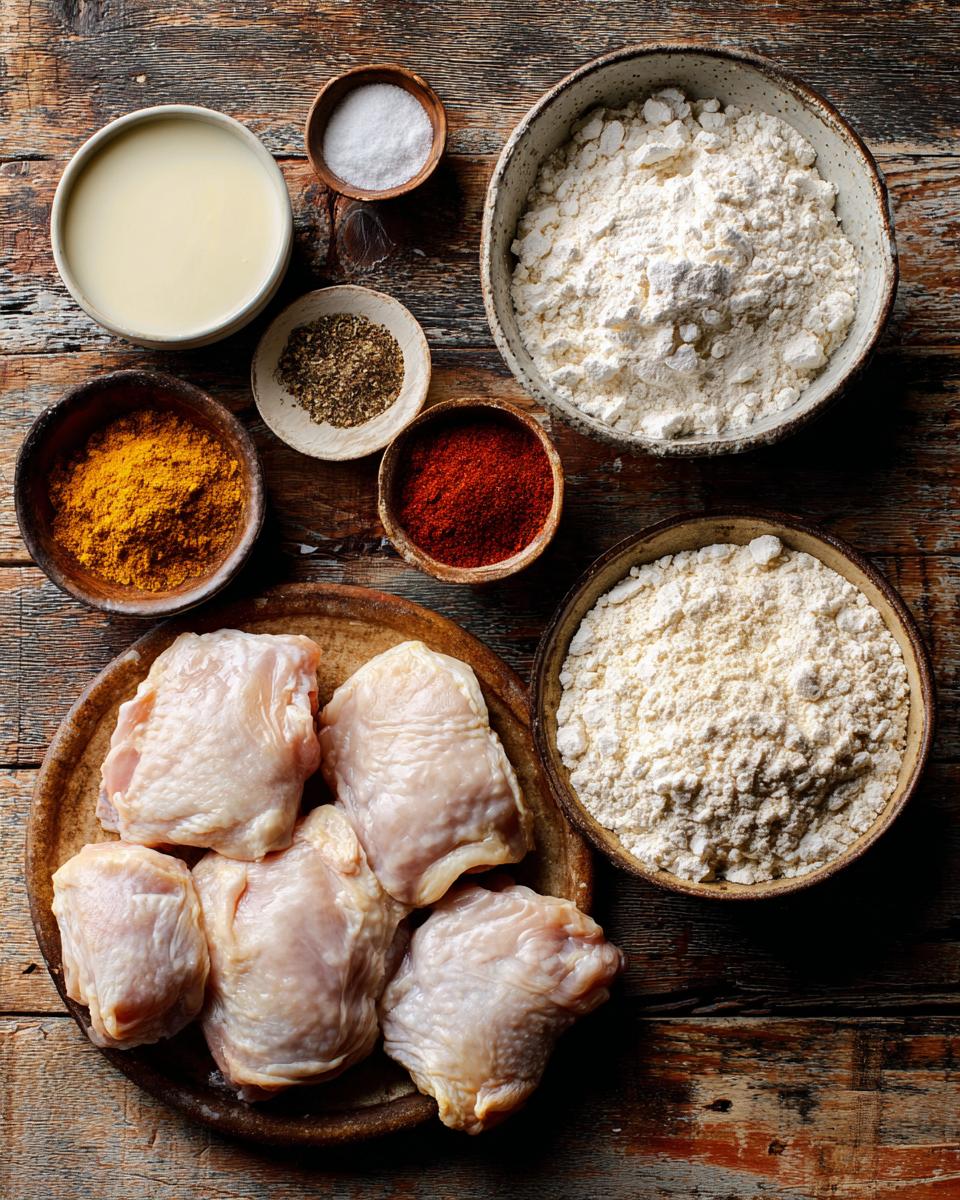
Ingredients for Country Fried Chicken
Here’s what you’ll need to make that perfect crispy coating and juicy chicken inside (measurements are everything – I learned that the hard way!):
- 4 boneless, skinless chicken breasts (pounded to ½-inch thickness – I use my rolling pin)
- 1 cup all-purpose flour (sifted helps prevent clumps)
- 1 tsp salt (fine grain blends better)
- 1 tsp black pepper (freshly ground makes all the difference)
- 1 tsp paprika (smoked adds incredible depth)
- ½ tsp garlic powder
- ½ tsp onion powder
- ¼ tsp cayenne pepper (optional – my secret kick!)
- 1 cup buttermilk (shake the carton well – or mix 1 cup milk + 1 tbsp vinegar)
- ½ cup vegetable oil (peanut oil works great too)
Pro tip: Measure everything before you start – frying waits for no one!
Equipment You’ll Need
You don’t need fancy gadgets—just these kitchen essentials I swear by:
- A heavy skillet (my trusty cast-iron keeps heat perfectly even)
- Meat thermometer (no guesswork—165°F means done!)
- Paper towels (for draining—I use a whole stack)
- Tongs (flipping without scraping off that precious crust)
- Rolling pin (or empty wine bottle—I’ve been there!)
That’s it! Now let’s make some magic.
How to Make Country Fried Chicken
Now for the fun part—turning simple ingredients into that gorgeous golden crust. I’ve made this enough times to know every little trick that takes it from good to “can I have thirds?” Here’s exactly how I do it:
Preparing the Chicken
First, lay those chicken breasts between two sheets of plastic wrap (or in a zip-top bag). Pound them evenly to about ½-inch thickness – my rolling pin works great, but I’ve used a heavy pan in a pinch! This ensures they cook through evenly without drying out. Lightly season both sides with salt and pepper while you prep the coating.
Coating the Chicken
Here’s where the magic happens! Whisk together all your dry ingredients in a shallow bowl – I like to use a pie plate. Pour buttermilk into another bowl. Dip each piece first in buttermilk (let excess drip off!), then dredge in flour, pressing gently so it sticks. For extra crunch, repeat the dip and dredge – this double-coating is my grandma’s secret!
Frying to Perfection
Heat oil in your skillet over medium-high until a pinch of flour sizzles immediately. Carefully add chicken – don’t crowd the pan! Fry 5-7 minutes per side until that crust turns deep golden brown. My trick? Lift a corner to peek before flipping. Use your thermometer – 165°F at the thickest part means done. Transfer to a paper towel-lined plate to drain. Listen to that glorious crunch as you take your first bite!
Tips for the Best Country Fried Chicken
After burning my fair share of chicken (and scraping off blackened crust more times than I’d like to admit), here are my hard-won secrets:
- Cast iron is king – That heavy pan keeps the oil temperature steady so your coating fries evenly without burning
- Wire rack resting – Skip the paper towels! Letting chicken sit on a rack prevents sogginess underneath
- Season in layers – I sprinkle a little salt on the raw chicken AND in the flour mix for flavor in every bite
- Oil thermometer trick – No thermometer? Drop a bread cube in—if it sizzles immediately, you’re ready to fry
- Work in batches – Crowding the pan drops the oil temp fast, leading to greasy chicken (learned this the messy way!)
Follow these, and you’ll get perfect crunch every single time.
Serving Suggestions
Oh, the possibilities! My family goes wild when I serve this crispy chicken with:
- Creamy buttermilk mashed potatoes (that gravy soaks right into the crust)
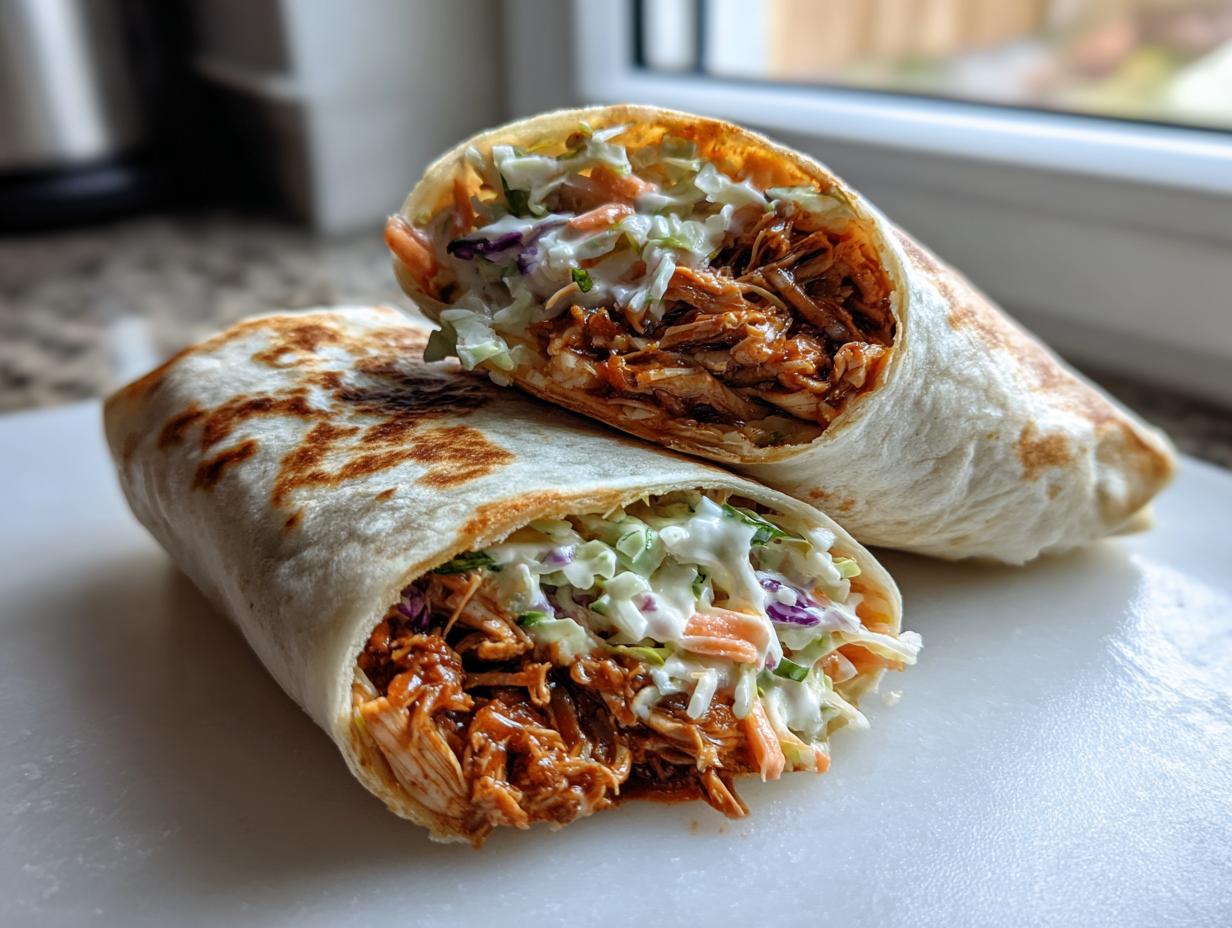
- Tangy homemade coleslaw for that perfect cool crunch contrast
- Warm honey butter biscuits – they disappear faster than I can bake them!
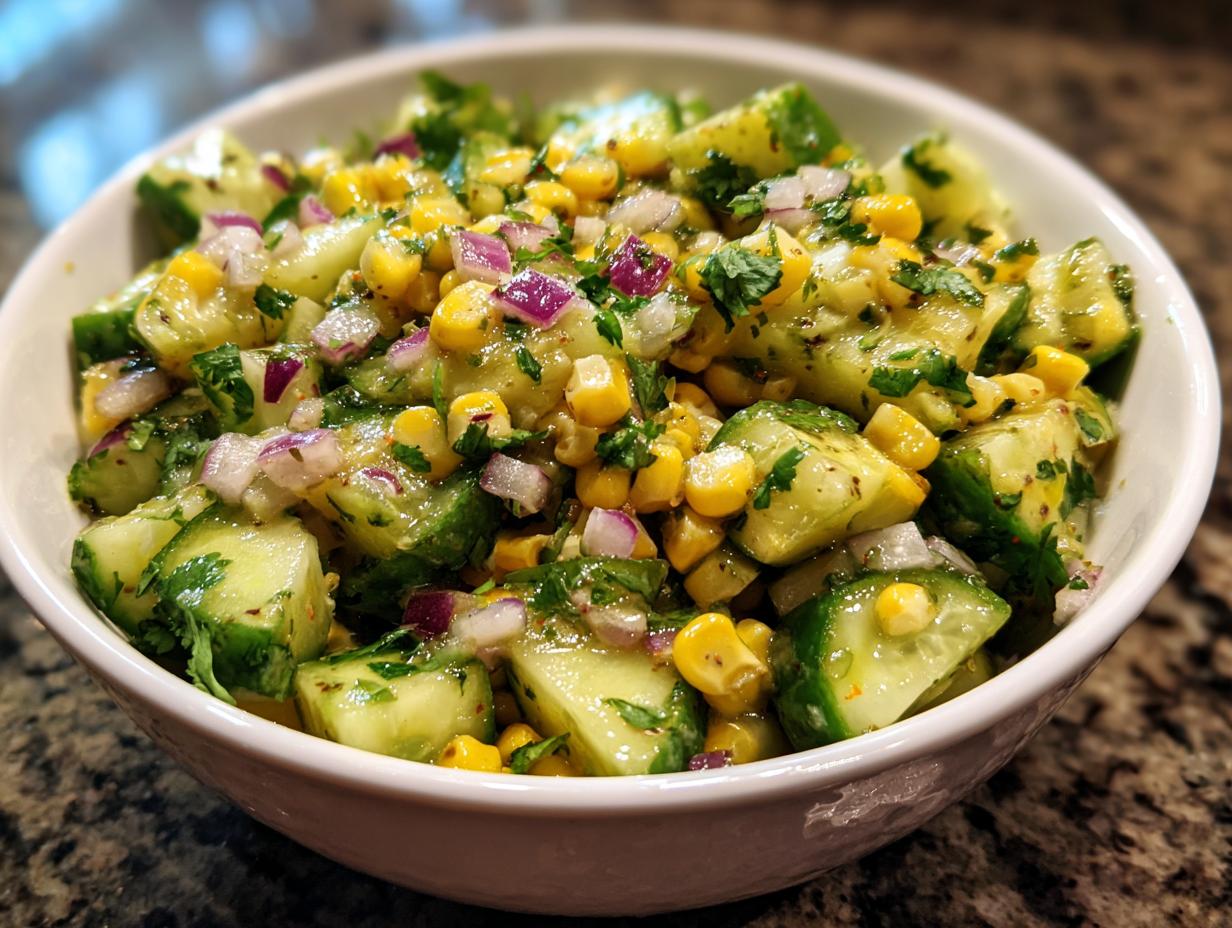
- Simple buttered corn or green beans for a fresh touch
Sunday dinner just got upgraded – dig in while it’s hot!
Storing and Reheating
Leftovers? (Like that ever happens in my house!) If you do manage to save some, here’s how to keep that crispy goodness: Store cooled chicken in an airtight container for up to 3 days. When reheating, skip the microwave—that’ll turn it soggy. Instead, pop it in a 375°F oven or air fryer for 5-7 minutes to bring back that perfect crunch. Pro tip: I sometimes re-crisp mine in a dry skillet—works like magic!
Country Fried Chicken FAQs
After years of making this recipe (and fielding questions from friends who beg me to teach them), here are the answers to everything you might wonder:
Can I use chicken thighs instead of breasts?
Absolutely! Thighs stay juicier and have more flavor. Just trim excess fat and pound them to an even thickness. They might need an extra minute or two of frying time.
How do I make this gluten-free?
Easy swap – use your favorite gluten-free flour blend instead of all-purpose. The coating might not get quite as crispy, but it’ll still taste amazing. I’ve had great results with rice flour blends.
What if I don’t have buttermilk?
No worries! Mix 1 cup milk with 1 tablespoon vinegar or lemon juice and let it sit for 5 minutes. Works like a charm – I’ve done this more times than I can count.
Can I bake this instead of frying?
You can, but it won’t be the same. For that true country fried chicken crunch, frying is best. If you must bake, spray the coated chicken with oil and bake at 400°F until crispy.
Why does my coating fall off?
Three likely culprits: oil wasn’t hot enough, you flipped too soon, or didn’t press the flour on firmly. Wait until you see golden edges before flipping – patience pays off!
Nutritional Information
Here’s the scoop per serving (but remember, these are estimates – your exact numbers will dance around based on oil absorption and chicken size):
- 420 calories
- 22g fat (4g saturated)
- 25g carbs
- 32g protein
- 650mg sodium
My rule? Enjoy every crispy bite – comfort food nourishes the soul too!
Rate This Recipe
Did you love this Country Fried Chicken as much as my family does? Drop a star rating below and tell me how it turned out in your kitchen!
Print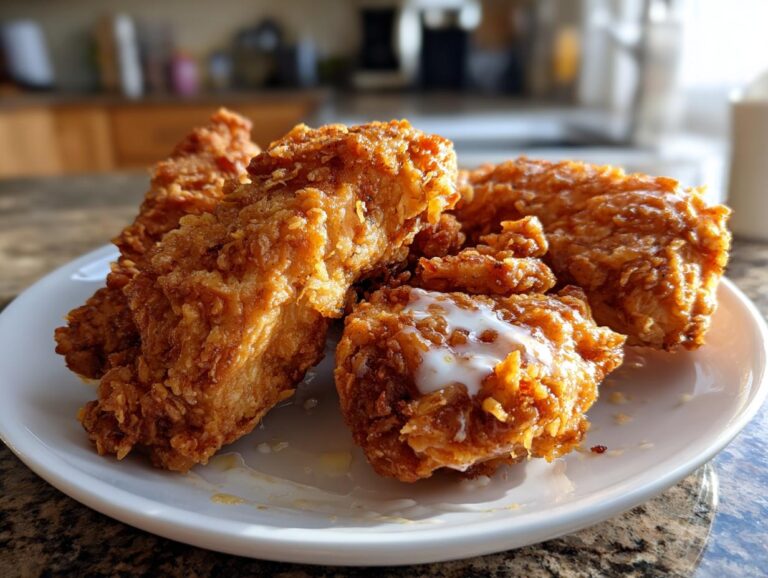
Country Fried Chicken with Crispy Coating
Crispy, golden country fried chicken made with a seasoned flour coating and pan-fried to perfection. A classic comfort food dish.
- Total Time: 30 mins
- Yield: 4 servings 1x
Ingredients
- 4 boneless, skinless chicken breasts
- 1 cup all-purpose flour
- 1 tsp salt
- 1 tsp black pepper
- 1 tsp paprika
- 1/2 tsp garlic powder
- 1/2 tsp onion powder
- 1/4 tsp cayenne pepper (optional)
- 1 cup buttermilk
- 1/2 cup vegetable oil for frying
Instructions
- Pound chicken breasts to an even thickness for even cooking.
- In a shallow bowl, mix flour, salt, black pepper, paprika, garlic powder, onion powder, and cayenne.
- Dip each chicken breast in buttermilk, then coat well with the flour mixture.
- Heat oil in a large skillet over medium-high heat.
- Fry chicken for 5-7 minutes per side or until golden brown and cooked through.
- Drain on paper towels before serving.
Notes
- Use a meat thermometer to ensure chicken reaches 165°F internally.
- For extra crispiness, double-dip in buttermilk and flour.
- Adjust cayenne pepper for more or less heat.
- Prep Time: 15 mins
- Cook Time: 15 mins
- Category: Main Dish
- Method: Pan-Fried
- Cuisine: American
- Diet: Low Lactose
Nutrition
- Serving Size: 1 chicken breast
- Calories: 420
- Sugar: 2g
- Sodium: 650mg
- Fat: 22g
- Saturated Fat: 4g
- Unsaturated Fat: 16g
- Trans Fat: 0g
- Carbohydrates: 25g
- Fiber: 1g
- Protein: 32g
- Cholesterol: 95mg