Oh my goodness, friend, let me tell you about Chicken Milanese! It’s one of those dishes that just screams comfort and sophistication all at once, you know? The first time I ever had it, I was at this little Italian bistro, and I swear, I thought I’d died and gone to crispy, lemony heaven. I immediately knew I had to figure out how to make it at home, and not just make it, but make it *perfectly*!
This isn’t just any Chicken Milanese recipe, though. This is *my* recipe, honed over countless kitchen adventures, and let me tell you, it stands out. We’re talking golden-brown, whisper-thin chicken cutlets with the most incredible crunch, bursting with flavor, and all ready in practically no time. Seriously, it looks fancy, but it’s shockingly easy to whip up. Get ready to impress yourself (and anyone lucky enough to share a meal with you!) because this one is a total winner.
Why You’ll Love This Chicken Milanese Recipe
Okay, so why is *this* Chicken Milanese recipe going to be your new weeknight hero? Let me count the ways! It’s:
- Super Quick: Seriously, from start to finish, you’re looking at about 35 minutes. Perfect for busy evenings!
- Flavor-Packed: Every bite is a symphony of savory chicken, zesty lemon, and aromatic herbs.
- Incredibly Versatile: Serve it with a simple salad, pasta, or even on its own. It plays well with everything!
- Crowd-Pleaser: Kids and adults alike adore that satisfying crunch and tender interior.
The Irresistible Charm of Crispy Chicken Milanese
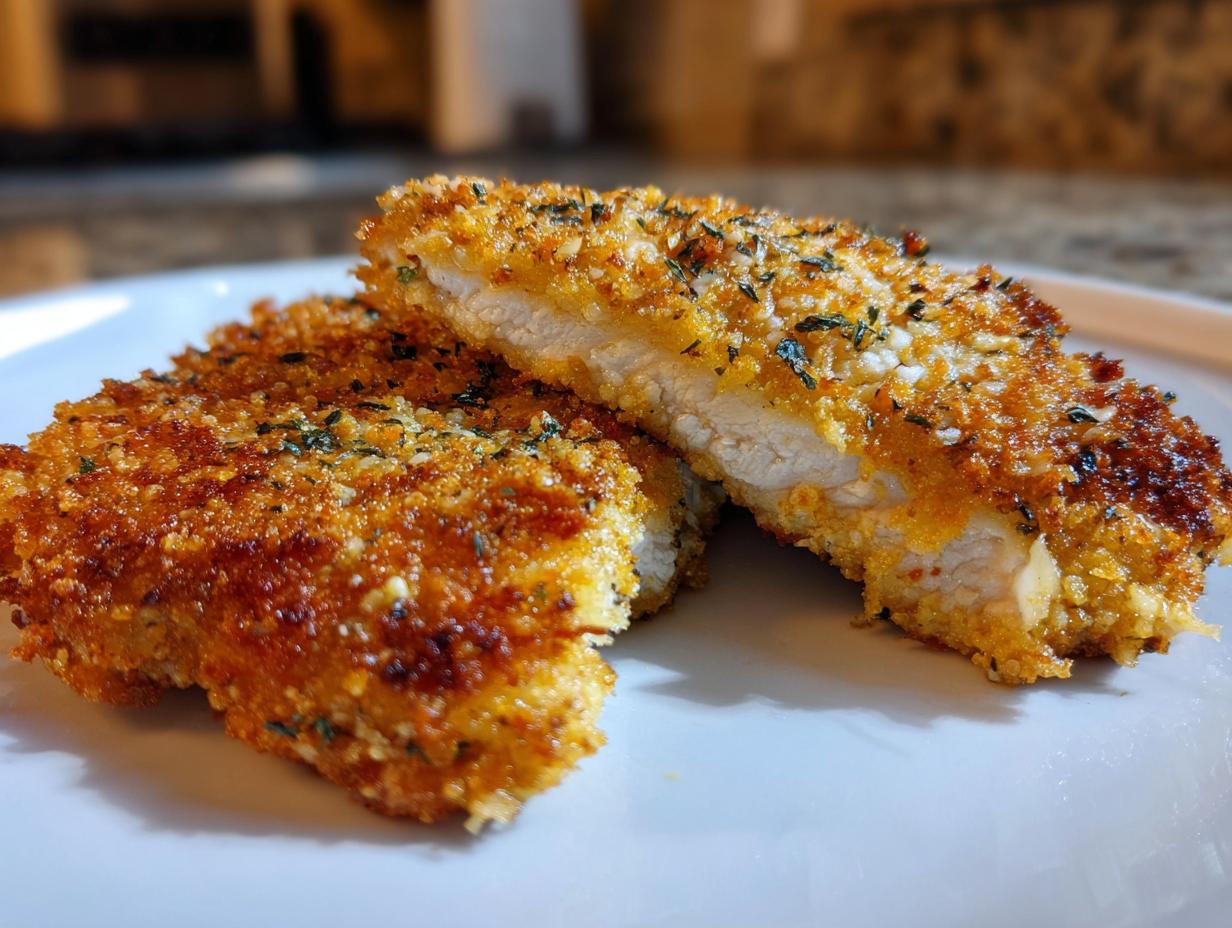
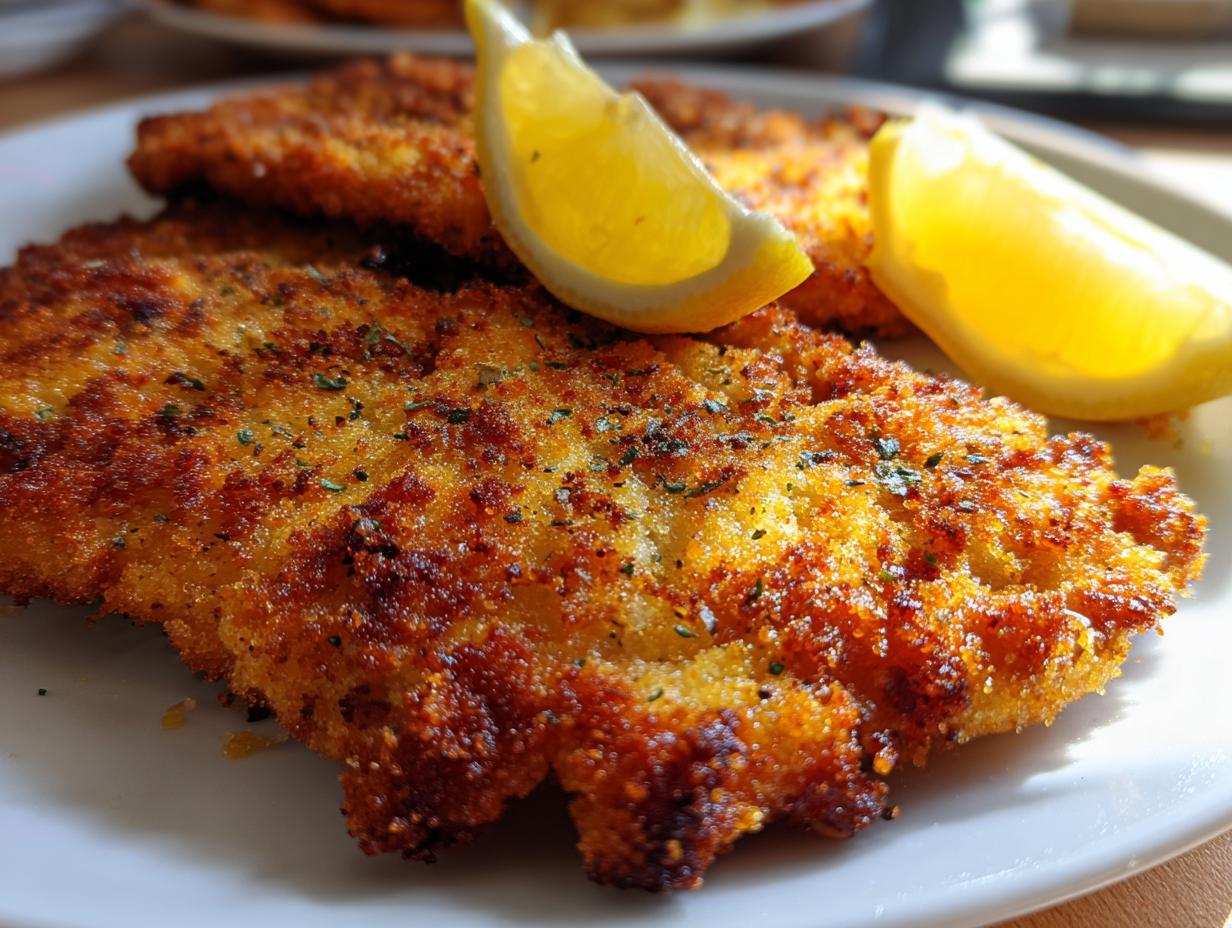
There’s just something magical about that perfect crunch, isn’t there? This recipe delivers exactly that – a golden, crispy exterior that gives way to juicy, tender chicken. The bright lemon finish just cuts through the richness beautifully. Trust me, it’s a texture and flavor combo that’s truly addictive!
Essential Ingredients for Perfect Chicken Milanese
Alright, my friends, let’s talk ingredients! Like any good recipe, the magic of Chicken Milanese starts with what you put into it. I’m a stickler for quality, especially when it comes to something as simple and elegant as this dish. Here’s exactly what you’ll need to grab from your pantry and fridge to make this crispy dream a reality:
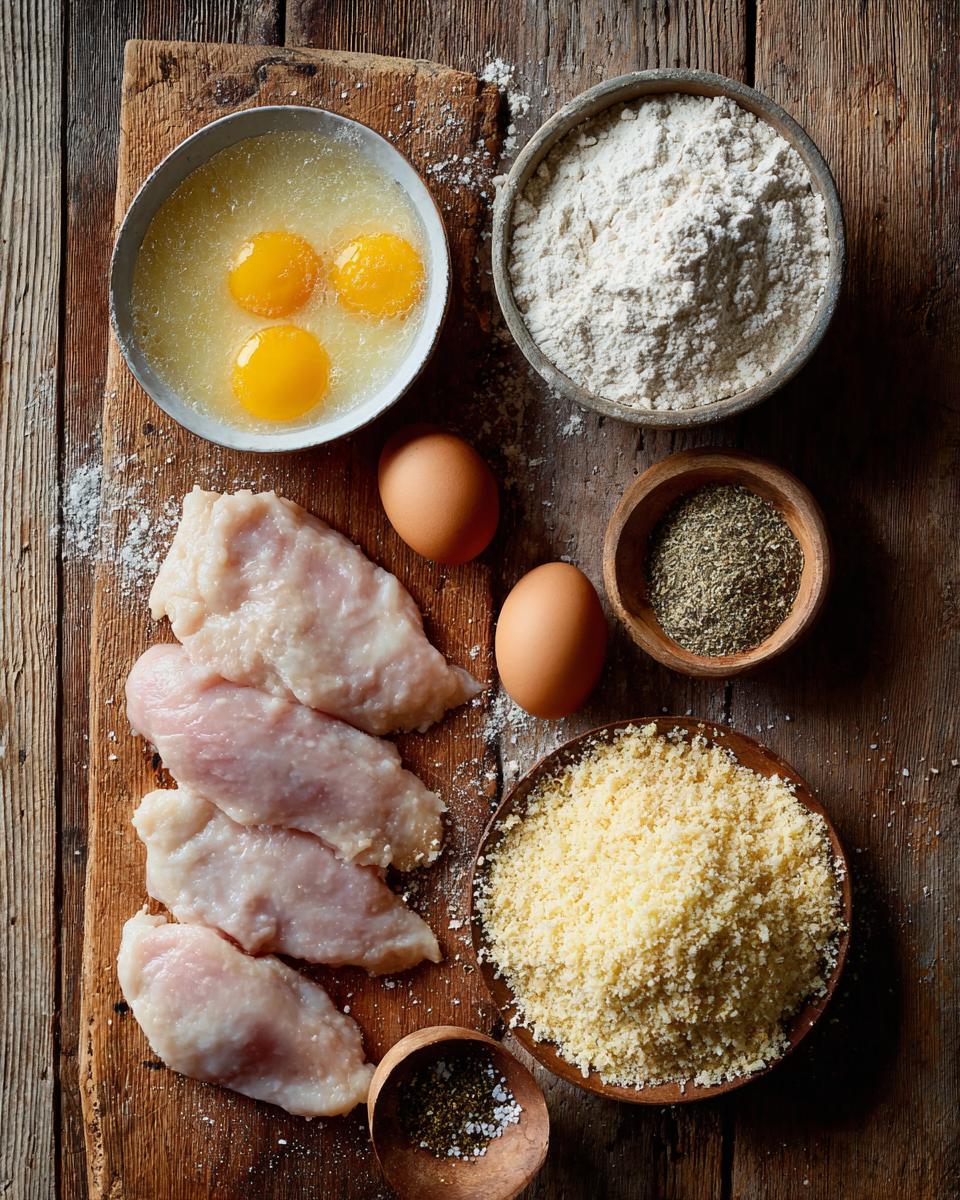
- 4 boneless, skinless chicken breasts: Look for medium-sized ones, about 6-8 ounces each.
- 1/2 cup all-purpose flour: Just your standard plain flour will do the trick for the first dredge.
- 2 large eggs, beaten: Fresh eggs are always best! Give them a good whisk until they’re nice and uniform.
- 1 1/2 cups breadcrumbs: Panko is my absolute secret weapon here. Those big, flaky crumbs give you *the* best crunch. Trust me on this one!
- 1/2 cup grated Parmesan cheese: Please, please, *please* grate it fresh if you can. It makes a world of difference in flavor.
- 1 teaspoon dried oregano: A classic Italian herb that really shines here.
- 1/2 teaspoon garlic powder: Just enough to add a little savory depth without overpowering.
- Salt and fresh black pepper: To taste, of course, but don’t be shy! Seasoning is key.
- 1/2 cup olive oil (or vegetable oil) for frying: I usually go with olive oil for that lovely flavor, but a neutral vegetable oil works perfectly too.
- 1 lemon, cut into wedges, for serving: Non-negotiable! That fresh squeeze of lemon at the end is everything.
Gathering Your Chicken Milanese Kitchen Staples
Okay, so you’ve got your list, now let’s make sure we’re setting ourselves up for success! When you’re picking out your chicken, try to get pieces that are relatively even in thickness – it’ll make pounding them out so much easier. And for that Parmesan, seriously, a block of good quality cheese and a grater will elevate this dish immensely. Everything else is pretty straightforward, but having it all measured out and ready to go before you start pounding and dredging will make the whole process so much smoother. It’s all about mise en place, baby!
Step-by-Step Guide to Making Chicken Milanese
Alright, my friends, it’s showtime! This is where the magic happens. Don’t be intimidated; I’m going to walk you through each step, and before you know it, you’ll have perfectly crispy, golden Chicken Milanese on your plate. We’re going for efficiency and deliciousness here, so let’s dive in!
Preparing Your Chicken for Crispy Chicken Milanese
First things first, we need to get those chicken breasts ready. This is a crucial step for that signature Milanese thinness and even cooking! Grab one chicken breast and place it between two sheets of plastic wrap. Now, get out your meat mallet (or a rolling pin if you don’t have one!) and pound that chicken until it’s about 1/4 inch thick. You want it nice and even all the way across. This helps it cook super fast and get wonderfully crispy. Repeat with all four breasts. Once they’re all pounded, give both sides of each cutlet a good sprinkle of salt and fresh black pepper. Don’t be shy with the seasoning here!
The Dredging Process for Authentic Chicken Milanese
This is where we build that incredible crispy crust! You’ll want to set up your “dredging station” – think of it like an assembly line. Grab three shallow dishes. In the first one, put your all-purpose flour. In the second, pour your beaten eggs. And in the third, combine your panko breadcrumbs, grated Parmesan, dried oregano, garlic powder, and a little more salt and pepper. Now, take one seasoned chicken cutlet and first, dredge it in the flour, making sure it’s fully coated, then give it a gentle shake to tap off any extra flour. Next, dip it into the beaten eggs, letting any excess drip off. Finally, lay it in the breadcrumb mixture and press gently to make sure it’s completely covered. You want a nice, thick, even coating. Set it aside and repeat with the rest of your chicken. See? Easy peasy!
Frying Your Golden Chicken Milanese
Time to get cooking! Pour your olive oil (or vegetable oil) into a large skillet – you want about 1/2 inch of oil – and heat it over medium-high heat. How do you know it’s hot enough? Drop a tiny breadcrumb in; if it sizzles immediately, you’re good to go! Carefully place 1-2 chicken cutlets in the hot oil, making sure not to overcrowd the pan. We want them to fry, not steam! Cook for about 3-4 minutes per side, or until they’re beautifully golden brown and cooked all the way through. You can always use a meat thermometer to check; it should reach 165°F (74°C). Once they’re done, transfer them to a plate lined with paper towels to drain off any extra oil. Repeat with the remaining cutlets. Serve them up right away with those fresh lemon wedges – that squeeze of citrus at the end is an absolute game-changer!
Pro Tips for the Best Chicken Milanese
Okay, so you’ve got the basic steps down, but if you want to take your Chicken Milanese from “good” to “OMG, you HAVE to try this!” then listen up! I’ve got a few little tricks up my sleeve that make all the difference. These aren’t complicated, just small tweaks that ensure your chicken is unbelievably crispy, flavorful, and just perfect every single time. Trust me, these tips are gold!
Ensuring Crispy Chicken Milanese Every Time
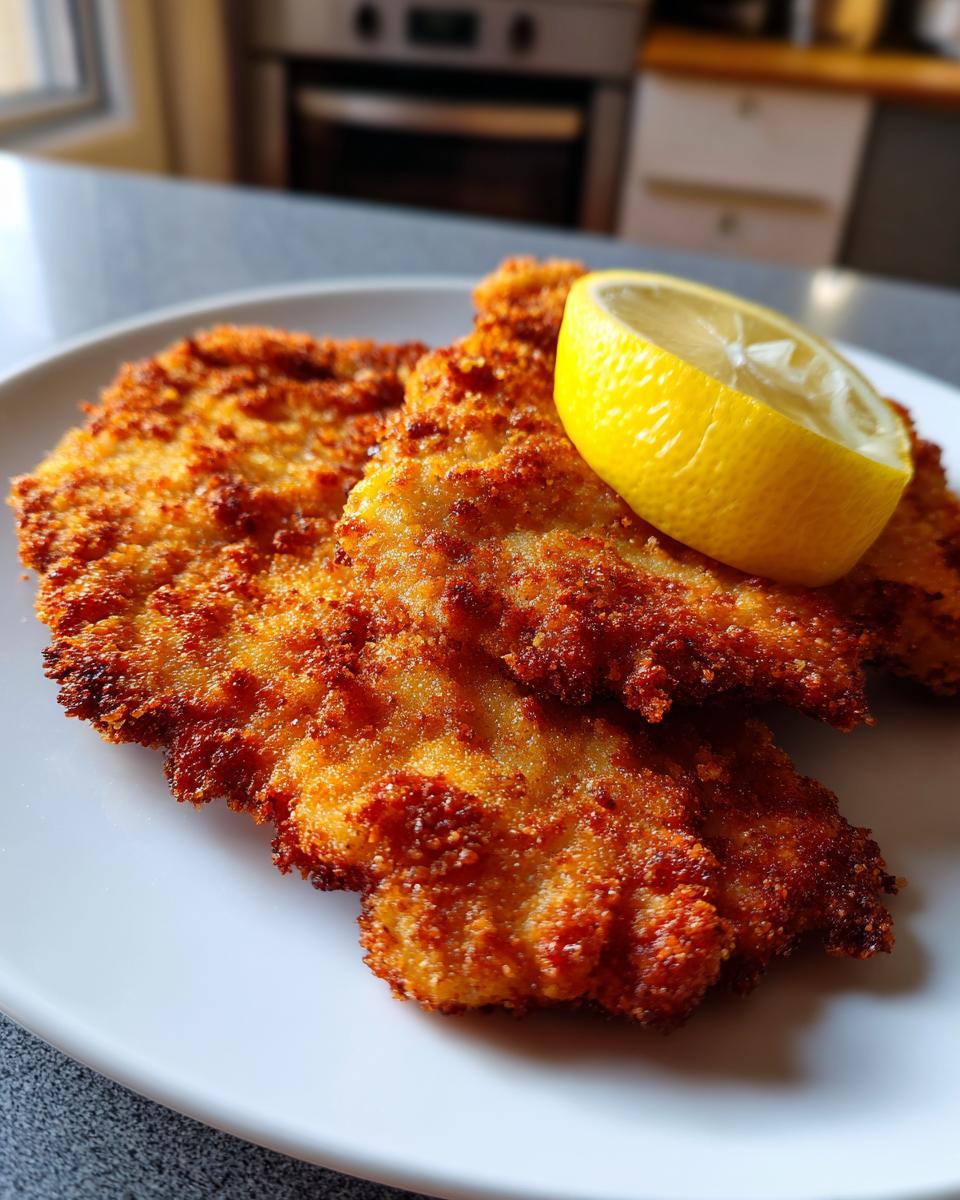
The secret to that jaw-dropping crispiness? First, don’t skimp on the oil, and make sure it’s hot enough before you add the chicken – but not smoking! Also, don’t overcrowd the pan. Cooking in batches lets the chicken fry properly instead of steaming. Another big one: use Panko breadcrumbs! Their flaky texture gives you a much crunchier coating than regular breadcrumbs. And finally, serve it IMMEDIATELY with a squeeze of fresh lemon. That little bit of acid just brightens everything up and makes the flavors pop!
Serving Suggestions for Your Chicken Milanese
You’ve just made a masterpiece, my friend, so now let’s talk about how to serve it up right! Chicken Milanese is incredibly versatile, and while it’s amazing all on its own with just a lemon wedge, it really shines with a few complementary sides. My absolute favorite? A fresh, peppery arugula salad with a light vinaigrette – the bitterness of the arugula and the tangy dressing cut through the richness of the chicken perfectly. Or, if you’re feeling a bit more substantial, a simple pasta with marinara sauce is always a winner. You could even go for some roasted asparagus or a creamy risotto. Honestly, anything that lets that crispy chicken be the star of the show!
Storing and Reheating Chicken Milanese
So, you somehow have leftovers? Wow, good for you! To keep your precious Chicken Milanese tasting great, let it cool completely first. Then, pop it into an airtight container and store it in the fridge for up to 3 days. When you’re ready for round two, the best way to reheat it is in the oven or an air fryer at about 350°F (175°C) for 10-15 minutes. This gets that amazing crispiness back without making it soggy like a microwave would!
Frequently Asked Questions About Chicken Milanese
Got questions? I’ve got answers! Making Chicken Milanese might seem straightforward, but there are always those little things that pop up. Here are some of the most common questions I get about this recipe, and my best advice to help you out. Don’t be afraid to experiment a little, but always keep that crispy, juicy goal in mind!
Can I Bake My Chicken Milanese Instead of Frying?
You absolutely can! While frying gives you that classic crispiness, baking is a great alternative. Just spray your breaded cutlets lightly with cooking spray and bake at 400°F (200°C) for about 20-25 minutes, flipping halfway through, until golden and cooked through. It might not be *quite* as crispy as pan-fried, but it’s still delicious!
What are Good Substitutions for Panko in Chicken Milanese?
If you don’t have panko, regular fine breadcrumbs will work, but your chicken won’t be quite as crispy – more of a traditional even coating. You could also try crushing up some cornflakes or even some seasoned crackers for a different kind of crunch!
Estimated Nutritional Information for Chicken Milanese
Just a quick note, my friends: the nutritional information provided here is an estimate! It can totally vary based on the exact brands you use, how much oil your chicken absorbs, and even the size of your chicken breasts. So, please take it as a general guide, not a precise scientific calculation!
Print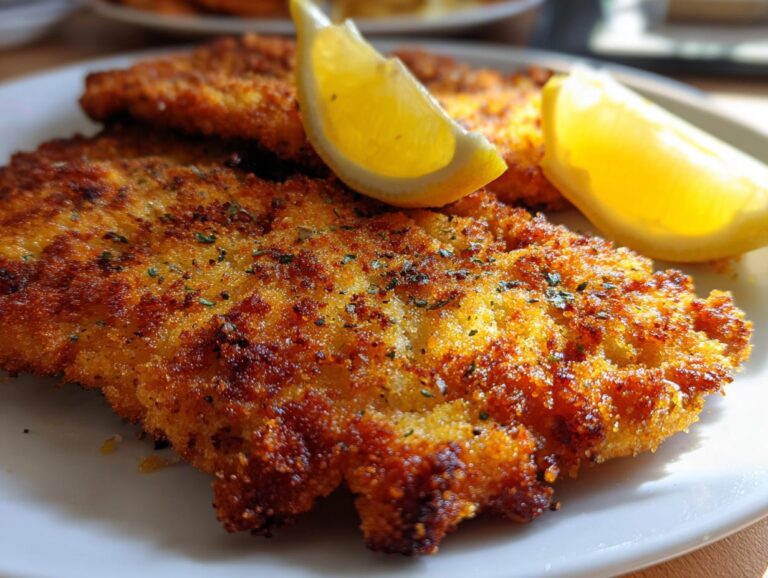
Chicken Milanese with Lemon
Crispy pan-fried chicken cutlets, pounded thin and coated in seasoned breadcrumbs, served with a fresh lemon wedge.
- Total Time: 35 minutes
- Yield: 4 servings 1x
Ingredients
- 4 boneless, skinless chicken breasts
- 1/2 cup all-purpose flour
- 2 large eggs, beaten
- 1 1/2 cups breadcrumbs (panko recommended for extra crispiness)
- 1/2 cup grated Parmesan cheese
- 1 teaspoon dried oregano
- 1/2 teaspoon garlic powder
- Salt and black pepper to taste
- 1/2 cup olive oil (or vegetable oil) for frying
- 1 lemon, cut into wedges, for serving
Instructions
- Place each chicken breast between two sheets of plastic wrap. Using a meat mallet or rolling pin, pound the chicken until it is about 1/4 inch thick.
- Set up a dredging station with three shallow dishes. In the first dish, place the flour. In the second dish, place the beaten eggs. In the third dish, combine the breadcrumbs, Parmesan cheese, oregano, garlic powder, salt, and pepper.
- Season both sides of each pounded chicken cutlet with salt and pepper.
- Dredge each chicken cutlet first in the flour, shaking off any excess.
- Next, dip the floured chicken into the beaten eggs, allowing any excess to drip off.
- Finally, coat the chicken thoroughly in the breadcrumb mixture, pressing gently to ensure an even coating.
- Heat the olive oil in a large skillet over medium-high heat.
- Once the oil is hot, carefully place 1-2 chicken cutlets in the skillet, depending on its size, making sure not to overcrowd the pan.
- Cook for 3-4 minutes per side, or until golden brown and cooked through. The internal temperature should reach 165°F (74°C).
- Transfer the cooked chicken Milanese to a plate lined with paper towels to drain excess oil.
- Repeat with the remaining chicken cutlets.
- Serve immediately with fresh lemon wedges.
Notes
- For extra flavor, add a pinch of red pepper flakes to the breadcrumb mixture.
- Serve with a side of arugula salad or pasta with marinara sauce.
- Leftovers can be stored in an airtight container in the refrigerator for up to 3 days.
- Prep Time: 20 minutes
- Cook Time: 15 minutes
- Category: Main Course
- Method: Pan Frying
- Cuisine: Italian
- Diet: None
Nutrition
- Serving Size: 1 cutlet
- Calories: 450
- Sugar: 2g
- Sodium: 550mg
- Fat: 25g
- Saturated Fat: 7g
- Unsaturated Fat: 15g
- Trans Fat: 0g
- Carbohydrates: 25g
- Fiber: 2g
- Protein: 35g
- Cholesterol: 120mg