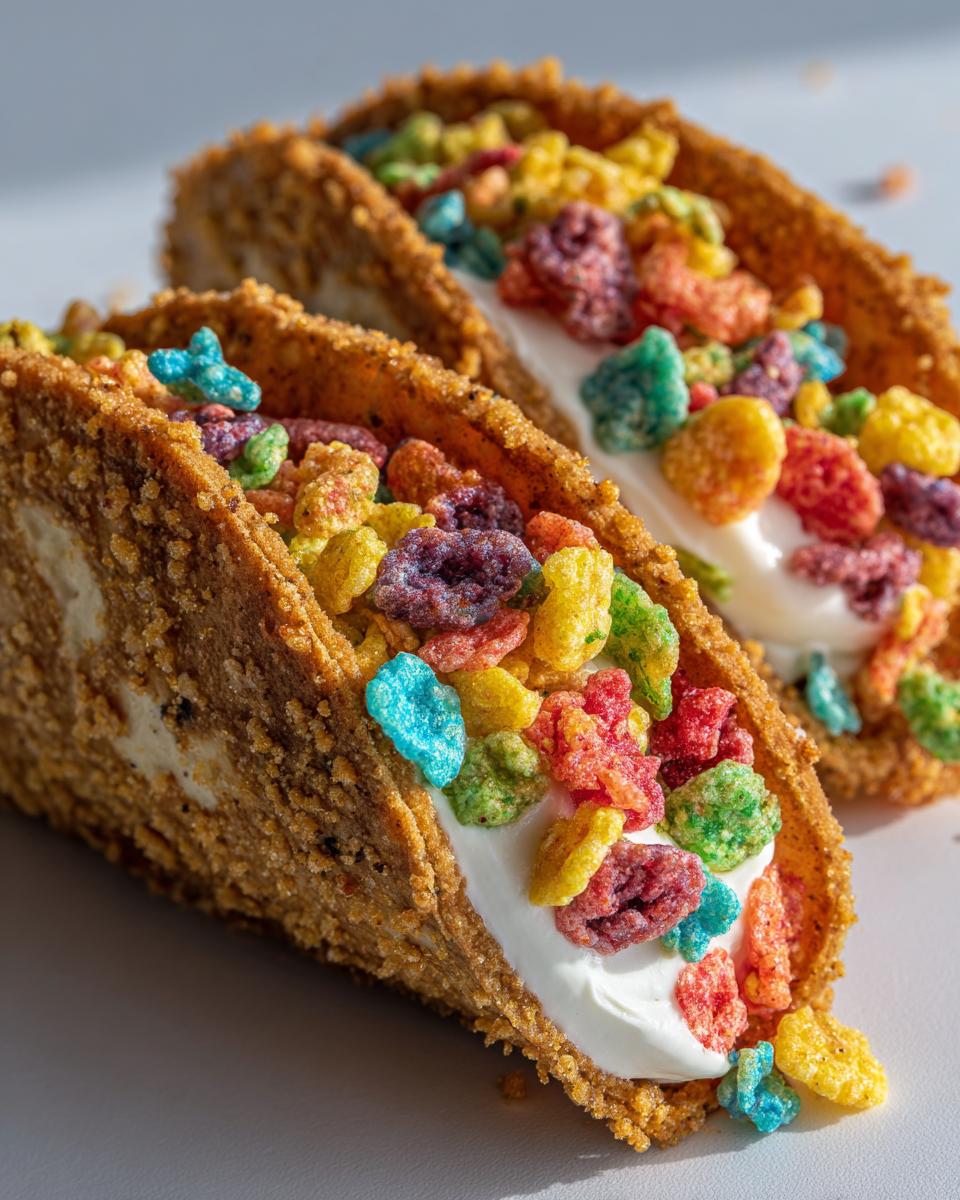
Remember those Saturday mornings when you’d pour yourself a big bowl of Fruity Pebbles and watch the milk turn rainbow? That childhood magic just got a dessert upgrade with these Fruity Pebbles Cheesecake Tacos! I still get giddy every time I make them – they’re like my favorite breakfast cereal had a party with cheesecake and decided to crash a taco night.
This recipe came about when my niece begged for “something fun” for her birthday. After testing seven versions (yes, seven!), we landed on this perfect combo of crispy cinnamon sugar shells and creamy, colorful filling. My kitchen became a rainbow explosion, but oh wow – the squeals from the kids (and let’s be honest, the adults too) made every sticky counter totally worth it. What I love most? You can whip these up in 20 minutes flat, and they disappear even faster at parties.
Why You’ll Love These Fruity Pebbles Cheesecake Tacos
Honestly, what’s not to love about these little pockets of joy? Let me count the ways:
- Kid magic: The moment those colorful cereal bits appear, you’ll have instant hero status with the under-10 crowd (and let’s be real – plenty of grown-ups too)
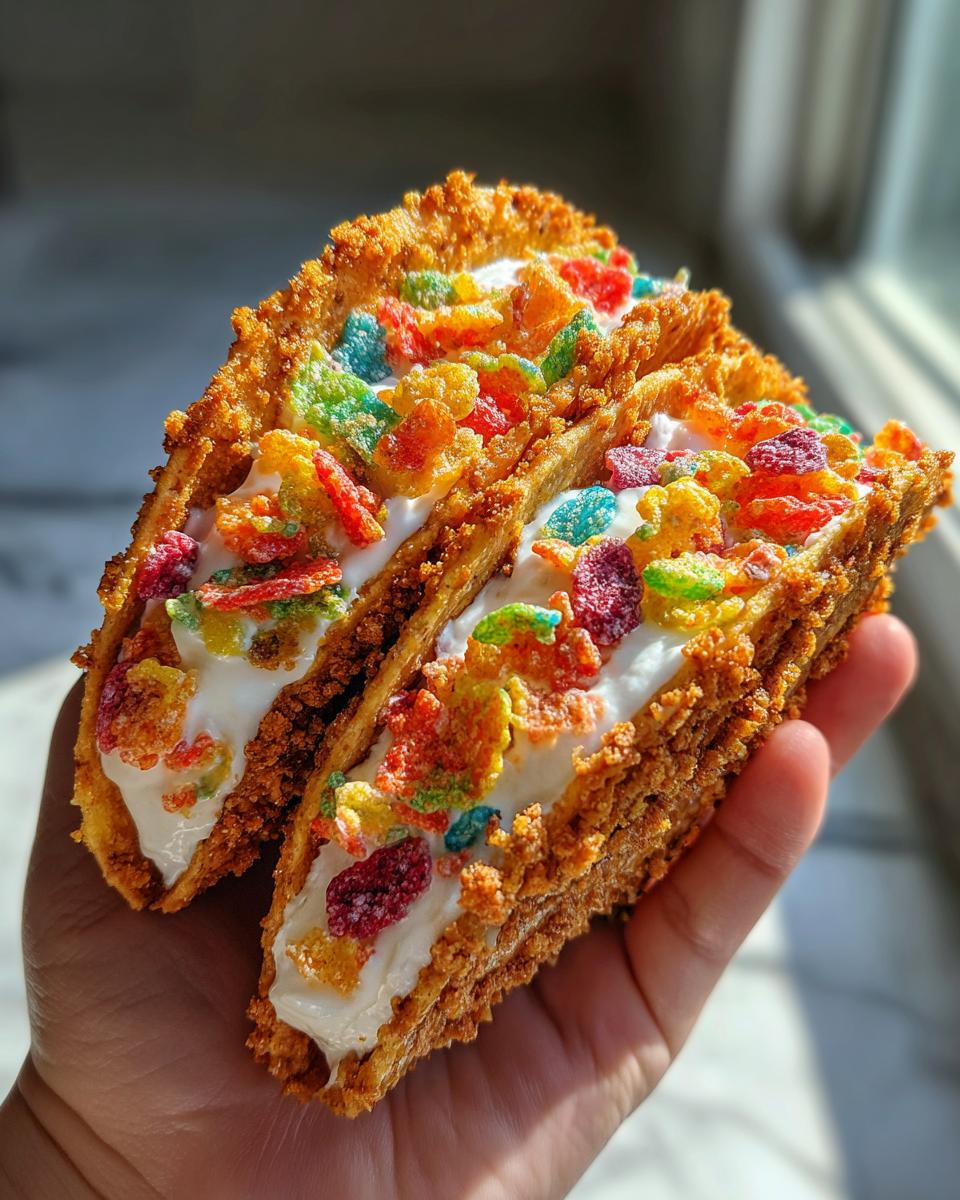
- Texture party: That crispy cinnamon shell hugging the creamy filling with those satisfying cereal crunches? *chef’s kiss*
- 20-minute wonder: From mixing bowl to happy mouths faster than you can say “dessert taco”
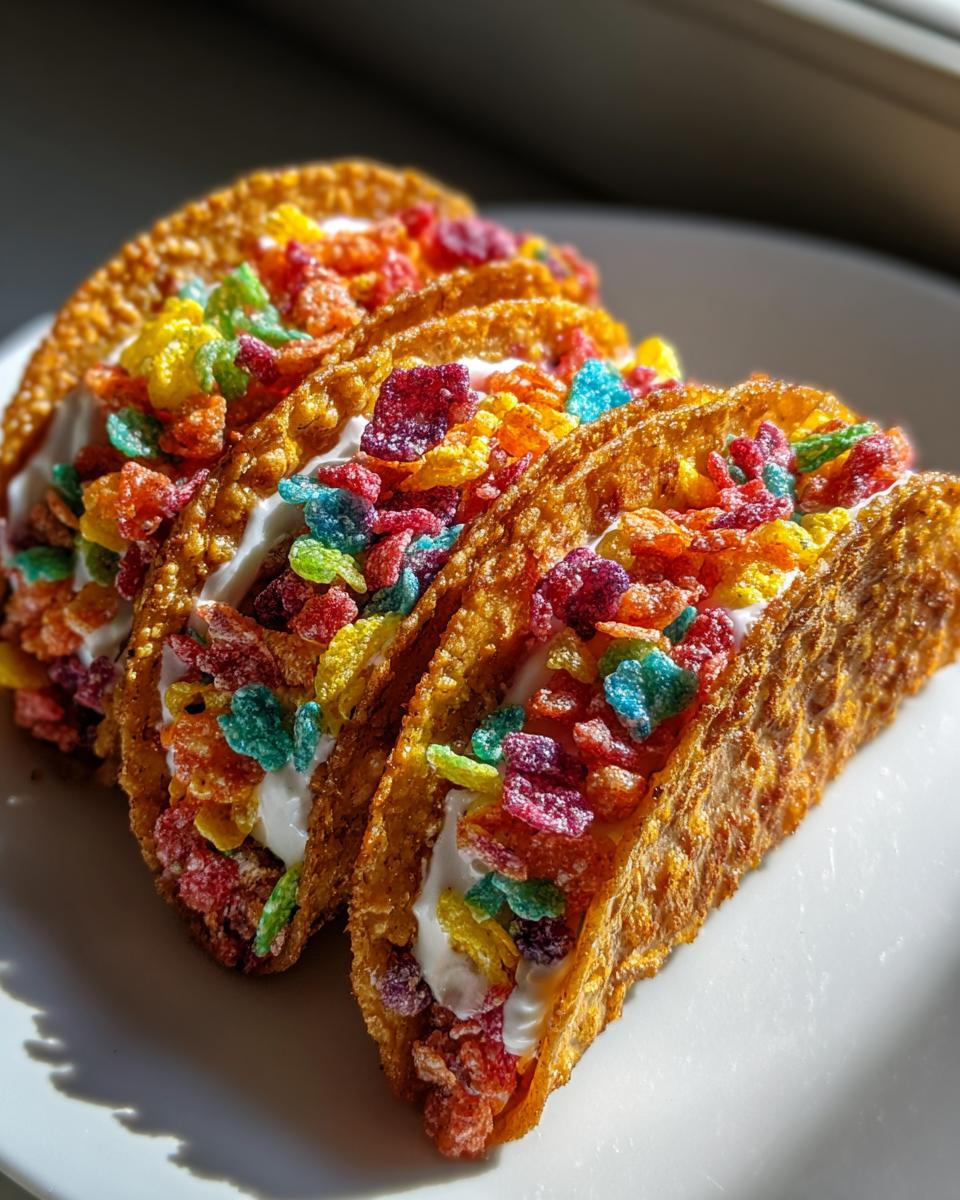
- Party perfect: Stack them on a platter and watch them vanish faster than milk in a cereal bowl
- Customizable: Swap toppings, try different cereals – your kitchen, your rules!
Ingredients for Fruity Pebbles Cheesecake Tacos
Grab these simple ingredients (I bet most are already in your kitchen!) to create rainbow magic:
- For the cheesecake filling:
- 8 oz cream cheese (that’s one standard block – softened completely!)
- 1/4 cup granulated sugar (yes, measure it – this keeps the sweetness perfect)
- 1 tsp pure vanilla extract (the good stuff makes a difference)
- 1 cup Fruity Pebbles cereal (plus extra for topping – because more color = more fun)
- For the taco shells:
- 6 small flour tortillas (6-inch size works best – bigger ones get floppy)
- 1/4 cup melted butter (I use unsalted but salted works too)
- 2 tbsp cinnamon sugar (or make your own with 2 tbsp sugar + 1/2 tsp cinnamon)
Ingredient Notes
Let me share some hard-earned kitchen wisdom about these ingredients:
Cream cheese tip: Leave that brick on the counter for at least 30 minutes before mixing. Cold cream cheese = lumpy filling = sad tacos. If you’re in a rush? Microwave it for 10-second bursts (but watch it like a hawk – melted cream cheese is a disaster!).
Tortilla options: While flour tortillas give that perfect crispy-yet-bendable shell, corn tortillas work too! Just bake them a minute longer and fold carefully when warm (they’re more fragile, trust me – I learned this the messy way).
Sugar situation: No cinnamon sugar? No problem! Plain sugar works, or try sprinkling crushed cereal on the buttered tortillas for extra color.
Biggest mistake to avoid: When folding in the Fruity Pebbles, gently stir just until combined. Overmixing turns your rainbow filling into sad pink mush (learned that during test batch #3 – oops!).
Equipment You’ll Need
Here’s the beautiful part – you probably already have everything needed to make these colorful delights! No fancy gadgets required, just these kitchen basics:
- Mixing bowl (medium-sized works perfectly – I use my favorite blue one that’s seen years of dessert experiments)
- Hand mixer or sturdy spoon (the mixer makes quick work of the cream cheese, but elbow grease works too if you’re feeling nostalgic)
- Pastry brush (or that silicone basting brush you got as a wedding gift – perfect for buttering those tortillas)
- Baking sheet (lined with parchment paper if you’re smart – saves cleanup time when the cinnamon sugar gets everywhere)
- Spatula (for scraping every last bit of that delicious filling – waste not, want not!)
That’s it! No stand mixer required, no special taco molds – just simple tools that turn ordinary ingredients into something extraordinary. Now let’s get those tacos going!
How to Make Fruity Pebbles Cheesecake Tacos
Alright, let’s turn these simple ingredients into magical dessert tacos! The process couldn’t be easier, but I’ve got some pro tips to ensure yours turn out perfect on the first try. Promise me one thing – don’t skip preheating that oven! Cold ovens lead to soggy shells, and nobody wants that.
Step 1: Prepare the Cheesecake Filling
First things first – let’s make that dreamy filling. Grab your softened cream cheese (important!), sugar, and vanilla. Toss them into your mixing bowl and beat on medium speed for about 1-2 minutes. You’re looking for that perfect smooth consistency – no lumps allowed! Pro tip: Stop halfway to scrape down the sides with a spatula. Those sneaky cream cheese bits love to hide in the corners.
Now the fun part – gently fold in the Fruity Pebbles! I use a rubber spatula and make wide, swooping motions to distribute the cereal evenly without crushing all those colorful bits. The filling should look like a rainbow exploded in your bowl (in the best possible way). Set this aside while we work on the shells.
Step 2: Crisp the Taco Shells
Time to transform those humble tortillas into crispy vessels of deliciousness. Brush each tortilla lightly but evenly with melted butter – both sides! This ensures maximum crispiness and helps the cinnamon sugar stick. Sprinkle that cinnamon sugar mixture generously over both sides (trust me, it’s worth the mess).
Now, drape each tortilla over two bars of your oven rack to create that perfect taco shape. Bake at 350°F for exactly 5 minutes – set a timer! You’ll know they’re ready when the edges turn golden and the tortillas hold their shape when you lift them. They’ll crisp up more as they cool, so don’t overbake unless you want tortilla chips instead of taco shells.
Step 3: Assemble the Tacos
The moment of truth! Working quickly while the shells are still slightly warm (but not too hot to handle), spoon about 2 tablespoons of filling into each shell. Don’t overstuff – we want pretty, manageable tacos, not bursting-at-the-seams messes. Immediately top with extra Fruity Pebbles for that wow factor.
Pro assembly tip: I like to stand the tacos up in a shallow baking dish filled with uncooked rice or beans to keep them upright while serving. Makes for such a cute presentation! These beauties are best served right away while the shells are still crisp and the filling is creamy. Watch those smiling faces as the first colorful bite disappears!
Tips for Perfect Fruity Pebbles Cheesecake Tacos
After making these tacos more times than I can count (and learning from all my kitchen mishaps), here are my foolproof tips for absolute perfection:
- Chill that filling if it gets too soft: If your kitchen’s warm or you got overzealous with mixing, pop the bowl in the fridge for 10 minutes. Too-soft filling makes shells soggy faster than you can say “rainbow explosion”. Learned this the hard way during my niece’s pool party!
- Serve immediately for maximum crispness: These tacos are like Cinderella – magical at the stroke of “ready” but turn soggy if left too long. Assemble right before serving for that perfect crispy-creamy contrast.
- Fresh cereal = best crunch: That box sitting open in your pantry for weeks? Not ideal. Fresh Fruity Pebbles give that satisfying snap – check the date before you bake!
- Fold tortillas while warm: They become brittle when completely cool. Shape them gently right out of the oven when they’re still pliable enough to bend without cracking.
Bonus pro tip from my last batch: If you’re serving these at a party, prep all components separately and let guests assemble their own tacos. Kids go wild for the DIY aspect, and you avoid soggy-shell sadness!
Variations to Try
One of my favorite things about this recipe? How easily you can shake things up! After making these tacos dozens of times, I’ve had fun playing with different versions. Here are some of our household’s favorite twists:
Cocoa Pebbles swap: For all my chocolate lovers, replace the Fruity Pebbles with Cocoa Pebbles for a decadent chocolate version. The cereal adds this amazing malted flavor that pairs perfectly with the creamy filling. My husband prefers these – claims they’re “more grown-up” (though he still eats three at a time!).
Fruit drizzle magic: Take your tacos next-level with a quick strawberry or raspberry sauce drizzle. Just blend fresh berries with a touch of sugar and lemon juice, then zigzag it over the filled tacos. The tartness cuts through the sweetness beautifully. Pro tip: This works especially well if you use less sugar in the filling!
Chocolate tortilla upgrade: Found these chocolate-flavored tortillas at my grocery store last month – game changer! They bake up just as crispy and add this subtle chocolatey note that makes the whole thing taste like a candy bar taco. Bonus: They hide any accidental filling drips better than plain tortillas (not that I’d know anything about messy filling…).
The possibilities are endless – I’ve even seen friends use Cinnamon Toast Crunch or Lucky Charms with fantastic results. Whatever you choose, remember the golden rule: Have fun with it! These tacos are all about bringing joy to your kitchen.
Serving and Storage Tips
Listen, I know you’ll probably devour these tacos immediately (who wouldn’t?), but just in case there are leftovers (ha!), here’s how to handle them:
Serving temp matters: These tacos are at their absolute best when served slightly chilled. I like to pop the filled shells in the fridge for about 10 minutes before serving – it firms up the filling just enough to make them easier to eat without sacrificing that dreamy creamy texture.
The sad truth about storage: If you must store them (and I mean MUST), keep assembled tacos in the fridge for no more than 1 day. Any longer and those once-crispy shells turn into sad, soggy messes. Learned this the hard way when I tried saving some overnight for my book club – never again!
Better idea: Store components separately! Keep the filling in an airtight container and the baked shells in a paper bag at room temp. Assemble just before serving for maximum crunch. The filling stays good for 2 days this way.
Freezer warning: I know it’s tempting, but don’t freeze these! The moisture in the filling turns icy and grainy, while the tortillas become leathery when thawed. Trust me, after my disastrous freezer experiment last summer, I can confirm fresh is the only way to go with these beauties.
Pro tip from my last picnic: If you’re transporting these, pack the cooled shells in one container and the filling in another with ice packs. Assemble on-site for tacos that’ll make everyone think you’re a dessert wizard!
Nutritional Information
Okay, let’s talk nutrition – because even dessert tacos deserve transparency! (Not that you’ll care once you taste them, but hey, knowledge is power.) Here’s the scoop per taco, based on my recipe testing:
- Calories: 280 (worth every single one!)
- Sugar: 18g (from both the cereal and added sugar – it’s dessert, after all)
- Fat: 16g (hello, cream cheese and butter – the delicious culprits)
- Carbohydrates: 29g (mostly from those glorious tortillas and cereal)
- Protein: 5g (surprise protein boost from the cream cheese!)
Important note: These values are estimates based on standard ingredients. Your exact numbers might vary slightly depending on brands used and how generously you… ahem…”sample” the filling as you go (we’ve all been there).
While I’m no nutritionist, I can tell you these tacos are meant as a fun treat – not an everyday health food. But you already knew that when you saw “Fruity Pebbles” and “cheesecake” in the title, right? Everything in moderation, friends – except maybe smiles when serving these colorful beauties!
FAQs About Fruity Pebbles Cheesecake Tacos
I’ve gotten so many fun questions about these tacos since sharing them with friends – here are the ones that keep popping up most often:
Can I make Fruity Pebbles cheesecake tacos ahead?
Oh honey, I wish! These beauties are best enjoyed fresh – think of them like French fries, where the magic is in that immediate crisp-to-creamy contrast. If you absolutely must prep ahead, bake the shells and make the filling separately, then assemble right before serving. Even then, I wouldn’t prep more than an hour early – those shells lose their snap faster than kids lose interest in vegetables.
Can I use corn tortillas instead of flour?
Absolutely! I actually prefer corn tortillas for their authentic taco vibe – just know they’re a bit more delicate. Here’s my corn tortilla cheat sheet: bake them for 6-7 minutes instead of 5, fold them gently while still warm (they crack easier than flour), and maybe go lighter on the filling since they’re smaller. Pro tip: Warm corn tortillas in a dry skillet for 30 seconds before buttering – it makes them more pliable!
How do I prevent soggy taco shells?
This was my nemesis during early testing! Three golden rules: 1) Make sure shells are completely crisp before filling (tap them – they should sound hollow), 2) Don’t overfill (less is more!), and 3) Serve immediately after assembly. If you see condensation forming inside the shells, you’ve waited too long! My emergency fix? Pop assembled tacos in the freezer for 5 minutes – buys you about 10 extra minutes of crispness in a pinch.
Bonus question I get all the time: “Can adults enjoy these or are they just for kids?” Are you kidding me? I’ve seen grown men fight over the last taco at potlucks! The joy of Fruity Pebbles cheesecake tacos knows no age limit – just maybe keep some napkins handy for the inevitable rainbow-hued grins. For more dessert ideas, check out Simply Recipes.
Print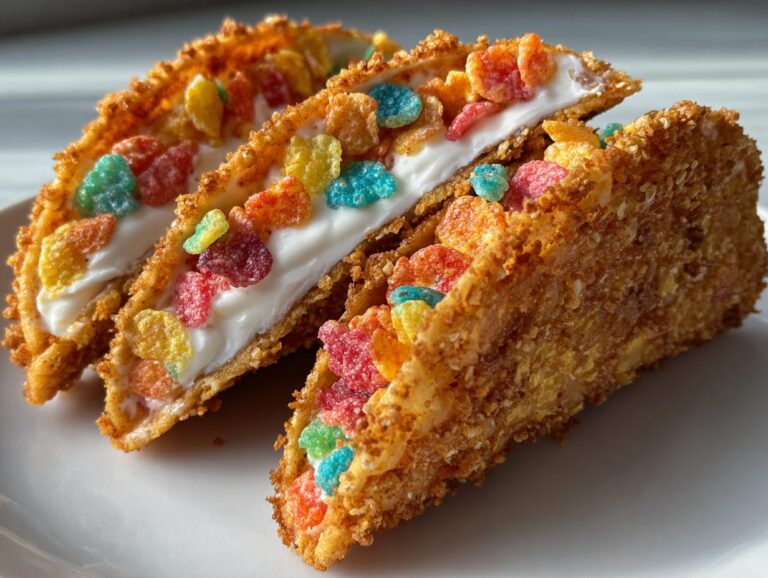
Fruity Pebbles Cheesecake Tacos: 20-Minute Rainbow Delight
A fun and colorful dessert combining Fruity Pebbles cereal with cheesecake filling in a crispy taco shell.
- Total Time: 20 minutes
- Yield: 6 tacos 1x
Ingredients
- 1 cup Fruity Pebbles cereal
- 8 oz cream cheese, softened
- 1/4 cup sugar
- 1 tsp vanilla extract
- 6 small flour tortillas
- 1/4 cup butter, melted
- 2 tbsp cinnamon sugar
Instructions
- Preheat oven to 350°F
- Mix cream cheese, sugar, and vanilla until smooth
- Fold in Fruity Pebbles cereal
- Brush tortillas with melted butter and sprinkle with cinnamon sugar
- Bake tortillas for 5 minutes until crisp
- Fill each taco shell with cheesecake mixture
- Top with additional Fruity Pebbles before serving
Notes
- Let cream cheese soften at room temperature for easier mixing
- Serve immediately for best texture
- Store leftovers in refrigerator
- Prep Time: 15 minutes
- Cook Time: 5 minutes
- Category: Dessert
- Method: Baking
- Cuisine: American
- Diet: Vegetarian
Nutrition
- Serving Size: 1 taco
- Calories: 280
- Sugar: 18g
- Sodium: 320mg
- Fat: 16g
- Saturated Fat: 9g
- Unsaturated Fat: 5g
- Trans Fat: 0g
- Carbohydrates: 29g
- Fiber: 1g
- Protein: 5g
- Cholesterol: 45mg