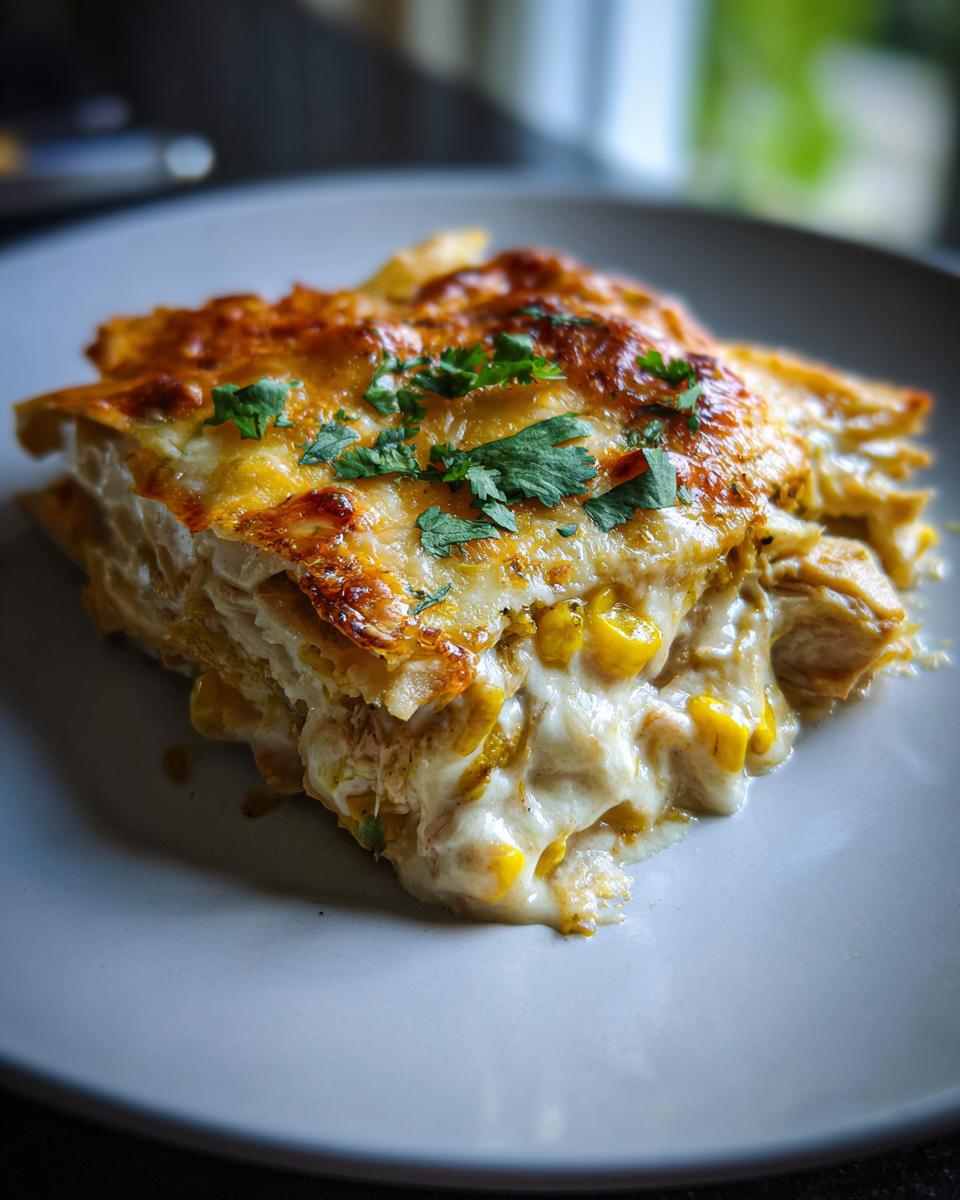
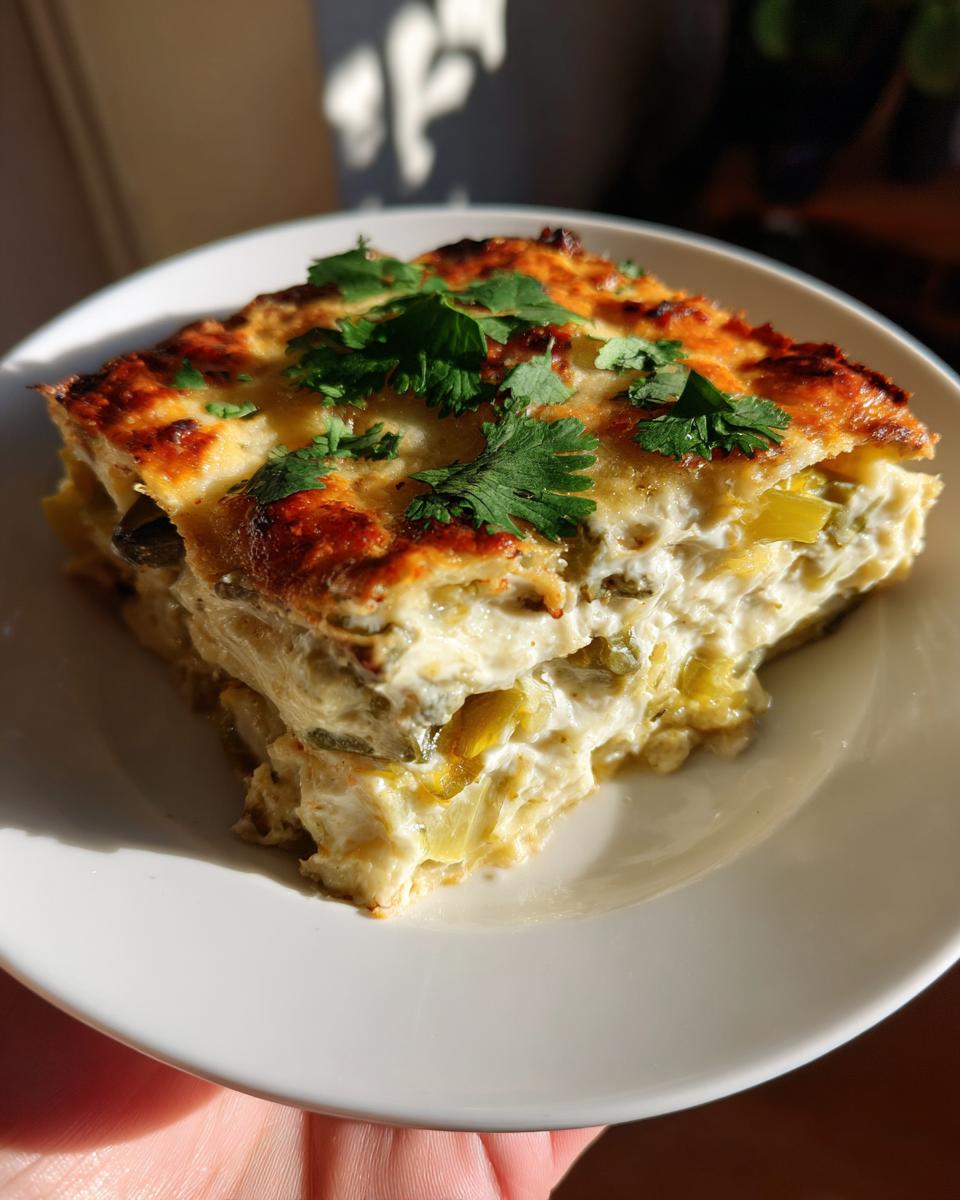
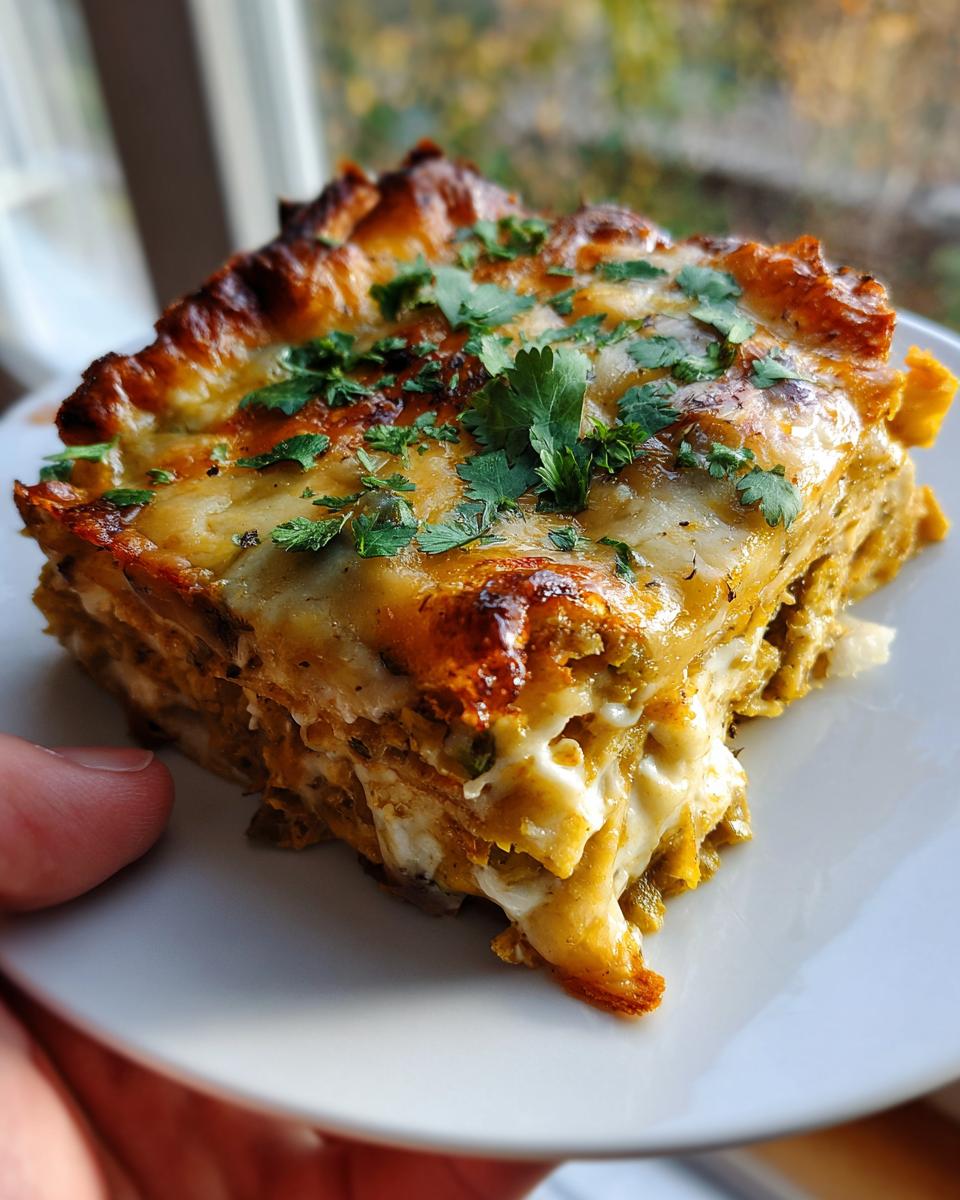
Oh, friends – let me tell you about my absolute favorite way to use those glorious Hatch chiles! This Hatch Chile Enchilada Pie is my go-to when I want something packed with smoky, spicy flavor but don’t feel like fussing over dinner. It’s got layers of corn tortillas, melty Monterey Jack cheese, and roasted Hatch chiles all swimming in a creamy cumin-spiced sauce. Simple? Yes. Delicious? Absolutely.
I still remember the first time I roasted Hatch chiles at home – that smoky aroma filling my kitchen, the charred skins peeling away to reveal tender green flesh underneath. Now I make this enchilada pie every August when Hatch chile season hits. It’s become our family’s tradition – the kind of dish that disappears fast and leaves everyone begging for seconds. The best part? You probably have most of the ingredients in your fridge already!
Why You’ll Love This Hatch Chile Enchilada Pie
Listen, I make this enchilada pie at least twice a month—that’s how good it is! Here’s why you’ll be obsessed too:
- Bold, smoky flavor: Roasted Hatch chiles bring that perfect kick without overwhelming heat (though you can always add jalapeños if you’re feeling brave!).
- Weeknight lifesaver: It comes together in 15 minutes flat—just layer, bake, and devour.
- Crowd-pleaser magic: Even my picky nephew scarfs this down (though I don’t tell him it’s vegetarian!).
- Leftovers that improve: The flavors meld overnight, making lunch the next day even better.
Trust me—once that cheesy, creamy goodness hits your fork, you’ll understand why this pie’s a staple in my kitchen.
Ingredients for Hatch Chile Enchilada Pie
Here’s what you’ll need to make this flavor-packed dish – I promise it’s all simple stuff! I’ve grouped them so you can grab everything quickly:
- Hatch chiles (8 medium): Roasted, peeled, and chopped – that smoky char is non-negotiable!
- Corn tortillas (6): The sturdy base that soaks up all that creamy goodness.
- Dairy dream team: 2 cups shredded Monterey Jack cheese (pre-shredded works, but block cheese melts better), 1 cup sour cream, and ½ cup heavy cream for richness.
- Spice mix: 1 tsp ground cumin, ½ tsp garlic powder, ½ tsp salt, and ¼ tsp black pepper – trust me on these measurements!
- Fresh finish: ¼ cup chopped cilantro for that bright pop of green.
Ingredient Notes & Substitutions
Don’t stress if you’re missing something – here’s how to adapt:
- No fresh Hatch chiles? Use 2 (4 oz) cans of mild green chiles in a pinch (drained well!).
- Sour cream swap: Plain Greek yogurt works beautifully – just add a squeeze of lime.
- Cheese variations: Pepper Jack kicks up the heat, while queso fresco adds a crumbly texture.
- Tortilla tip: Flour tortillas work, but corn gives that authentic texture I love.
See? Plenty of ways to make this pie your own while keeping that incredible flavor!
Equipment You’ll Need
No fancy gadgets required – just these basics:
- 9×13-inch baking dish: Glass or ceramic works best for even heating.
- Mixing bowl: For whipping up that creamy sauce.
- Knife & cutting board: To prep those glorious chiles.
- Oven mitts: Cheesy bubbly goodness = hot pan alert!
That’s it – now let’s get layering!
How to Make Hatch Chile Enchilada Pie
Okay, let’s get cooking! This pie comes together like a dream – just follow these simple steps and you’ll have dinner ready in no time. First things first – turn that oven to 375°F (190°C). Trust me, you want it nice and hot when your masterpiece goes in!
- The creamy magic: Grab a bowl and mix together the sour cream, heavy cream, cumin, garlic powder, salt, and black pepper. Give it a good whisk until it’s smooth as silk.
- First layer down: Spread about ¼ cup of that luscious cream mixture on the bottom of your baking dish – this keeps everything from sticking and adds extra flavor.
- Let the layering begin: Place 2 corn tortillas side by side (they can overlap a bit), then scatter half the chopped Hatch chiles over them. Sprinkle on ⅓ of the cheese – go ahead, be generous!
- Repeat the love: Spoon half the remaining cream mixture over everything, then do another tortilla-chile-cheese layer just like before.
- Final flourish: Top with the last 2 tortillas, spread the remaining cream mixture, and finish with that glorious final third of cheese. Oh yes, we’re going for golden perfection here!
- Bake to bubbly bliss: Pop it in the oven for 25-30 minutes. You’ll know it’s ready when the edges are golden brown and the cheese is bubbling like crazy.
- The hardest part: Let it sit for 5 minutes before slicing – I know, torture! – but this helps everything set up beautifully.
Tips for Perfect Hatch Chile Enchilada Pie
After making this dozens of times, here are my hard-earned secrets:
- Rest time matters: Those 5 minutes post-baking let the layers firm up – no sad, soupy slices!
- Spice control: Taste your Hatch chiles first – some batches run hotter than others. Adjust with extra jalapeños or milder cheese as needed.
- Tortilla trick: Briefly warm tortillas before layering to prevent sogginess. Just 10 seconds per side in a dry skillet does wonders.
Now go forth and bake – that melty, spicy goodness is calling your name!
Serving Suggestions for Hatch Chile Enchilada Pie
Oh, let’s talk sides! This enchilada pie shines brightest with a few simple companions – here’s how I love to serve it:
- Fresh & cool: A crisp avocado salad or pico de gallo cuts through the richness perfectly.
- Creamy contrast: Dollop on lime crema (just mix sour cream with lime zest and a pinch of salt).
- Classic combo: Mexican rice soaks up every last bit of that cheesy sauce – my family fights over it!
Honestly? It’s fantastic straight from the pan too – no judgment here!
Storage and Reheating Instructions
Here’s the good news – this enchilada pie tastes even better the next day! Just let it cool completely, then store it in an airtight container in the fridge for up to 3 days. When reheating, I always use the oven (350°F for 15-20 minutes) to keep that perfect texture. The microwave works in a pinch, but the tortillas can get a tad soft. Pro tip – sprinkle a little extra cheese before reheating for that fresh-from-the-oven magic!
Nutritional Information
Just a heads up – these numbers are estimates (your cheese brand, tortillas, etc. will change things slightly!). Per hearty slice:
- 320 calories
- 20g fat (12g saturated)
- 22g carbs (3g fiber)
- 12g protein
Not bad for something this delicious, right? The Hatch chiles pack vitamin C while the cheese gives you calcium – win-win in my book!
Frequently Asked Questions
I’ve gotten so many questions about this recipe over the years – here are the ones that pop up most often:
- Can I freeze Hatch chile enchilada pie? Absolutely! Wrap cooled slices tightly in foil, then freeze for up to 2 months. Thaw overnight in the fridge before reheating in a 350°F oven for best texture.
- How spicy are Hatch chiles really? They range from mild to medium – like a gentle jalapeño. If you’re worried, remove the seeds and membranes before chopping. Taste a tiny piece first to check the heat level!
- Can I make this ahead? You bet! Assemble the pie (unbaked) up to a day in advance – just cover and refrigerate. Add 5-10 extra minutes to the bake time since it’ll be cold.
- Flour vs corn tortillas – what’s better? Corn gives that classic enchilada texture I love, but flour tortillas work fine if that’s what you’ve got! Just know they’ll be softer.
Still have questions? Drop them in the comments – I’m happy to help!
Share Your Hatch Chile Enchilada Pie Experience
Did you make this enchilada pie? I’d love to see your masterpiece! Snap a pic and tag me on Instagram – nothing makes me happier than seeing your cheesy, spicy creations. And hey, if you loved it as much as I do, drop a rating below to help other chile lovers find this gem!
Print
Spicy Hatch Chile Enchilada Pie Recipe in 8 Easy Steps
A savory and spicy dish featuring roasted Hatch chiles layered with tortillas, cheese, and a creamy sauce.
- Total Time: 45 mins
- Yield: 6 servings 1x
Ingredients
- 8 Hatch chiles, roasted, peeled, and chopped
- 6 corn tortillas
- 2 cups shredded Monterey Jack cheese
- 1 cup sour cream
- 1/2 cup heavy cream
- 1 tsp ground cumin
- 1/2 tsp garlic powder
- 1/2 tsp salt
- 1/4 tsp black pepper
- 1/4 cup chopped cilantro
Instructions
- Preheat oven to 375°F.
- In a bowl, mix sour cream, heavy cream, cumin, garlic powder, salt, and black pepper.
- Spread a thin layer of the cream mixture on the bottom of a baking dish.
- Layer 2 tortillas, half the chopped Hatch chiles, and 1/3 of the cheese.
- Repeat layers, ending with cheese on top.
- Bake for 25-30 minutes or until bubbly and golden.
- Garnish with cilantro before serving.
Notes
- For extra spice, add diced jalapeños.
- Let the dish rest for 5 minutes before cutting.
- Substitute green chiles if Hatch chiles are unavailable.
- Prep Time: 15 mins
- Cook Time: 30 mins
- Category: Main Dish
- Method: Baking
- Cuisine: Mexican
- Diet: Vegetarian
Nutrition
- Serving Size: 1 slice
- Calories: 320
- Sugar: 3g
- Sodium: 450mg
- Fat: 20g
- Saturated Fat: 12g
- Unsaturated Fat: 6g
- Trans Fat: 0g
- Carbohydrates: 22g
- Fiber: 3g
- Protein: 12g
- Cholesterol: 45mg