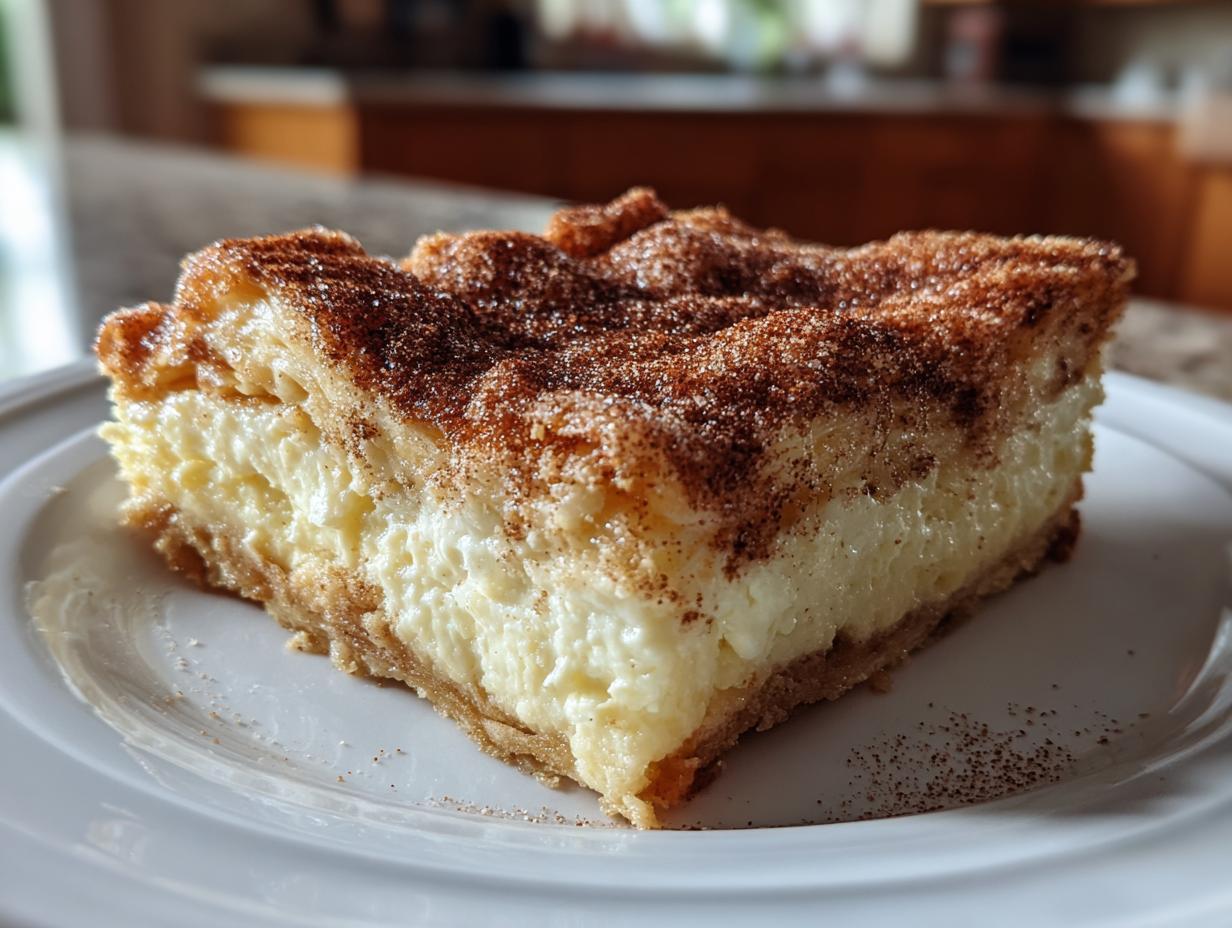
You know what’s funny? When my friend Sarah first told me she was going gluten-free, I panicked. What would I serve her at our monthly dessert night? Store-bought gluten-free treats were either dry as sawdust or tasted like cardboard. Then I stumbled upon this gluten free lemon bars recipe—simple, zesty, and shockingly good. The first time I made them, Sarah took one bite and said, “Wait… these are gluten-FREE?” That’s when I knew I’d struck gold. Now they’re my go-to for potlucks, baby showers, or just when I need a little sunshine in a baking pan. Trust me, nobody will miss the gluten here—just the bright, buttery magic of lemon bars done right.
Why You’ll Love This Gluten Free Lemon Bars Recipe
Listen, I don’t mess around when it comes to dessert. These lemon bars? They’re the real deal. Here’s why they’ve become my secret weapon:
- Crazy easy – Only 7 ingredients and one bowl for the crust. Even my 10-year-old niece can make them!
- That perfect tang – Fresh lemon juice and zest give that punchy citrus flavor without being too sour.
- No weird textures – The crust stays buttery and crisp, not crumbly like some gluten-free baked goods.
- Crowd-pleaser magic – I’ve served these to die-hard gluten lovers who had no clue they were eating GF.
Seriously, these disappear faster than I can make them. You’ll see.
Ingredients for Gluten Free Lemon Bars
Here’s everything you’ll need to make these zesty little wonders. I’ve learned the hard way—measurements matter with gluten-free baking! For the crust:
- 1 cup (120g) gluten-free flour blend – I use Bob’s Red Mill 1-to-1
- 1/4 cup (30g) powdered sugar, packed – no lumps!
- 1/2 cup (1 stick) unsalted butter, softened – take it out 30 minutes before
For that sunny lemon filling:
- 2 large eggs, room temperature – cold eggs make the filling lumpy
- 1 cup (200g) granulated sugar
- 2 tbsp (15g) gluten-free flour – same blend as the crust
- 1/4 cup fresh lemon juice – about 2 juicy lemons
- 1 tbsp lemon zest – the yellow part only, no bitter white pith!
Ingredient Notes & Substitutions
No lemons? Bottled juice works in a pinch, but fresh gives that bright flavor. Dairy-free? Swap in vegan butter—just make sure it’s 80% fat. For flour, almond flour makes a nutty crust (reduce butter by 1 tbsp). And if you’re out of powdered sugar, blend regular sugar with 1 tsp cornstarch. Easy peasy!
Equipment You’ll Need
Listen, you don’t need fancy gadgets for this—just a few basics:
- 8×8 inch baking pan – glass or metal both work great
- Medium mixing bowl for that buttery crust
- Whisk (or fork in a pinch!) for the lemon filling
- Measuring cups & spoons – gluten-free baking loves precision
- Zester/microplane – for that perfect lemony kick
That’s it! Now let’s get baking.
How to Make Gluten Free Lemon Bars
Okay, friends—here’s where the magic happens. I’ve made these enough times to know every little trick for perfect gluten-free lemon bars. Follow these steps, and you’ll be golden (just like that crust!).

Step 1: Prepare the Crust
First things first: preheat that oven to 350°F (175°C). While it heats up, grab your mixing bowl and combine the gluten-free flour, powdered sugar, and softened butter. No mixer needed—just use your fingers or a fork until it looks like wet sand. Now, press it firmly into your greased 8×8 pan. I mean FIRMLY—this prevents crumbly disasters later! Pop it in the oven for 15 minutes until the edges just start turning golden. It’ll smell like shortbread dreams.
Step 2: Make the Lemon Filling
While the crust bakes, whisk together the eggs, sugar, and gluten-free flour like your life depends on it. No lumps allowed! Then stir in the lemon juice and zest—the zest is key for that extra citrus punch. When the crust comes out hot (don’t turn off the oven!), immediately pour this sunny yellow mixture over it. The heat helps the filling set perfectly.
Step 3: Bake & Cool
Back in the oven it goes for 20 minutes. The filling should jiggle slightly when shaken—that’s normal! Overbaking makes rubbery bars, so set a timer. Here’s the hardest part: let them cool COMPLETELY (I wait 2 hours) before cutting. I know, the temptation is real. But rushing this step? That’s how you get lemon soup instead of clean-cut bars. Patience pays off!
Tips for Perfect Gluten Free Lemon Bars Recipe
Listen, I’ve made every lemon bar mistake so you don’t have to! Here’s my hard-earned wisdom:
- Don’t overmix the crust – Just until it holds together. Overworked dough turns tough.
- Room temp eggs are non-negotiable – Cold eggs make lumpy filling. I set mine out with the butter.
- Toothpick test for doneness – It should come out with moist crumbs, not wet batter.
- Line your pan with parchment – Lifesaver for clean removal (spray the sides too!).
- Chill before cutting – 30 minutes in the fridge gives cleaner slices.
Follow these, and you’ll get lemon bar perfection every single time. Pinky promise!
Serving & Storing Gluten Free Lemon Bars
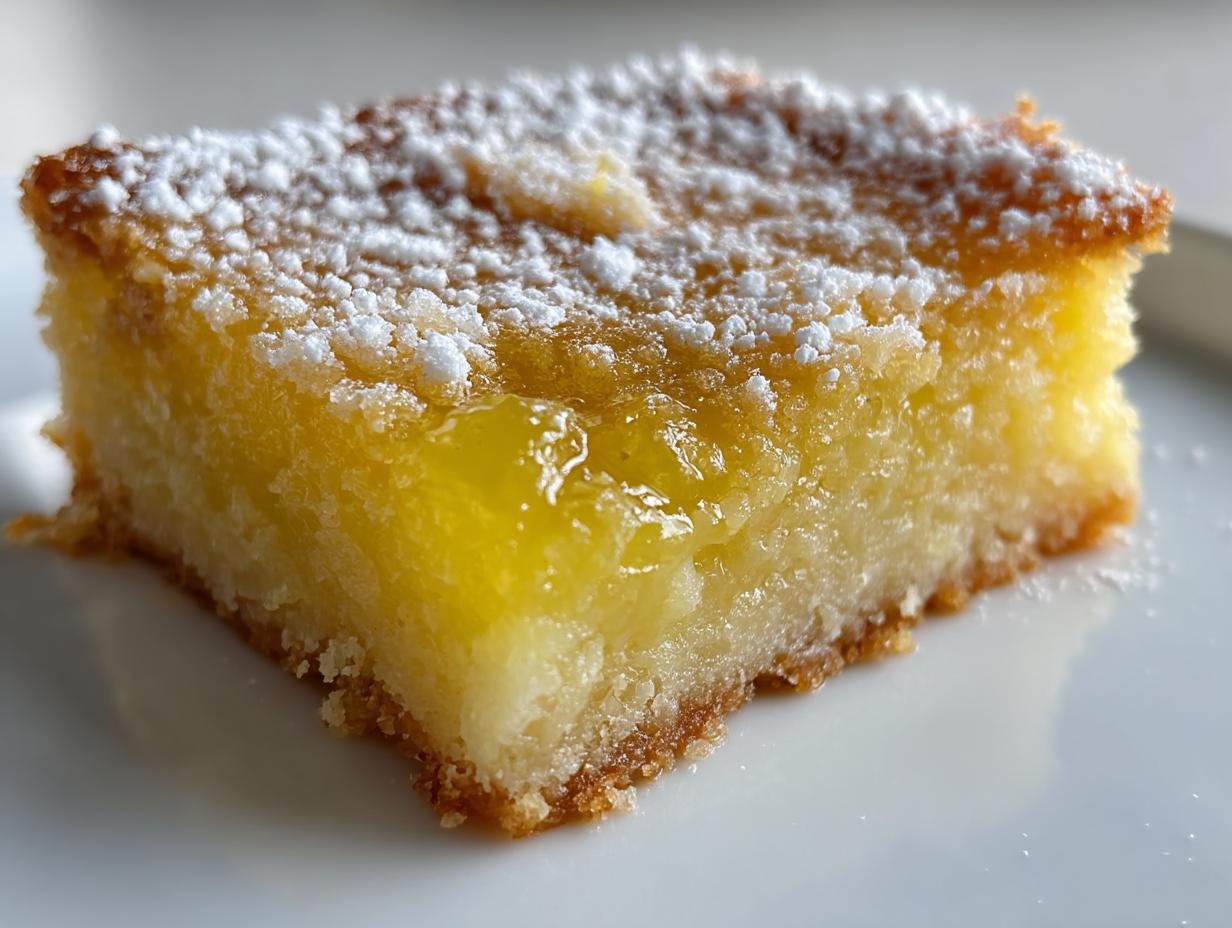
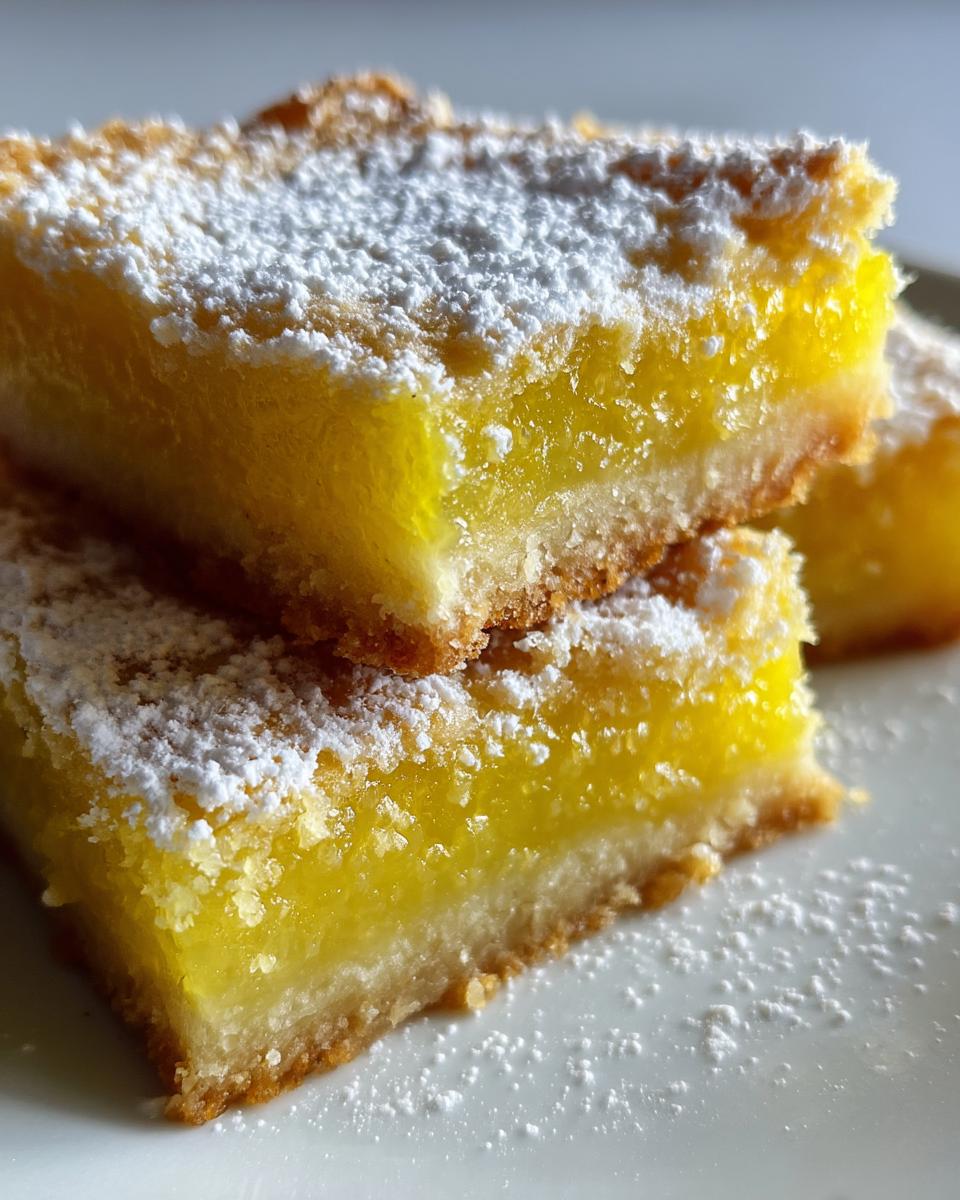
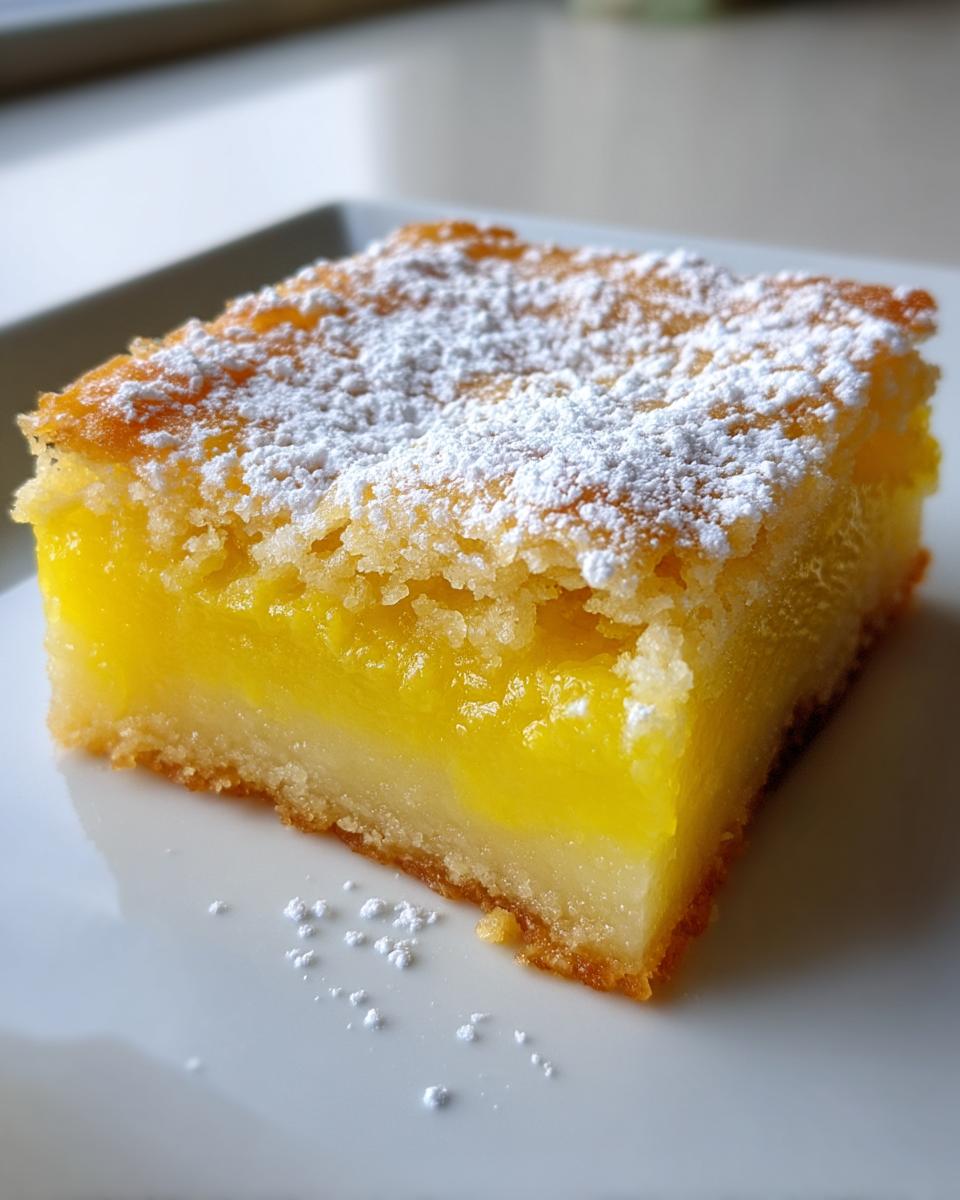
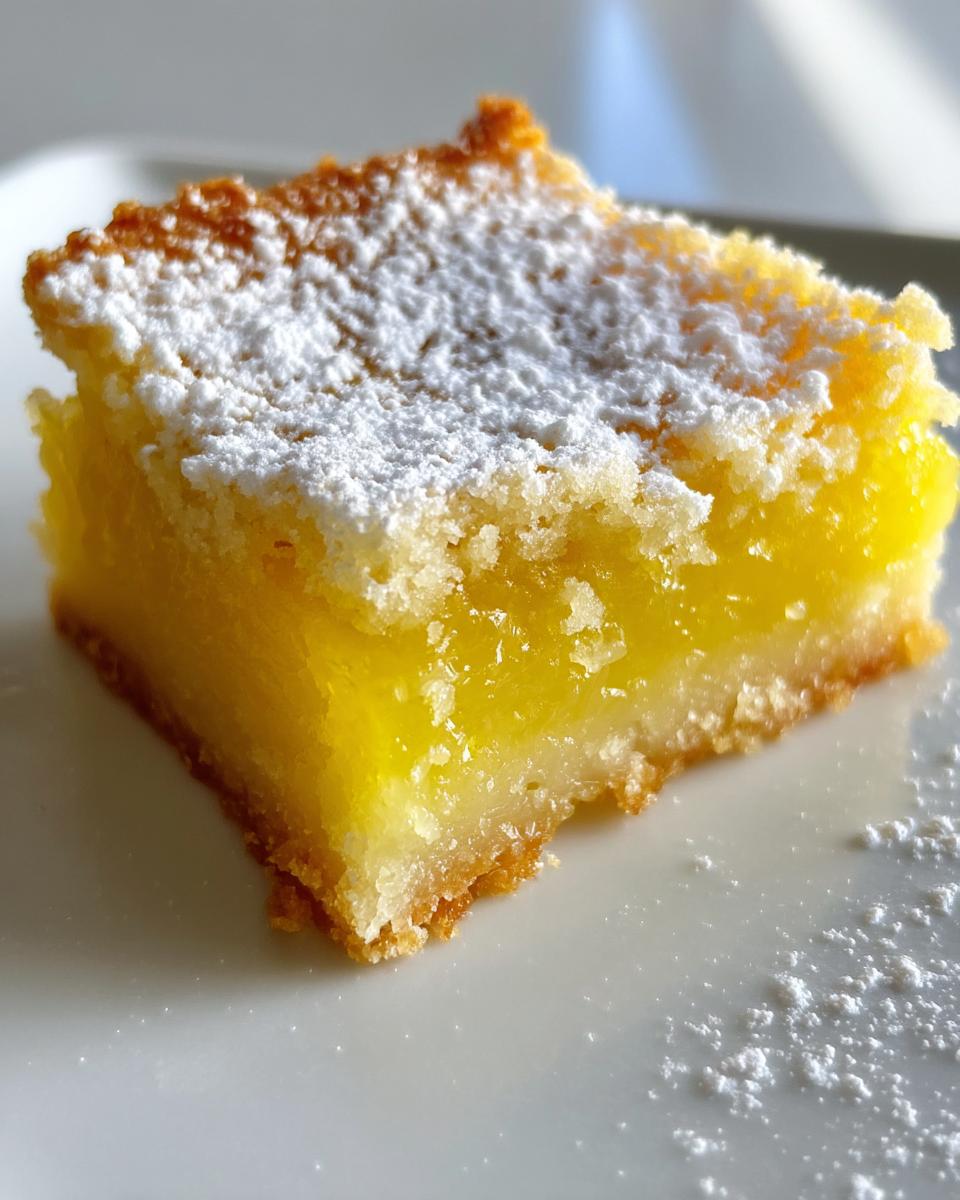
Here’s the fun part – making them pretty! Right before serving, I dust the tops with a snowdrift of powdered sugar. It looks gorgeous and adds just the right touch of sweetness. Use a fine-mesh sieve and go lightly – you can always add more!
For storing, I’ve learned these bars keep best in an airtight container in the fridge. The filling stays set perfectly that way. They’ll last about 3 days (if they even make it that long in your house!). Just let them come to room temperature for 10 minutes before serving again – the flavors really wake back up.
Gluten Free Lemon Bars Nutrition Info
Each sunny little bar packs about 180 calories, with 8g fat (5g saturated), 25g carbs (1g fiber, 15g sugar), and 2g protein. But listen – these numbers can change based on your butter brand or exact sugar measurements. That’s home baking for you!
FAQs About Gluten Free Lemon Bars Recipe
I get questions about these lemon bars ALL the time—here are the big ones:
Can I use bottled lemon juice?
Sure, in a pinch! But fresh lemons give that bright, lively flavor. If you use bottled, add an extra teaspoon of zest to make up for it.
Can I freeze them?
Absolutely! Freeze the whole pan (wrapped tight) for up to 2 months. Thaw overnight in the fridge—the crust stays crisp!
Why is my crust soggy?
Two culprits: 1) You didn’t press it firmly enough before baking, or 2) You cut the bars before they fully cooled. Patience is key!
Can I double this recipe?
You bet—just use a 9×13 pan and add 5 minutes to both bake times. Easy peasy.
Final Thoughts
Go make these lemon bars right now—I swear, you won’t regret it! Tag me if you do, I love seeing your sunny creations. Happy baking, friends!
Print
Unbelievably Good Gluten Free Lemon Bars Recipe in 7 Steps
Enjoy these gluten-free lemon bars with a buttery crust and tangy lemon filling. Perfect for any occasion.
- Total Time: 50 minutes
- Yield: 12 bars 1x
Ingredients
- 1 cup gluten-free flour
- 1/4 cup powdered sugar
- 1/2 cup butter, softened
- 2 eggs
- 1 cup granulated sugar
- 2 tbsp gluten-free flour
- 1/4 cup lemon juice
- 1 tbsp lemon zest
Instructions
- Preheat oven to 350°F (175°C).
- Mix 1 cup gluten-free flour, powdered sugar, and butter to form the crust. Press into a greased baking pan.
- Bake crust for 15 minutes until lightly golden.
- Whisk eggs, sugar, 2 tbsp gluten-free flour, lemon juice, and zest for the filling.
- Pour filling over baked crust and bake for 20 minutes.
- Cool completely before cutting into bars.
Notes
- Use fresh lemon juice for best flavor.
- Store in an airtight container for up to 3 days.
- Prep Time: 15 minutes
- Cook Time: 35 minutes
- Category: Dessert
- Method: Baking
- Cuisine: American
- Diet: Gluten Free
Nutrition
- Serving Size: 1 bar
- Calories: 180
- Sugar: 15g
- Sodium: 80mg
- Fat: 8g
- Saturated Fat: 5g
- Unsaturated Fat: 2g
- Trans Fat: 0g
- Carbohydrates: 25g
- Fiber: 1g
- Protein: 2g
- Cholesterol: 45mg