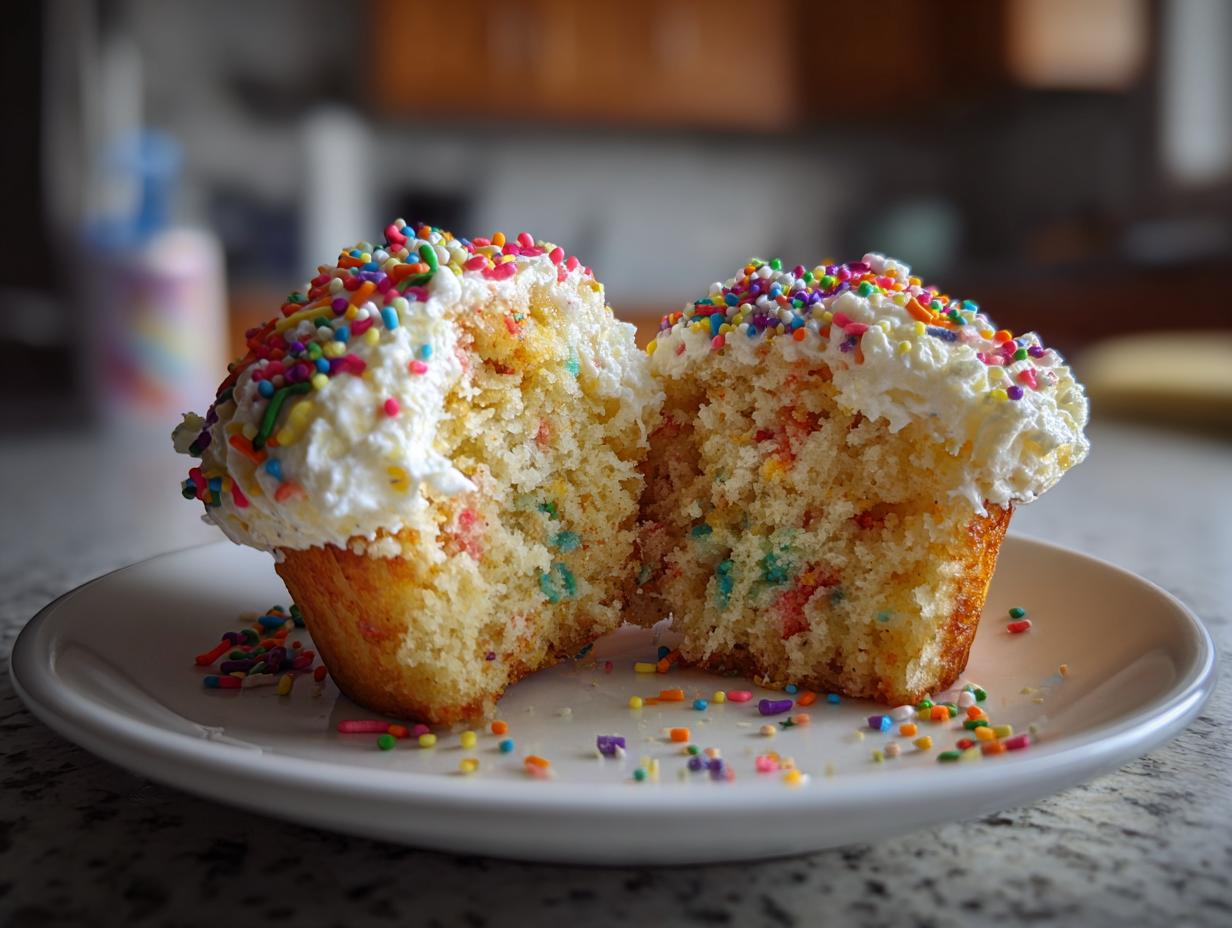
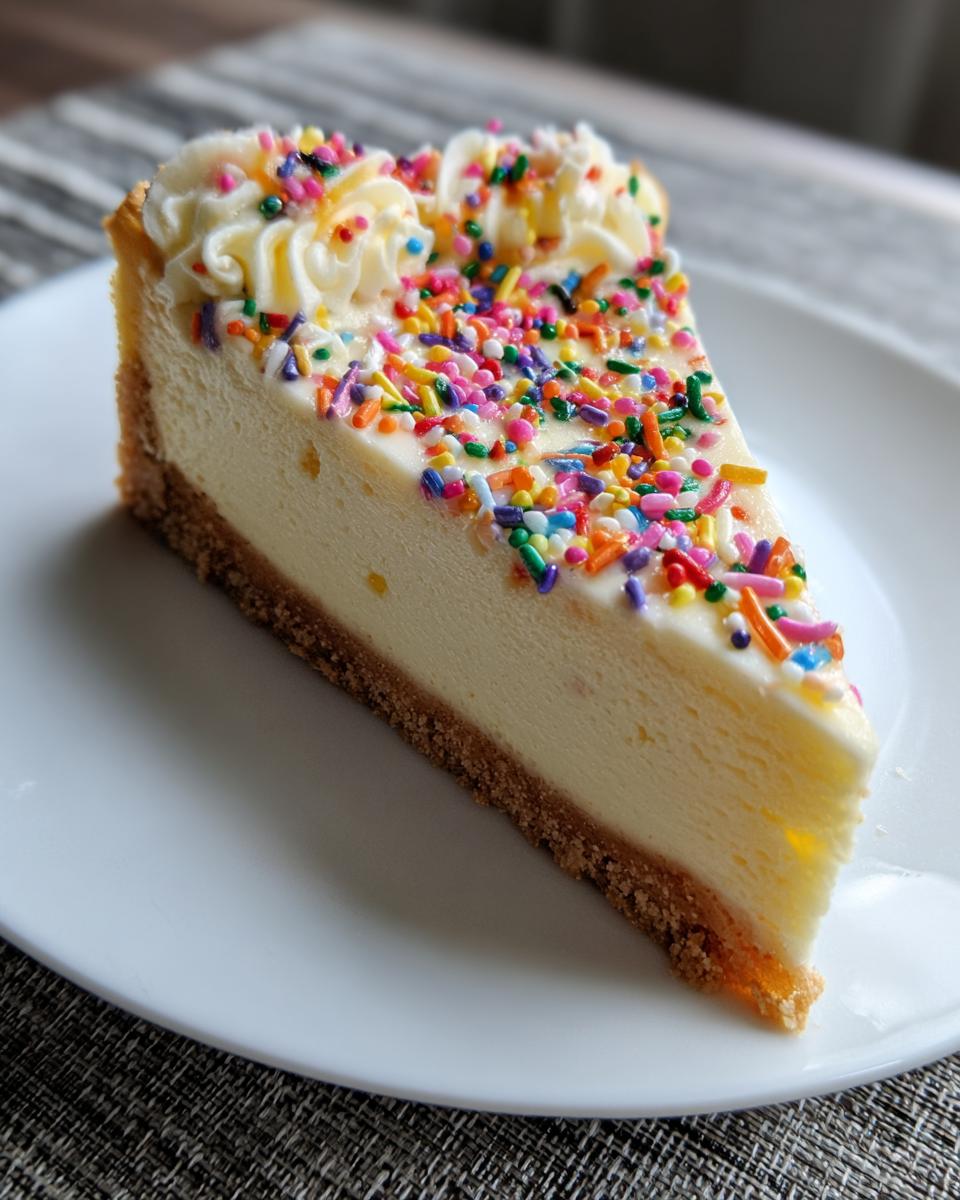
You know that moment when you blow out birthday candles and just want a big slice of something magical? That’s exactly why I created this Easy Birthday Cake Cheesecake! It combines everything I love – the nostalgic crunch of sugar cookies (no fussing with homemade crust here!), rich creamy cheesecake that melts in your mouth, and those colorful sprinkles that make every bite feel like a celebration.
What makes this recipe special? That foolproof store-bought cookie dough crust (my little secret!) saves so much time, while natural sprinkles keep things pretty without artificial dyes. I’ve made this for dozens of birthdays now, and trust me – it disappears faster than wrapping paper at a kid’s party!
Why You’ll Love This Easy Birthday Cake Cheesecake
Oh my goodness, where do I even start? This cheesecake is basically happiness in dessert form. Here’s why it’s become my go-to birthday treat:
- No-stress crust: That store-bought sugar cookie dough? Lifesaver. No rolling pins, no flour mess—just press and bake!
- Creamy dreamy texture: The sour cream makes it luxuriously smooth—like velvet meets cloud meets birthday magic.
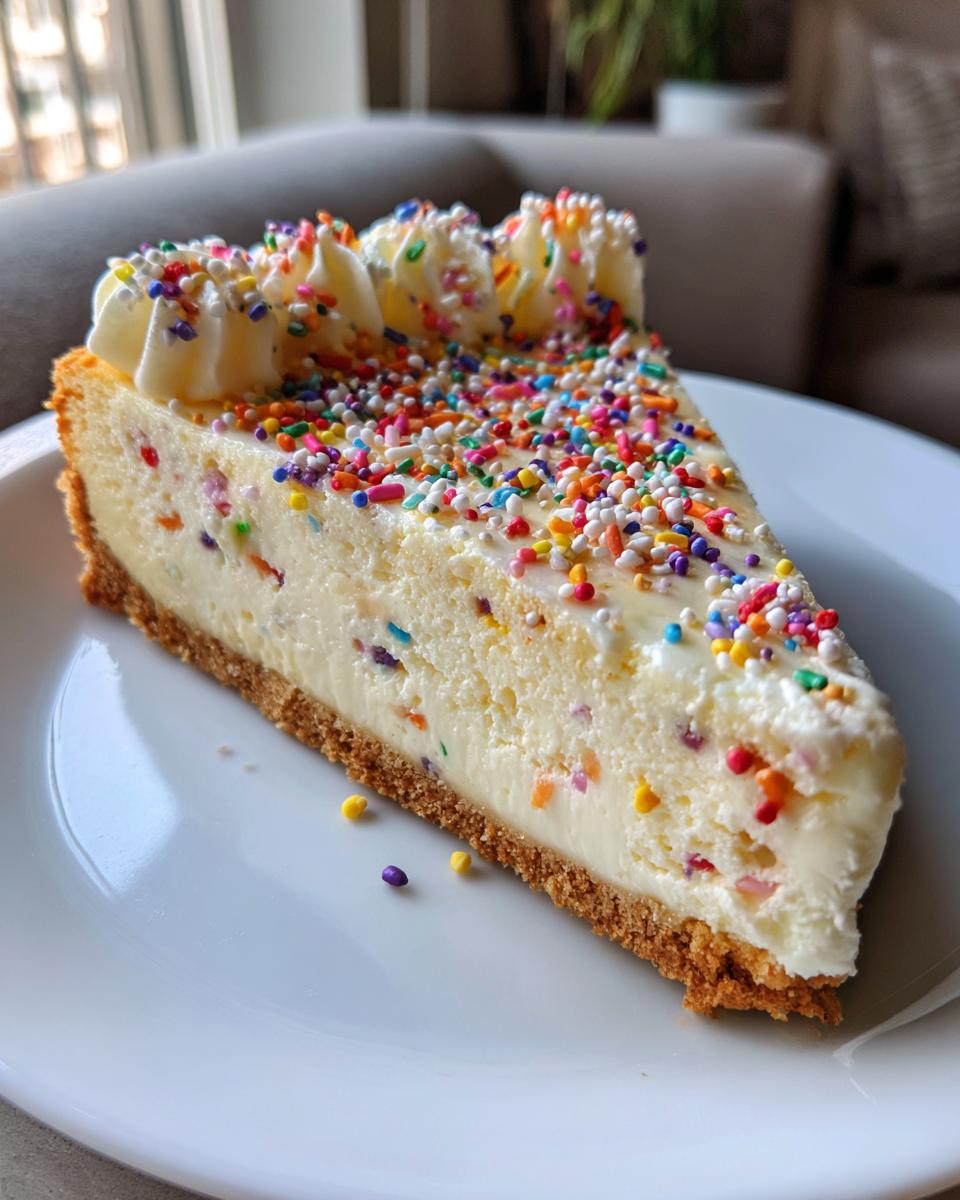
- Instant party vibes: Those natural sprinkles peek through every slice, making it look professionally decorated with zero effort.
- Secret weapon: The water bath trick guarantees no cracks (I’ve tested this SO many times—it works!).
Seriously, it’s the dessert that looks fancy but lets you actually enjoy the party instead of stressing in the kitchen!
Ingredients for Easy Birthday Cake Cheesecake
Okay, let’s talk ingredients – and I mean exactly what you need to make this magic happen! After years of testing (and many happy birthday celebrations), I’ve learned these specific measurements and prep steps make all the difference. Trust me, room temperature isn’t just a suggestion here – it’s the secret to that ultra-smooth texture we’re after!
- 16 ounces store-bought sugar cookie dough (my favorite shortcut! Look for the classic yellow dough in the refrigerated section)
- 3 packages (8 ounces each) Philadelphia Original Cream Cheese, room temperature – leave it out for 2 hours (no cheating with the microwave!)
- 8 ounces sour cream, room temperature – this gives that dreamy tang and prevents cracks
- 1 1/4 cups granulated sugar – measured by spooning into the cup, not scooping!
- 4 large eggs, room temperature – I crack mine into a bowl first to avoid shells in the batter
- 1 tablespoon vanilla extract – the good stuff makes all the difference
- 1/3 cup dye-free natural sprinkles – these won’t bleed like artificial ones (I love the rainbow ones from Whole Foods!)
See that “room temperature” note everywhere? That’s not me being fussy – cold ingredients make lumpy batter, and nobody wants that! Pro tip: If you forgot to take things out, place sealed cream cheese packages in warm water for 15 minutes. Works like a charm!
Tools You’ll Need
Don’t worry—you don’t need fancy equipment for this cheesecake! Just a few basics that make the process smoother (and prevent any kitchen disasters). Here’s what I always grab:
- 9 or 10-inch springform pan – The removable sides are KEY for clean slices. Mine’s a little dented, but it works like a charm!
- Stand mixer with paddle attachment – A hand mixer works too, but trust me, your arms will thank you for using the stand mixer.
- Parchment paper – No sticking disasters here! Just cut a circle for the bottom—no need to be perfect.
- 9 x 13-inch baking pan – For the water bath. Any old metal pan will do—I’ve even used a roasting pan in a pinch!
- Silicone spatula – For scraping every last bit of that delicious batter into the pan (no waste!).
That’s it! No special gadgets needed—just these trusty tools that most bakers already have. Now let’s get mixing!
How to Make Easy Birthday Cake Cheesecake
Alright, let’s dive into the fun part! I’ll walk you through each step just like I do when teaching my niece – with all the little tricks that took me years to figure out. Follow these steps, and you’ll have the most gorgeous cheesecake that’ll make everyone think you’re a pastry chef!
Step 1: Prepare the Sugar Cookie Crust
First things first – let’s get that crust ready! Here’s exactly how I do it:
Preheat your oven to 350°F and grab that springform pan. Cut a circle of parchment paper for the bottom – don’t stress about perfection, just roughly trace the pan and cut inside the lines. Grease the sides really well with butter (up about an inch high).
Now for the magic – take that store-bought cookie dough and press it evenly across the bottom and slightly up the sides. I use my fingers first, then smooth it with a small glass. Bake this beauty for 20 minutes until golden – this “blind baking” step prevents a soggy bottom later!
Here’s my secret: immediately transfer the hot crust to the fridge to chill while you make the filling. This stops it from cooking further and keeps it crisp. Trust me, this step makes all the difference!
Step 2: Make the Cheesecake Filling
Okay, time for the creamy dreamy part! Lower your oven to 325°F and place that 9×13 pan filled with water on the bottom rack – this creates our crucial water bath.
Now grab your room-temperature cream cheese (see why we waited?!). Beat it with the paddle attachment for 1 minute until smooth. Add the sour cream and sugar, beating for another 2 minutes until silky. Scrape the bowl – those hidden lumps are sneaky!
Mix in the vanilla, then add eggs one at a time, mixing just until combined after each. Overbeating = too much air = cracks! Finally, gently fold in those sprinkles with a spatula – about 5 folds max to prevent color bleeding.
Step 3: Bake and Cool Properly
Pour that gorgeous batter over your chilled crust. Drop the pan on the counter 3-4 times to release air bubbles – it’s oddly satisfying! Carefully place it in the center of the oven (above the water bath) and bake for 55 minutes, rotating halfway.
Here’s the scary-but-normal part: the center should still wobble like Jell-O when you take it out! Turn off the oven, crack the door open, and leave it inside for 1 hour – this gradual cooling prevents cracks better than anything.
After its oven nap, run a thin knife around the edge to loosen it, then let it cool completely on a rack before refrigerating overnight. I know, the waiting is torture – but that patience gives you the perfect sliceable texture!

Tips for the Best Easy Birthday Cake Cheesecake
After making this cheesecake more times than I can count (and eating way too many “test” slices), I’ve learned all the little tricks that take it from good to “Oh my gosh, how did you make this?!” Here are my absolute must-know tips:
Room temp isn’t optional! I know I sound like a broken record, but cold cream cheese = lumpy batter = sad cheesecake. If you’re impatient like me, place sealed packages in warm (not hot!) water for 15 minutes. Works like magic!
Sprinkle folding is an art. Those pretty specks of color? They’ll turn into a muddy mess if you overmix! Fold them in at the very end with just 4-5 gentle strokes of your spatula. I pretend I’m tucking them into bed – that’s how delicate you should be!
The wobble test never lies. When your timer goes off, give the pan a gentle shake. The center should jiggle like a bowl of pudding, not ripple like water. If it’s completely set, you’ve overbaked! (Don’t panic – it’ll still taste amazing, just might crack a bit.)
Water bath shortcuts: No fancy pans? Me neither! I just wrap my springform bottom in foil (shiny side out) before placing it in the water bath. No leaks, no fuss!
Overnight chilling is non-negotiable. I know it’s tempting to sneak a slice early, but that full 8+ hours in the fridge is what gives you those perfect clean cuts. Set it before bed, and wake up to cheesecake magic!
One last pro tip: When slicing, run your knife under hot water and wipe between cuts. You’ll get restaurant-quality slices every time – perfect for showing off at parties!
Variations for Easy Birthday Cake Cheesecake
One of the best things about this recipe? It’s like a blank canvas for creativity! Over the years, I’ve played around with so many fun twists – here are my favorite ways to mix it up when I want something a little different (but still just as delicious!).
Cookie crust switcheroo: That sugar cookie dough is amazing, but try these alternatives when you’re feeling adventurous:
- Gluten-free: Use your favorite GF cookie dough (the refrigerated kind works great!)
- Chocolate lover: Swap in chocolate chip cookie dough and add 2 tbsp cocoa powder to the cheesecake batter
- Graham cracker: Press 2 cups crushed grahams mixed with 6 tbsp melted butter instead
Flavor boosters: Sometimes I’ll add these to the batter before the sprinkles for extra personality:
- Almond extract: Replace 1 tsp vanilla with almond extract for a subtle marzipan vibe
- Citrus zest: A tablespoon of lemon or orange zest brightens everything up
- Cookie butter: Swirl in 1/4 cup warmed Biscoff spread before baking
Sprinkle alternatives: Out of sprinkles? No problem! Try mixing in:
- Crushed freeze-dried strawberries (pink and pretty!)
- Mini chocolate chips (because chocolate makes everything better)
- Toasted coconut flakes (for a tropical twist)
My niece loves when I make the “confetti cake” version – I replace half the sprinkles with rainbow nonpareils for extra crunch. The possibilities are endless! Just remember – whatever variations you try, keep that core cheesecake method the same. That’s the secret to guaranteed deliciousness every time.
Serving and Storing Easy Birthday Cake Cheesecake
The moment of truth has arrived – it’s time to serve your masterpiece! After all that waiting (I know, it was hard!), here’s how to make your cheesecake look as incredible as it tastes:
Slicing like a pro: That first cut can be nerve-wracking, but here’s my foolproof method – run a thin, sharp knife under hot water, wipe it dry, then make your cut. Repeat between each slice for clean edges that show off all those pretty sprinkles inside. I like to cut into 16 slim wedges – they look elegant and let everyone have seconds guilt-free!
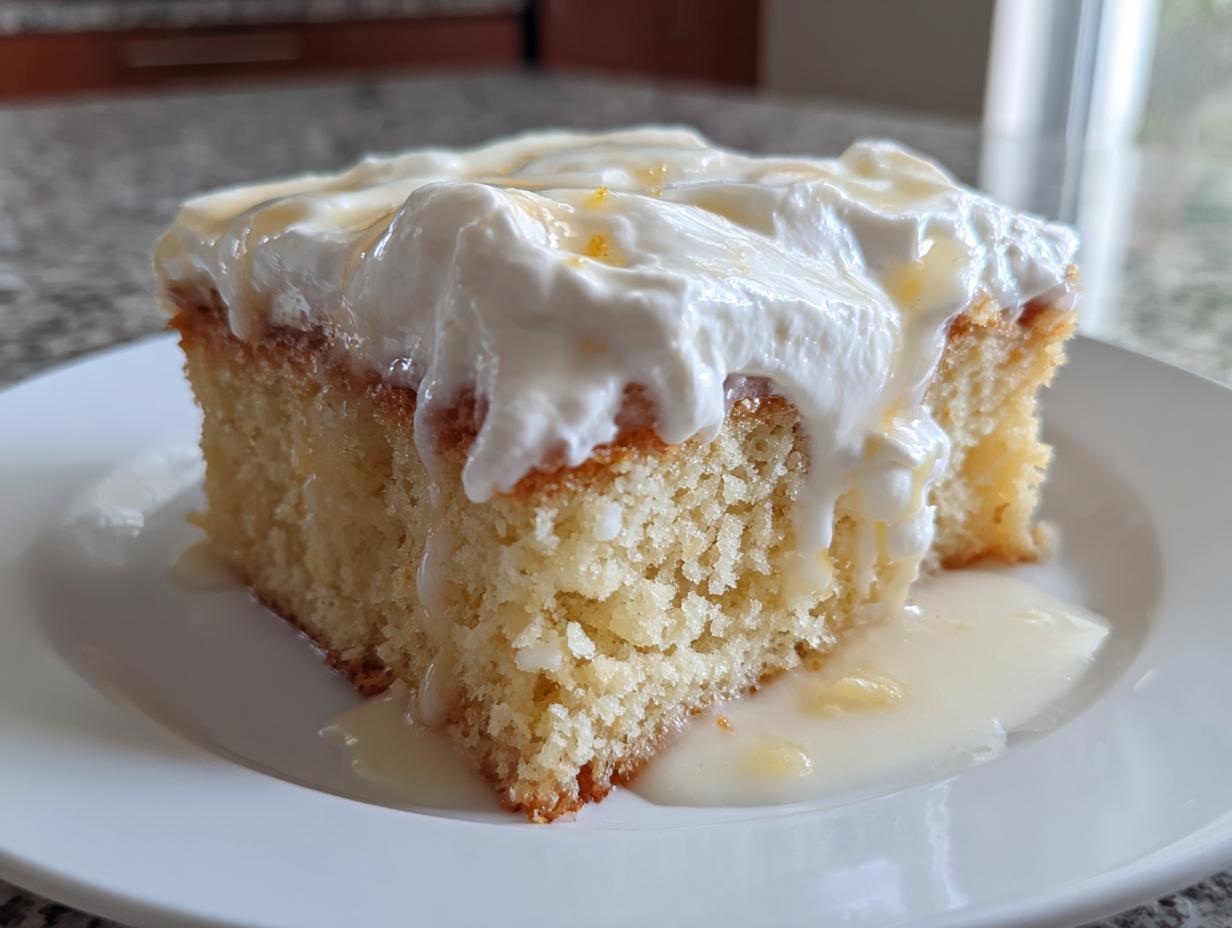
Garnishing magic: A simple dollop of whipped cream takes this from great to “Wow!” I use a piping bag with a star tip for fancy swirls, but spoonfuls work just as well. For birthdays, I’ll add a few fresh raspberries and extra sprinkles on top – instant party vibes!
Storage secrets: Leftovers? (As if!) If you somehow have some, here’s how to keep it perfect:
- Fridge: Cover loosely with foil or transfer slices to an airtight container. It’ll stay dreamy for up to 5 days – the sugar cookie crust actually gets better!
- Freezing: Wrap whole cheesecake or slices tightly in plastic wrap, then foil. Freeze for up to 2 months. Thaw overnight in the fridge – no one will guess it wasn’t fresh!
One last tip from my many “quality control” tastings – the cheesecake tastes even better on day 2! Those flavors really meld together beautifully. Not that I’ve ever managed to keep one around that long…
Nutritional Information
Okay, let’s talk numbers – but don’t let this scare you! I’m all about balance, and a slice of this cheesecake is worth every delicious bite. Here’s the breakdown per serving (about 1/16th of the cheesecake):
- Calories: 350
- Sugar: 25g
- Sodium: 200mg
- Fat: 20g (10g saturated, 8g unsaturated)
- Carbs: 35g
- Protein: 5g
- Cholesterol: 90mg
Now, here’s my little disclaimer – these numbers are estimates based on the exact ingredients I use. Your favorite brand of cream cheese or cookie dough might change things slightly. And let’s be real – if you’re anything like me, that “serving size” might grow a bit when nobody’s looking!
The good news? Those natural sprinkles mean no artificial dyes, and the protein from all that cream cheese helps balance things out. Everything in moderation, right? That’s why I slice it into 16 pieces – perfect for sharing (or not, no judgment here!).
FAQs About Easy Birthday Cake Cheesecake
Over all my years of making this cheesecake (and answering texts from panicked friends mid-bake), I’ve heard every question under the sun. Here are the ones that come up most often – with all my hard-earned answers that’ll save you from any dessert disasters!
Q1. Can I skip the water bath? It seems complicated!
Oh honey, I hear you! The water bath does seem fussy, but it’s the #1 trick for preventing cracks. Here’s my lazy-girl method: just place a pan of water on the rack below your cheesecake. The steam works almost as well! If you absolutely must skip it, bake at 300°F instead and expect some surface cracks (they taste just as delicious though).
Q2. My sprinkles bled color! What did I do wrong?
Been there, made that muddy mess! First, always use natural dye-free sprinkles (the artificial ones bleed no matter what). Second – and this is crucial – fold them in at the very end with just 4-5 gentle strokes. Overmixing is usually the culprit! Pro tip: If you’re worried, you can even sprinkle some on top after baking instead.
Q3. Can I make this ahead of time for a party?
Absolutely! In fact, I always make mine the day before. The flavor actually improves after that overnight chill in the fridge. Just wait to add any whipped cream topping until right before serving. It keeps beautifully for up to 5 days refrigerated – if it lasts that long!
Q4. Help! I don’t have a stand mixer – can I still make this?
Of course! My first few versions were made with a $10 hand mixer (and lots of determination). Just make sure your cream cheese is super soft, and beat it well before adding other ingredients. You might need to scrape the bowl more often, but the results will be just as dreamy. Bonus: You’ll earn some serious arm muscles!
Q5. What’s the best way to get clean slices?
My secret weapon? A thin knife dipped in hot water between each cut. Game changer! Also, resist the urge to slice it straight from the fridge – let it sit out for 10 minutes first. The slightly softened texture gives you those picture-perfect slices that’ll impress everyone at the party!

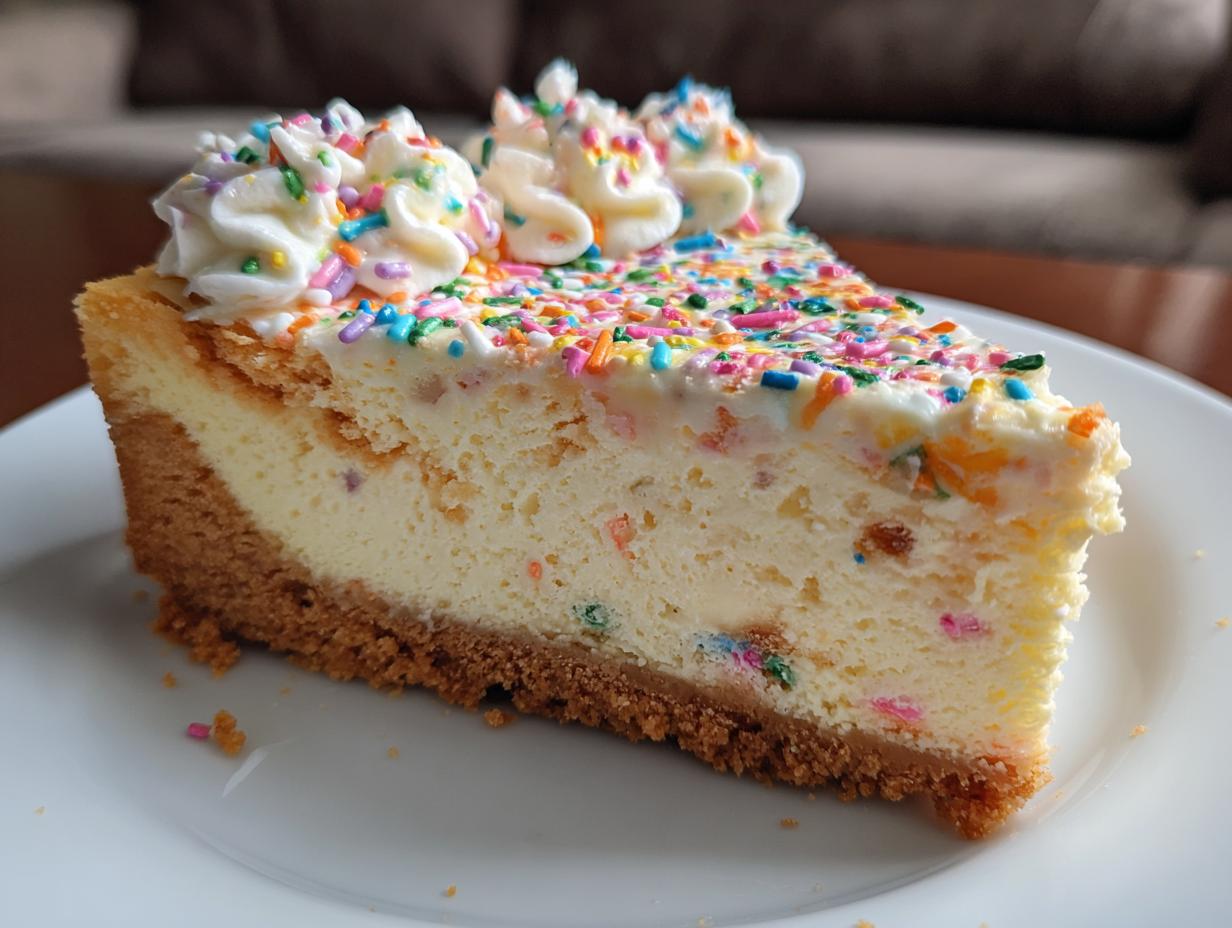
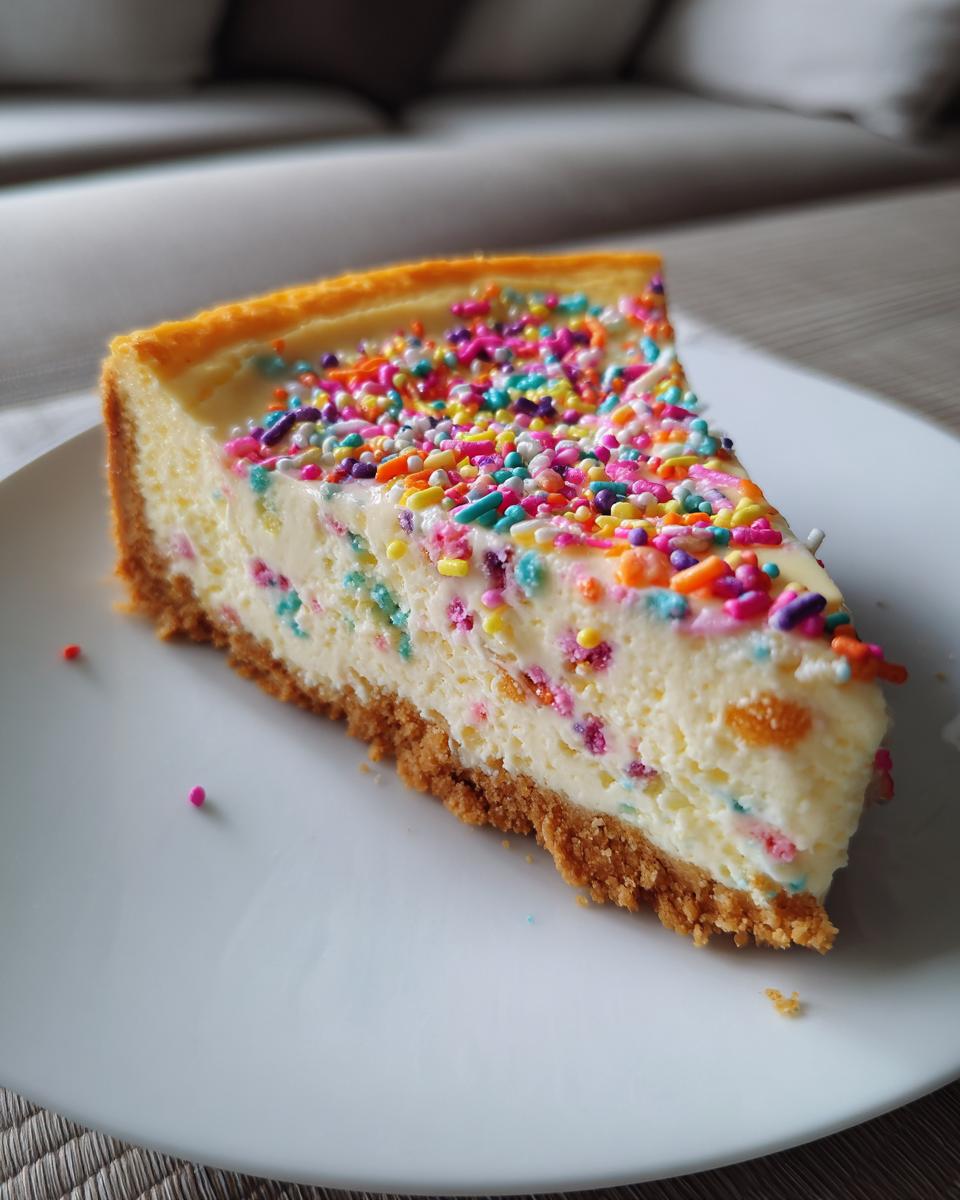
Easy Birthday Cake Cheesecake: 16 Blissful Bites of Joy
A velvety rich cheesecake studded with all-natural, dye-free sprinkles atop a buttery sugar cookie crust. This birthday cheesecake recipe gives regular birthday cake a run for its money!
- Total Time: 2 hours
- Yield: 16 servings 1x
Ingredients
- 16 ounces store-bought sugar cookie dough
- 3 packages (8 ounces each) Philadelphia Original Cream Cheese, room temperature
- 8 ounces sour cream, room temperature
- 1 1/4 cups granulated sugar
- 4 large eggs, room temperature
- 1 tablespoon vanilla extract
- 1/3 cup dye-free natural sprinkles
Instructions
- Preheat the oven to 350°F and line a 9 or 10-inch springform pan with parchment paper on the bottom.
- Grease the sides of the pan well. Press the premade cookie dough into an even layer. Bake the cookie dough crust for 20 minutes to blind bake it.
- Take the crust out of the oven and put it in the fridge to chill. Turn the oven down to 325°F. Fill a 9 x 13-inch pan with water and place in the oven to create a water bath for the cheesecake. This will help prevent any cracks.
- While the crust chills, make the cheesecake. Whip the softened cream cheese, room-temperature sour cream, and granulated sugar together in a stand mixer with the paddle attachment for 3 minutes until smooth and creamy.
- Add the vanilla extract and then the eggs one at a time, beating until just combined. Fold in the natural sprinkles. Do not overmix or the colors will bleed!
- Pour the cheesecake batter over the sugar cookie crust in the springform pan. Drop the pan on the counter a few times to get rid of any air bubbles. Carefully place in the middle rack of the oven and bake for 55 minutes, rotating the cheesecake halfway. Do not overbake! The cheesecake will still be wobbly in the center, but this is correct!
- At the 55-minute mark, turn off the oven and open the door slightly. Leave the cheesecake in the turned-off oven for an hour to allow it to cool down gradually. After an hour, take it out of the oven, run a knife along the edges to release from the pan, and set on a cooling rack for 1 hour to come to room temperature completely before transferring to the fridge to set overnight!
- When ready to serve, release the springform pan and remove the rim carefully. Top with whipped cream and slice into 16 slices for the ultimate birthday treat!
Notes
- Use room-temperature ingredients for a smoother batter.
- Do not overmix the batter to prevent color bleeding from sprinkles.
- Cooling the cheesecake gradually helps prevent cracks.
- Prep Time: 15 minutes
- Cook Time: 55 minutes
- Category: Dessert
- Method: Baking
- Cuisine: American
- Diet: Vegetarian
Nutrition
- Serving Size: 1 slice
- Calories: 350
- Sugar: 25g
- Sodium: 200mg
- Fat: 20g
- Saturated Fat: 10g
- Unsaturated Fat: 8g
- Trans Fat: 0g
- Carbohydrates: 35g
- Fiber: 0g
- Protein: 5g
- Cholesterol: 90mg