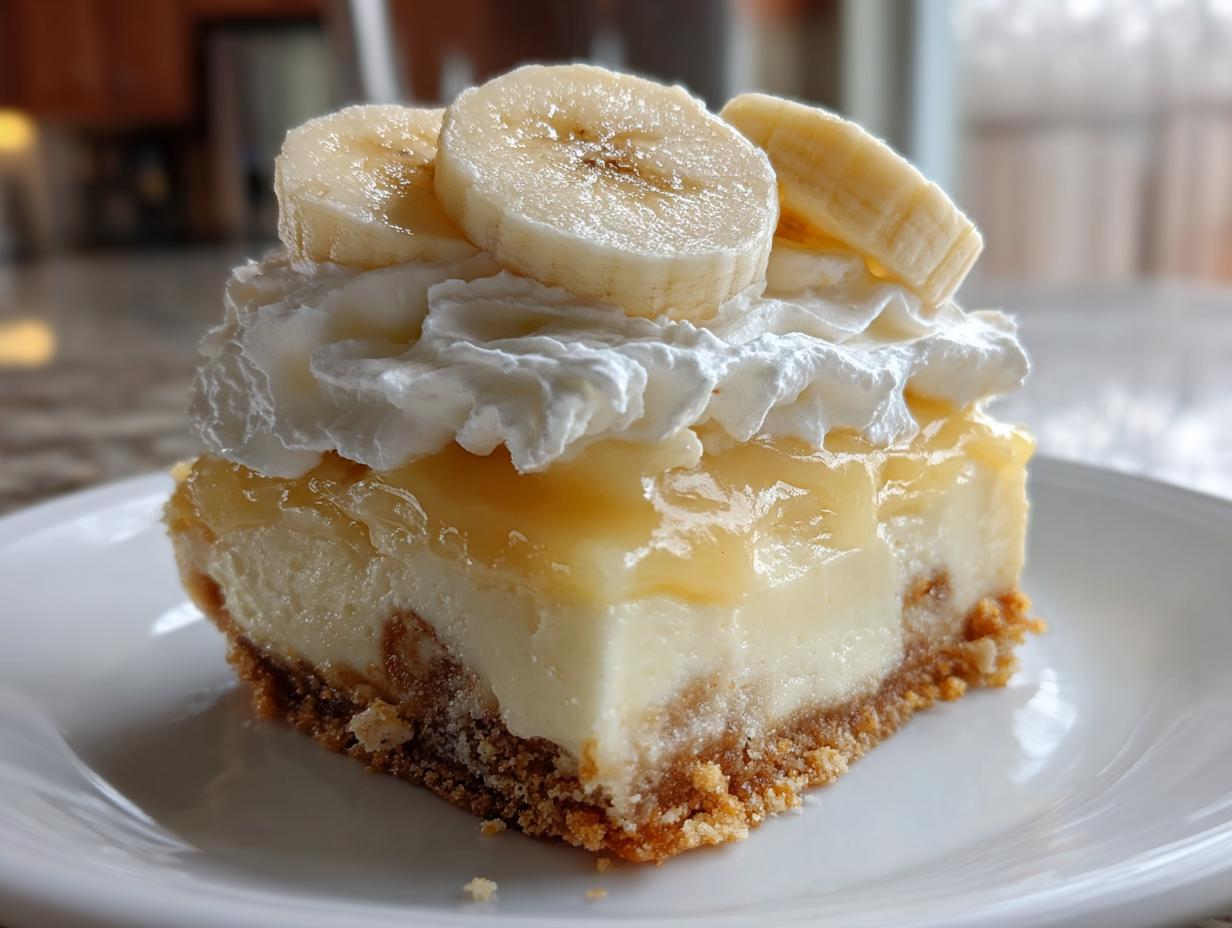
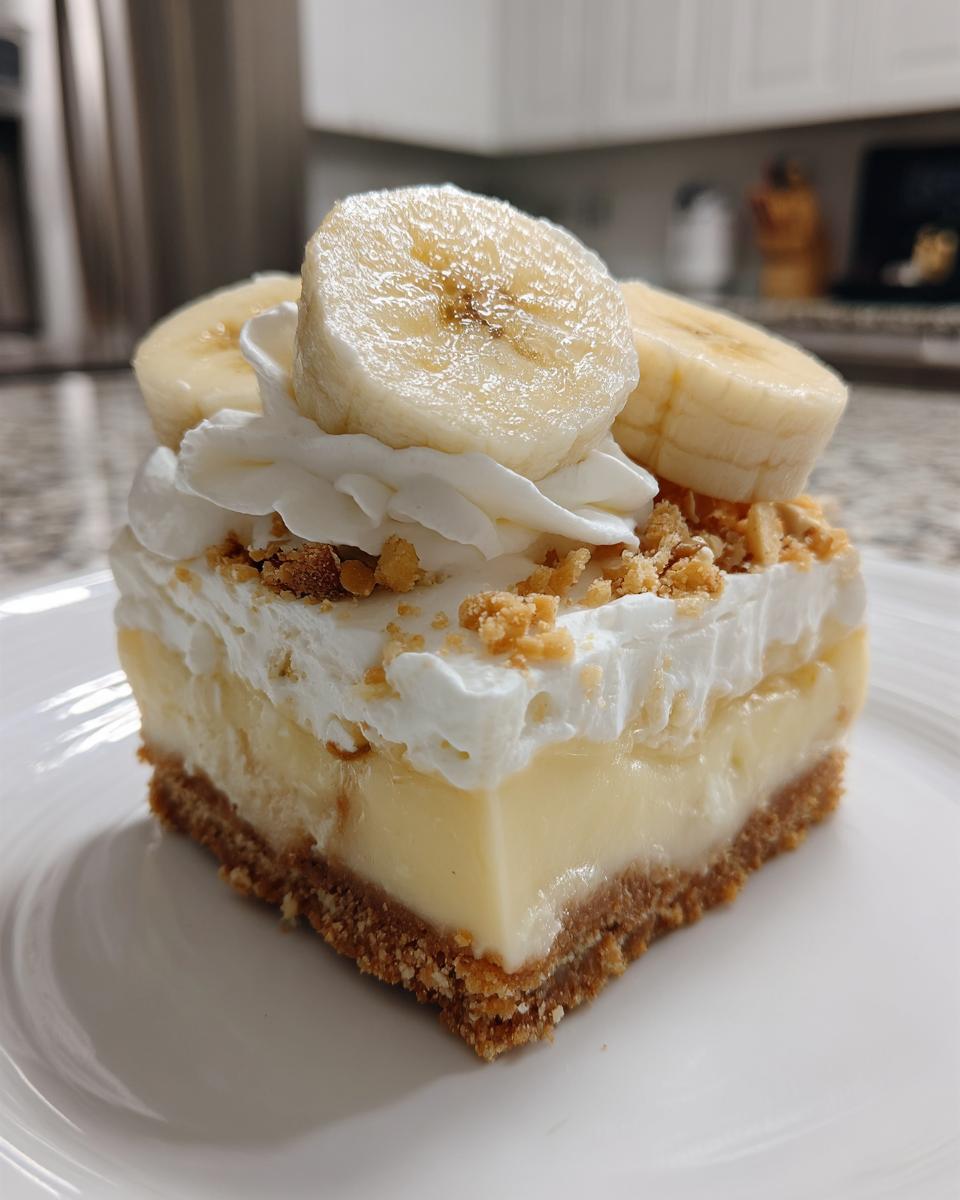
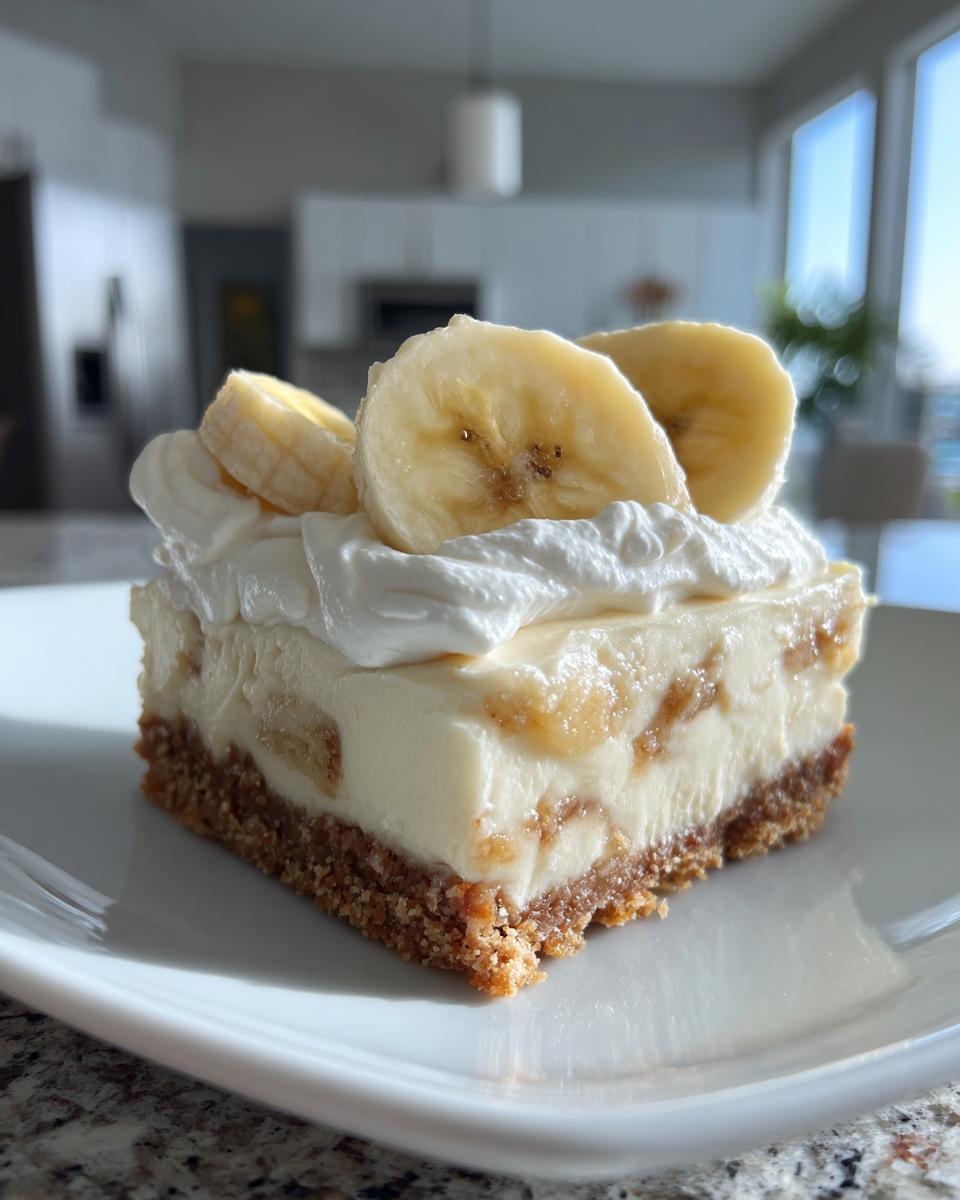
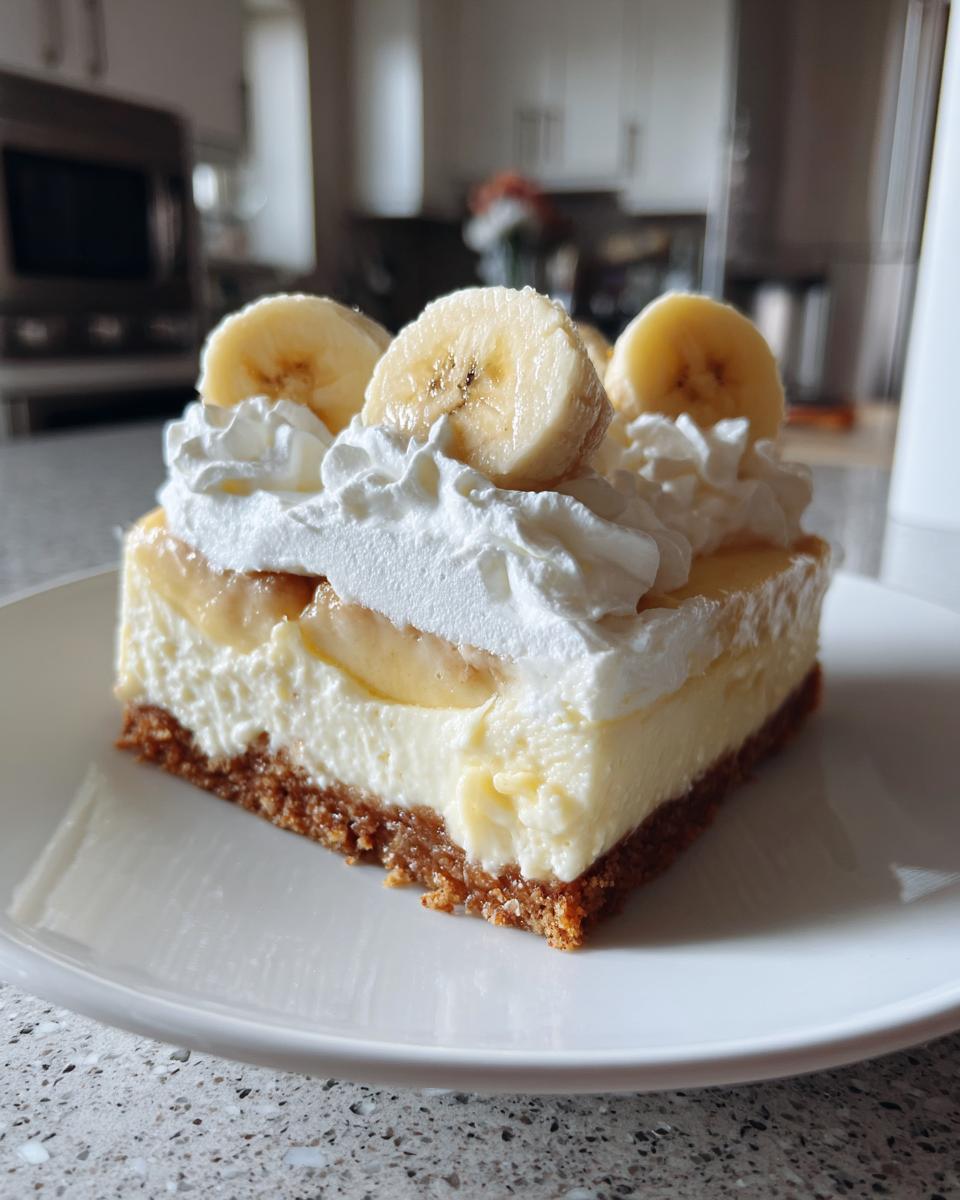
Oh my gosh, let me tell you about my love affair with banana pudding cheesecake bars! It all started at my cousin’s potluck last summer when I took one bite of these creamy, dreamy squares and nearly melted into my lawn chair. The genius combo of velvety banana pudding cheesecake filling sandwiched between that buttery Nilla wafer crust? Absolute perfection. What I love most is that you don’t even need to turn on your oven – just mix, chill, and watch them disappear at your next gathering. Trust me, these no-bake beauties will have everyone begging for your recipe before they’ve even finished their first bite.
Why You’ll Love These Banana Pudding Cheesecake Bars
Let me count the ways these bars will become your new obsession:
- No oven needed – Perfect for summer when you can’t bear to turn on the heat
- Creamy dreamy texture – Like banana pudding and cheesecake had the most delicious baby
- Seriously easy – Just mix, chill, and slice (my kind of baking!)
- Crowd-pleaser magic – Disappears faster than you can say “seconds please” at parties
- Nostalgia in every bite – That Nilla wafer crust? Total childhood flashbacks
I make these for every potluck now because they’re always the first dessert gone – no exaggeration!
Ingredients for Banana Pudding Cheesecake Bars
Gather these simple ingredients and let’s make magic happen! I’ve separated everything by layer so you can shop and prep like a pro:
For the Crust:
- 2 cups crushed Nilla wafers (about 45 cookies – yes, I counted!)
- 2 tablespoons brown sugar (the secret flavor booster)
- 1 pinch salt (balances the sweetness perfectly)
- 1/2 cup melted unsalted butter (the glue holding it all together)
For the Filling:
- 16 ounces softened cream cheese (leave it out for 2 hours – no shortcuts!)
- 3/4 cup powdered sugar (sifted to avoid lumps)
- 3 tablespoons sour cream (for that tangy kick)
- 1 teaspoon vanilla extract (the good stuff, please)
- 1 (3.4 oz) package instant banana pudding mix (not cook-and-serve!)
- 1 cup heavy whipping cream (cold straight from the fridge)
For Topping & Garnish:
- Whipped cream (homemade or store-bought – no judgement here)
- Fresh banana slices (cut right before serving)
- Extra Nilla wafers (for that picture-perfect finish)
Ingredient Notes & Substitutions
Don’t stress if you’re missing something! Graham crackers work for the crust in a pinch, and Greek yogurt can sub for sour cream. But here’s the deal – that instant banana pudding mix? Non-negotiable. It gives that nostalgic pudding flavor and helps thicken the filling perfectly. Skip the fresh banana in the filling (they make it watery) and save them for garnishing instead.
How to Make Banana Pudding Cheesecake Bars
Alright, let’s make these dreamy bars step by step – I promise it’s easier than it looks! Here’s exactly how I do it:
- Prep your pan: Line that 9×9-inch baking dish with parchment paper, leaving some overhang on the sides. Trust me, this makes lifting out the bars SO much easier later!
- Make the crust: Mix your crushed Nilla wafers, brown sugar, and salt in a bowl. Pour in that melted butter and stir until it looks like wet sand. Now press it FIRMLY into your pan – I use the bottom of a measuring cup to get it nice and even.
- Chill the crust: Pop it in the fridge for at least 15 minutes while you make the filling. This helps prevent a crumbly disaster later.
- Whip the filling: Beat the cream cheese and powdered sugar until smooth – no lumps allowed! Add sour cream and vanilla, then the pudding mix. Now here’s the fun part – slowly pour in the cold heavy cream as you keep mixing until it’s thick and dreamy.
- Assemble & chill: Spread that creamy goodness over your crust, smoothing the top. Now the hard part – refrigerate for at least 6 hours (overnight is even better!).
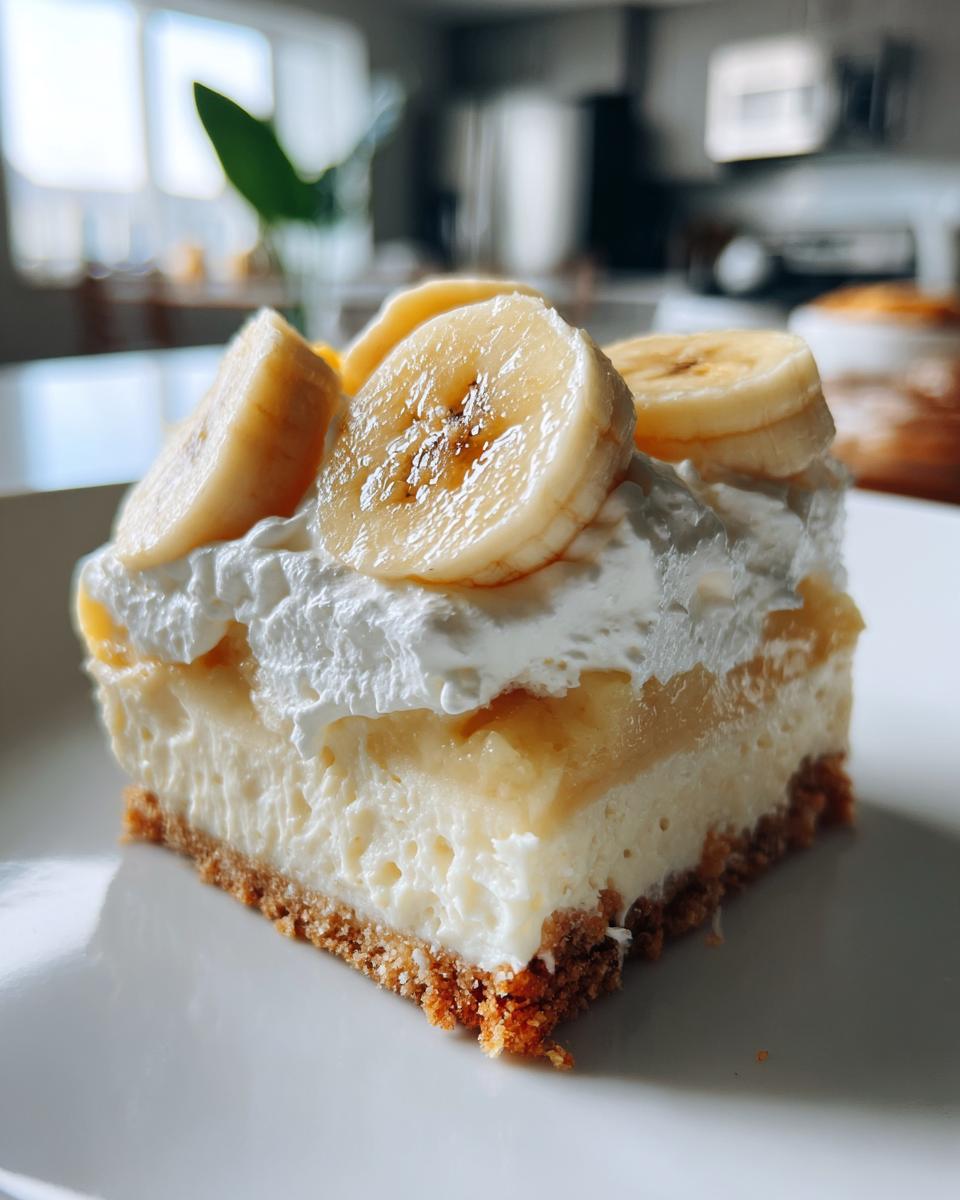
- Serve with flair: Lift out using the parchment, slice into squares, and top with whipped cream, fresh banana slices, and extra Nilla wafers right before serving.
Tips for Perfect Banana Pudding Cheesecake Bars
Here are my hard-earned secrets: Don’t overmix the filling or it gets runny. Press that crust extra firmly – I mean really pack it in! To prevent banana browning, toss slices in lemon juice or add them just before serving. And always use cold cream cheese – room temp makes the filling too soft!
Serving and Storing Banana Pudding Cheesecake Bars
Here’s the best way to enjoy these beauties – serve them chilled straight from the fridge with all the garnishes piled high. That fresh banana and whipped cream topping? Absolute perfection. Store any leftovers (if you have any!) in an airtight container for up to 3 days. Heads up – freezing isn’t ideal because the texture gets weird and the bananas turn brown. Trust me, these disappear way too fast to worry about long-term storage anyway!
Banana Pudding Cheesecake Bars Nutritional Info
Okay, let’s be real – these aren’t health food, but everything in moderation, right? Each luscious bar clocks in at about 320 calories, with 22g fat (that’s where the creamy magic comes from!) and 22g sugar. Want to lighten them up? Try reduced-fat cream cheese or swap half the heavy cream for Greek yogurt. But honestly? Sometimes you just need to treat yourself to the full delicious experience!
FAQs About Banana Pudding Cheesecake Bars
Can I use homemade pudding instead of instant mix?
Oh honey, I’ve tried – and it’s just not the same! The instant pudding mix gives that perfect nostalgic flavor and helps thicken the filling beautifully. Homemade pudding tends to make the bars too soft. Stick with the instant kind for best results.
How do I prevent a soggy crust?
Two secrets: First, press that Nilla wafer mixture down HARD – I mean really pack it in there! Second, make sure your crust chills for at least 15 minutes before adding the filling. This creates a protective barrier against moisture.
What’s the best way to slice clean bars?
Here’s my trick: Run a sharp knife under hot water, wipe it dry, then make your cuts. Repeat between each slice for picture-perfect edges. And don’t skip that parchment paper – it makes lifting out the whole slab for slicing so much easier!
Can I make these ahead of time?
Absolutely! These bars actually taste better after chilling overnight. Just wait to add the banana slices and whipped cream topping until right before serving to keep everything fresh and pretty.
Share Your Banana Pudding Cheesecake Bars
I’d love to see your creations! Tag me when you make these or leave a comment below – nothing makes me happier than seeing your happy banana pudding cheesecake bar faces!
Print
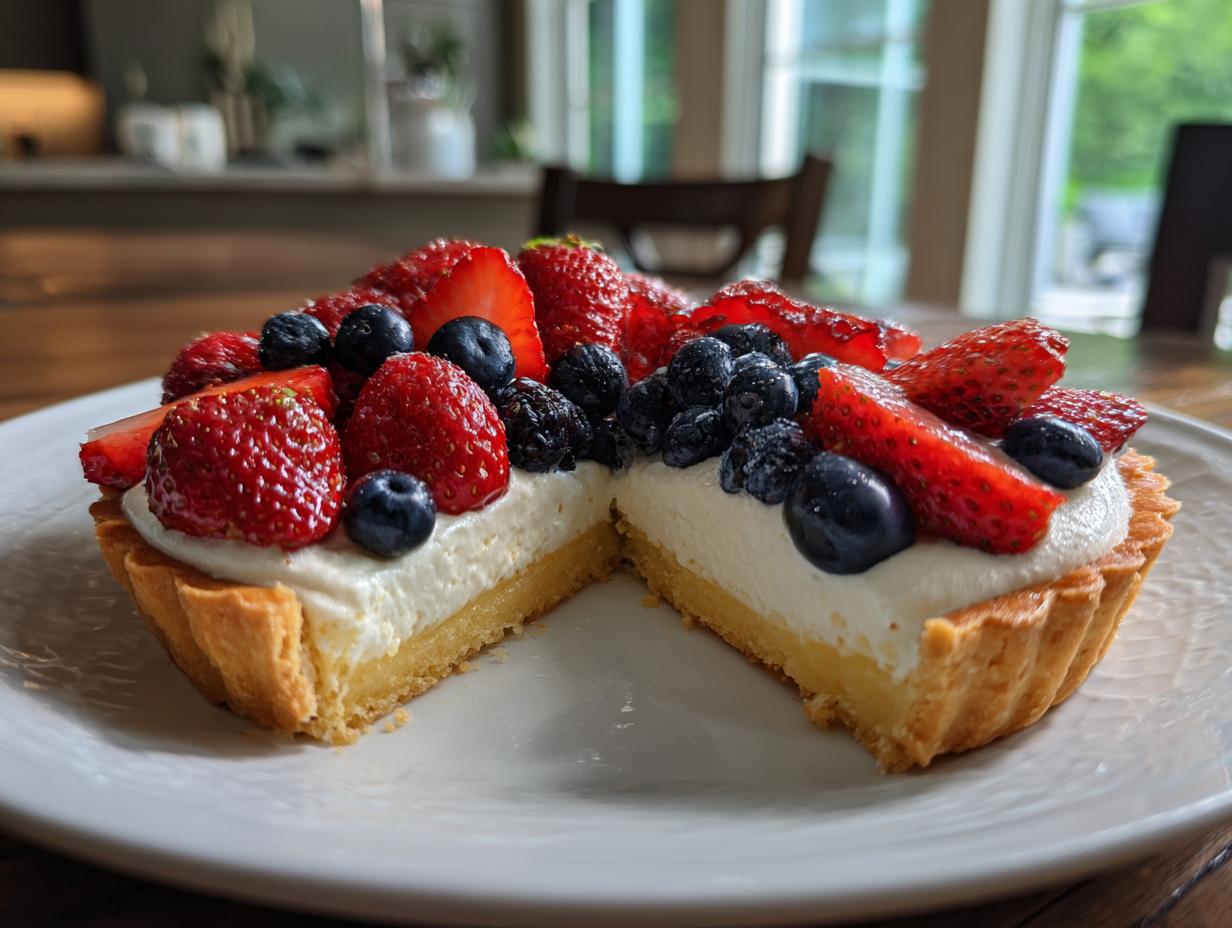
Creamy Banana Pudding Cheesecake Bars in 45 Minutes Flat
A creamy banana pudding cheesecake bar with a Nilla wafer crust, topped with whipped cream and fresh banana slices.
- Total Time: 6 hours 20 minutes
- Yield: 9–12 bars 1x
Ingredients
- CRUST:
- 2 cups crushed Nilla wafers
- 2 tablespoons brown sugar
- 1 pinch salt
- 1/2 cup unsalted butter, melted
- FILLING:
- 16 ounces cream cheese, softened
- 3/4 cup powdered sugar
- 3 tablespoons sour cream
- 1 teaspoon vanilla extract
- 1 (3.4 oz) package instant banana pudding mix
- 1 cup heavy whipping cream
- TOPPING AND GARNISH:
- Whipped cream
- Sliced bananas
- Nilla wafers
Instructions
- Line a 9×9-inch baking dish with parchment paper.
- In a medium bowl, mix crushed Nilla wafers, brown sugar, salt, and melted butter until moistened.
- Press the mixture firmly into the dish and chill.
- In a large bowl, beat cream cheese and powdered sugar until smooth.
- Add sour cream and vanilla extract, then mix well.
- Mix in banana pudding until combined.
- Add heavy whipping cream and beat until thickened.
- Spread filling over the crust and chill for at least 6 hours.
- Cut into squares before serving and garnish with whipped cream, banana slices, and Nilla wafers.
Notes
- Chill overnight for best texture.
- Use fresh bananas for garnishing to prevent browning.
- Store leftovers in the fridge for up to 3 days.
- Prep Time: 20 minutes
- Cook Time: 0 minutes
- Category: Dessert
- Method: No-Bake
- Cuisine: American
- Diet: Vegetarian
Nutrition
- Serving Size: 1 bar
- Calories: 320
- Sugar: 22g
- Sodium: 180mg
- Fat: 22g
- Saturated Fat: 12g
- Unsaturated Fat: 8g
- Trans Fat: 0.5g
- Carbohydrates: 28g
- Fiber: 1g
- Protein: 4g
- Cholesterol: 60mg