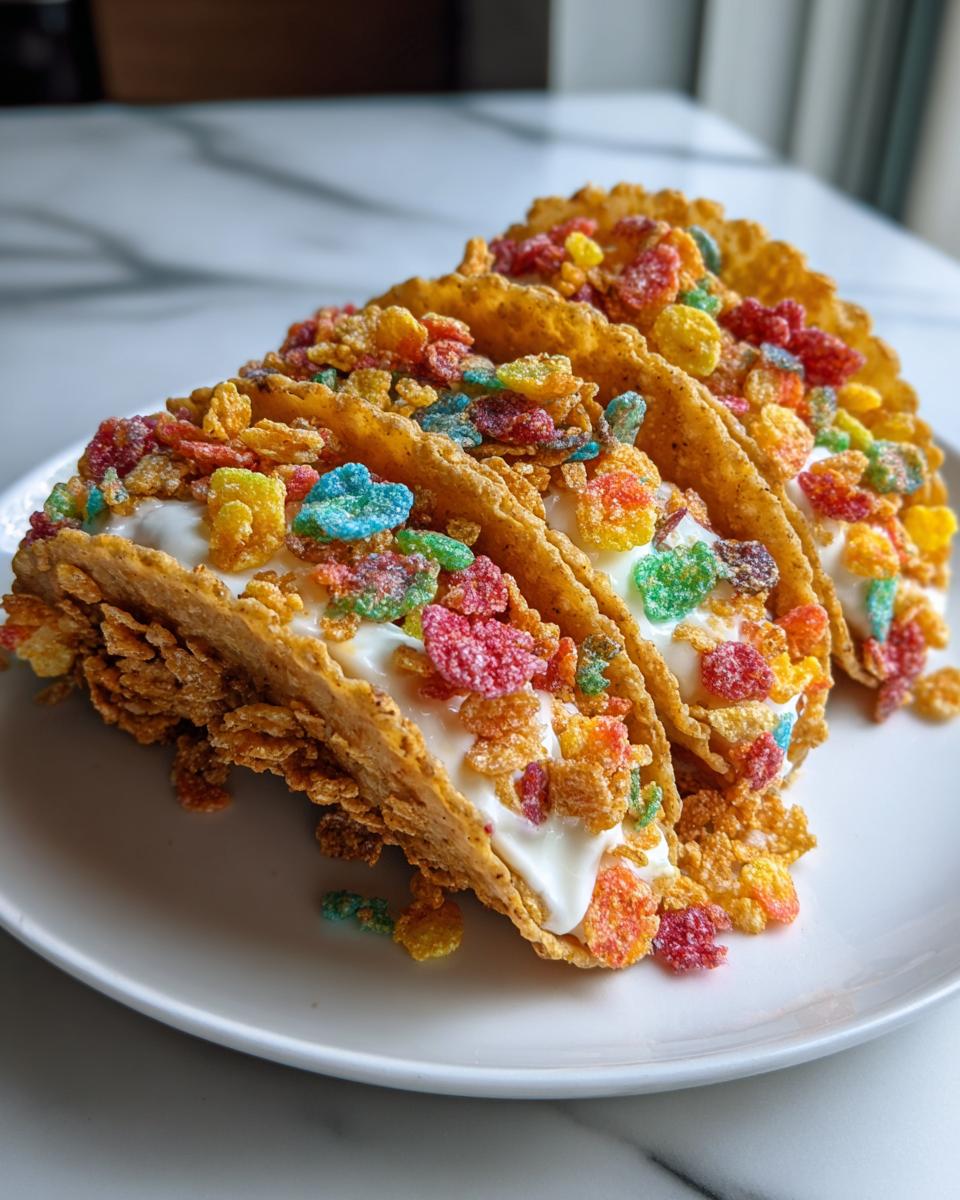
Remember those Saturday mornings when you’d pour a giant bowl of Fruity Pebbles and watch the milk turn rainbow? That’s exactly the kind of joy these Fruity Pebbles Cheesecake Tacos bring to dessert time. I first made these for my niece’s birthday party – one bite and the kids went wild (the adults too, if we’re being honest). The crunchy cereal shell hugging that creamy cheesecake filling is pure magic. It’s like your favorite childhood breakfast decided to dress up and crash the dessert party. Best part? No oven required – just mix, chill, and watch everyone’s eyes light up when you bring these colorful treats to the table.
Why You’ll Love These Fruity Pebbles Cheesecake Tacos
Listen, I know you’ll fall head over heels for these little guys because:
- They come together in under an hour – no baking, just mixing and chilling (perfect for last-minute cravings!)
- The colors alone will make you smile – it’s like eating a happy little rainbow
- Kids go absolutely nuts for them (but let’s be real, adults do too)
- That satisfying CRUNCH when you bite into the cereal shell? Pure joy
- You probably already have most of the ingredients in your kitchen
Seriously, these might just become your new go-to party trick.
Ingredients for Fruity Pebbles Cheesecake Tacos
Here’s what you’ll need to make these magical little treats. I like to separate everything into “shell stuff” and “filling stuff” because it just makes life easier when you’re in the middle of kitchen chaos (trust me, I’ve learned this the hard way).
For the crunchy cereal shells:
- 3 cups Fruity Pebbles cereal (go fresh – stale cereal won’t crisp up right)
- 1/2 cup unsalted butter, melted (I microwave mine for about 45 seconds)
For the dreamy cheesecake filling:
- 8 oz cream cheese, softened at room temperature (this is crucial – cold cream cheese won’t blend smoothly)
- 1/2 cup powdered sugar, sifted (no lumps allowed!)
- 1 tsp pure vanilla extract (the good stuff makes all the difference)
- 1 cup whipped cream (freshly whipped or the stuff in a can works in a pinch)
Plus extra Fruity Pebbles for sprinkling on top – because more color is always better!
How to Make Fruity Pebbles Cheesecake Tacos
Okay, let’s get messy! These little rainbow bites are simpler to make than you’d think – just follow these steps and you’ll be snacking on cheesecake tacos before you know it.
Preparing the Cereal Shells
First, grab your biggest mixing bowl and toss in those colorful Fruity Pebbles with the melted butter. Really massage that butter in there – you want every single cereal piece coated. Now here’s the secret: when pressing into muffin tins (or taco molds if you’re fancy), pack it TIGHT. I mean, really put some elbow grease into it – loose shells crumble. Chill them for at least 30 minutes – this patience pays off with that perfect crunch.
Making the Cheesecake Filling
While those shells firm up, let’s make the creamy magic. Beat that softened cream cheese until it’s fluffy like a cloud – about 2 minutes with a hand mixer. Gradually add the sifted powdered sugar (nobody wants gritty cheesecake!) and vanilla. Now, gently fold in the whipped cream with a spatula – pretend you’re tucking a baby in, not mixing concrete. This keeps the filling light and dreamy.
Assembling the Tacos
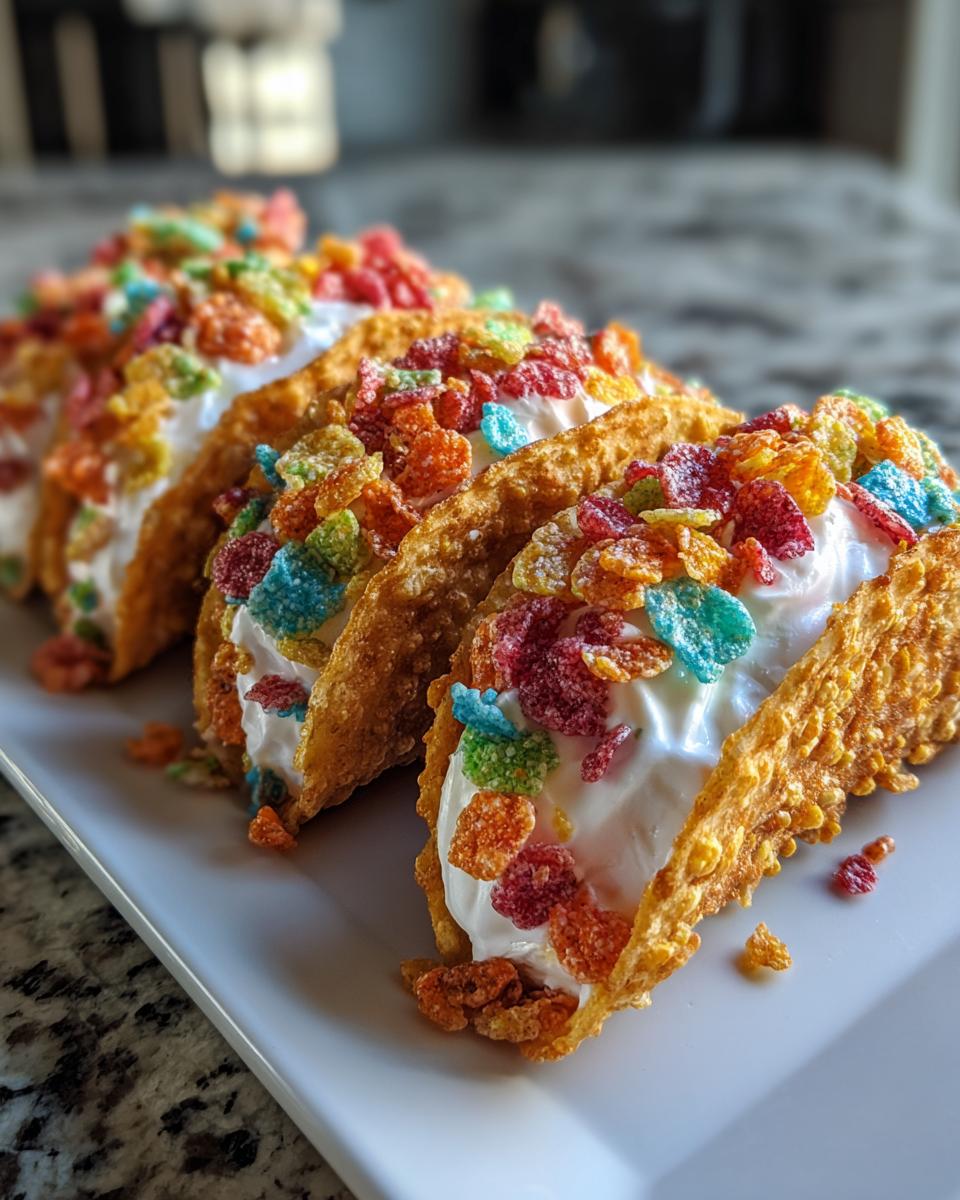
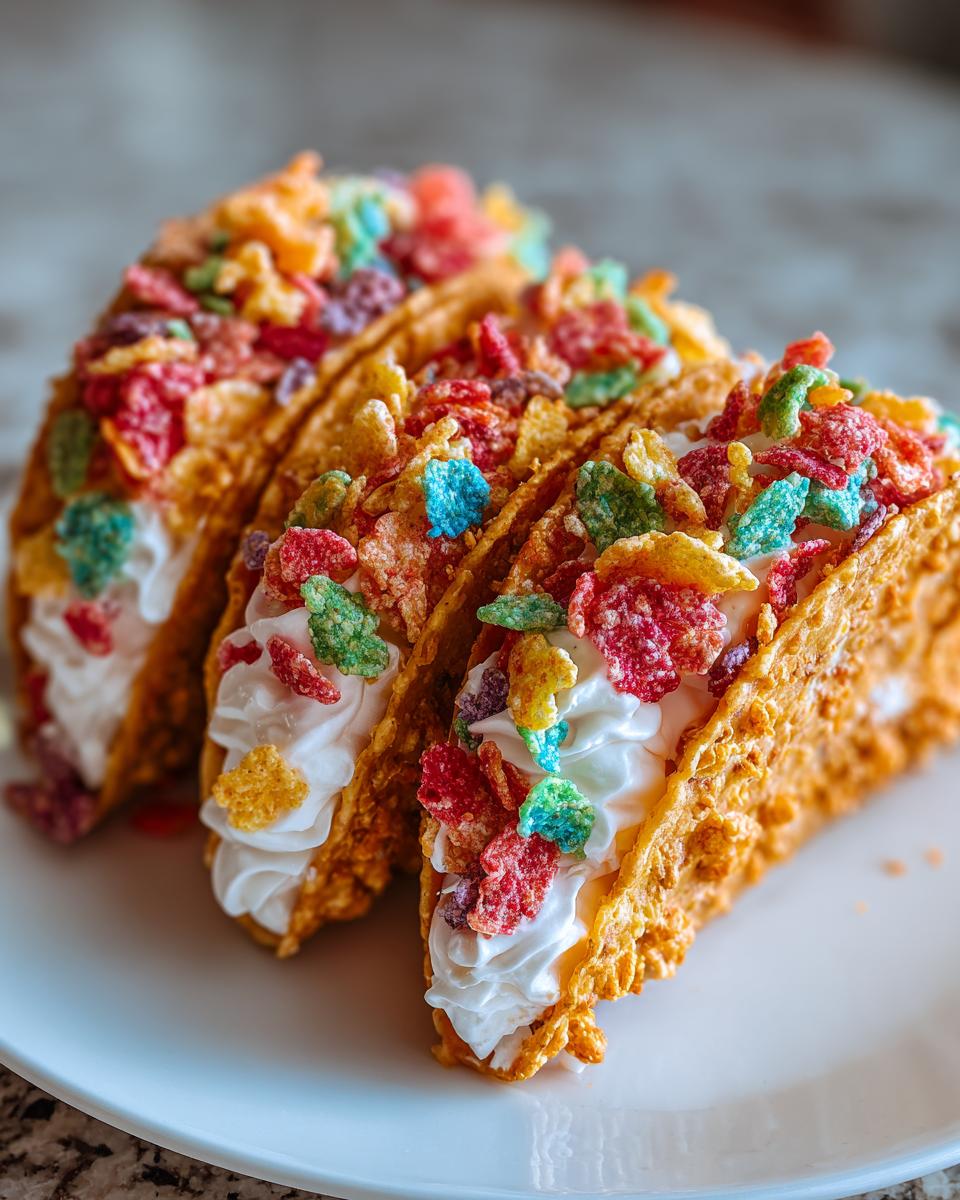
Time for the fun part! Carefully pop those chilled shells from their molds – they should hold their shape if you packed them right. Spoon or pipe the filling generously into each shell (I use a zip-top bag with the corner snipped). Top with a sprinkle of extra Fruity Pebbles for that wow factor. Serve immediately for maximum crunch, or chill another 15 minutes if you prefer a firmer filling.

Tips for Perfect Fruity Pebbles Cheesecake Tacos
After making these more times than I can count (okay fine, I may have a slight addiction), here are my golden rules:
- Chill those shells like your dessert depends on it – 30 minutes minimum, but an hour is even better for super sturdy crunch
- Full-fat cream cheese or bust – the low-fat stuff makes the filling weep and sad
- Serve right after assembling – the cereal stays satisfyingly crisp (though they still taste amazing after chilling, just less crunchy)
- Press, press, PRESS – really compact that cereal mixture when forming shells to avoid crumbly disasters
Follow these and you’ll be the Fruity Pebble cheesecake taco queen (or king)!
Variations for Fruity Pebbles Cheesecake Tacos
Now here’s where you can really have fun playing with flavors! Swap in Cocoa Pebbles for chocolate lovers (I call these “cheesecake crunchwraps”). Try mini muffin tins for bite-sized party poppers. Feeling fancy? Drizzle with melted white chocolate or strawberry sauce. My niece loves when we mix in rainbow sprinkles with the filling – because more color is always better, right?
Frequently Asked Questions
I get the same excited questions every time I serve these, so let’s tackle the big ones:
“Can I make these ahead?” Absolutely! The shells keep beautifully in an airtight container for 2 days – just wait to fill them until right before serving. Nobody likes a soggy cereal taco.
“What can I use instead of whipped cream?” Cool Whip works in a pinch (don’t tell the pastry chefs I said that), but fresh whipped cream really makes the filling shine.
“Help! My shells keep crumbling!” Two words: pack tighter. And chill longer. Those cereal bits need time to become best friends with the butter.
“Can kids help make these?” Are you kidding? Sprinkling the extra cereal on top is practically designed for little hands (though you might end up with more on the floor than the tacos).
Storage and Serving Suggestions
Here’s the scoop on keeping these colorful treats at their best: store the unfilled cereal shells in an airtight container at room temp for up to 2 days (they’ll lose some crunch after that). Always fill them right before serving – nobody wants a soggy taco situation! These pair amazingly with vanilla ice cream (the cold creaminess is magic with the crunch) or fresh berries for a fruity twist. Pro tip: set up a toppings bar with sprinkles, chocolate sauce, and extra cereal so everyone can customize their cheesecake tacos!
Nutritional Information
Now let’s be real – we’re not eating cheesecake tacos for their health benefits! But for those curious, each taco clocks in around 320 calories (estimates vary by brand). You’re looking at roughly 18g fat and 35g carbs per magical bite. The rainbow colors totally count as vitamins, right?
Share Your Fruity Pebbles Cheesecake Tacos
I’d love to see your colorful creations! Snap a pic of your cheesecake tacos and tag me – nothing makes me happier than seeing those rainbow bites on your table.
Print
50x Fruity Pebbles Cheesecake Tacos That Spark Instant Joy
Crunchy cereal shells with creamy cheesecake filling and colorful toppings—a fun dessert twist.
- Total Time: 50 Minutes
- Yield: 6 Servings 1x
Ingredients
- 3 cups fruity cereal
- 1/2 cup unsalted butter, melted
- 8 oz cream cheese, softened to room temperature
- 1/2 cup powdered sugar, sifted
- 1 tsp pure vanilla extract
- 1 cup whipped cream
- Additional fruity cereal for garnish
Instructions
- Combine the fruity cereal and melted butter in a mixing bowl. Stir thoroughly until every piece is evenly coated.
- Press the cereal mixture firmly into small taco-shaped molds or muffin tins. Compact tightly and chill in the refrigerator for at least 30 minutes.
- Using a hand mixer, beat the cream cheese until light and fluffy. Gradually add powdered sugar and vanilla extract, blending until smooth.
- Gently fold whipped cream into the cream cheese mixture, using a spatula to maintain a light texture.
- Once the cereal shells are firm, spoon the cheesecake filling into each shell generously.
- Sprinkle additional fruity cereal over the filled shells. Serve immediately or chill for a firmer texture.
Notes
- Serve immediately for a softer texture or chill longer for a firmer bite.
- Use fresh whipped cream for best results.
- Prep Time: 20 Minutes
- Cook Time: 30 Minutes
- Category: Desserts
- Method: Baking
- Cuisine: American
- Diet: Vegetarian
Nutrition
- Serving Size: 1 taco
- Calories: 320
- Sugar: 25g
- Sodium: 180mg
- Fat: 18g
- Saturated Fat: 10g
- Unsaturated Fat: 6g
- Trans Fat: 0g
- Carbohydrates: 35g
- Fiber: 1g
- Protein: 3g
- Cholesterol: 45mg