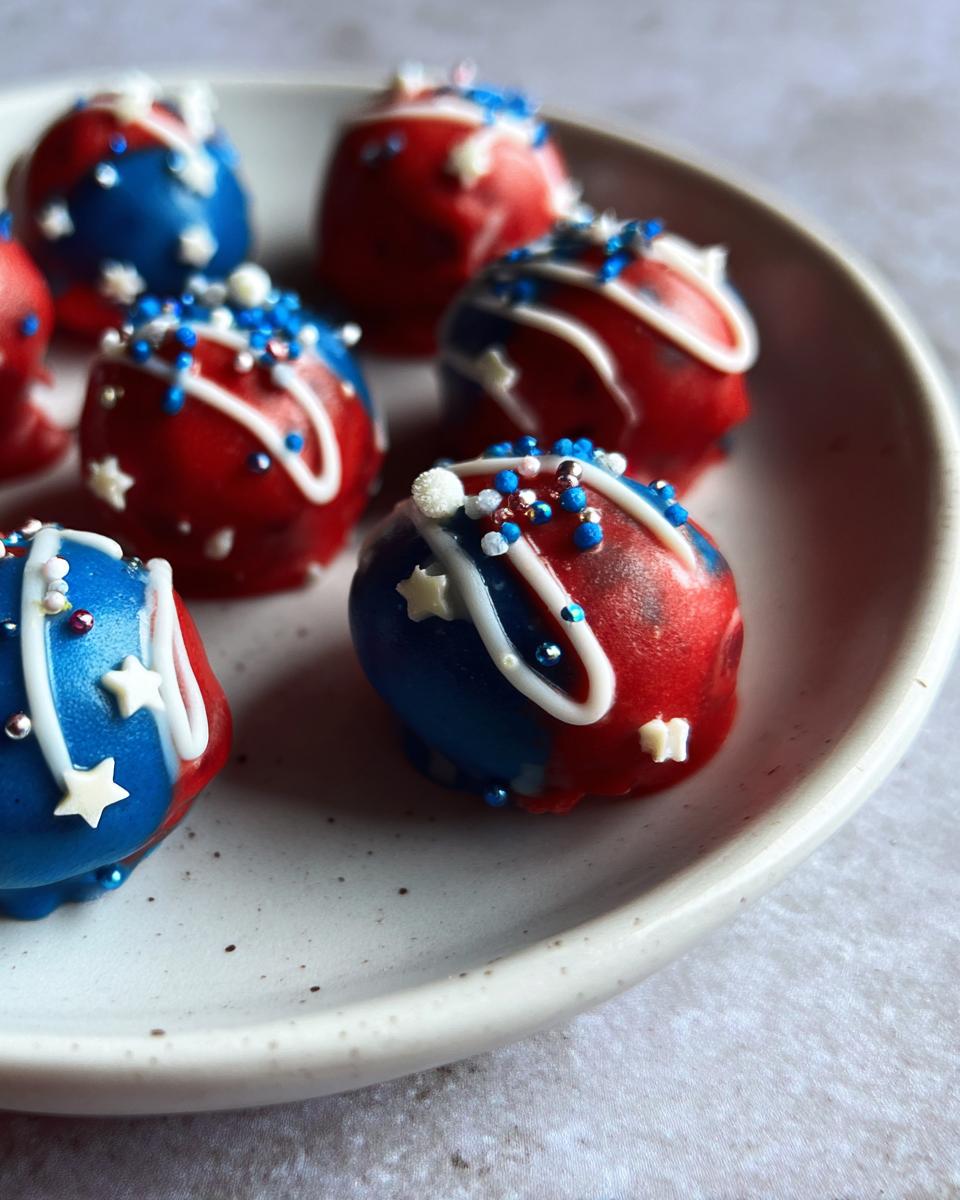
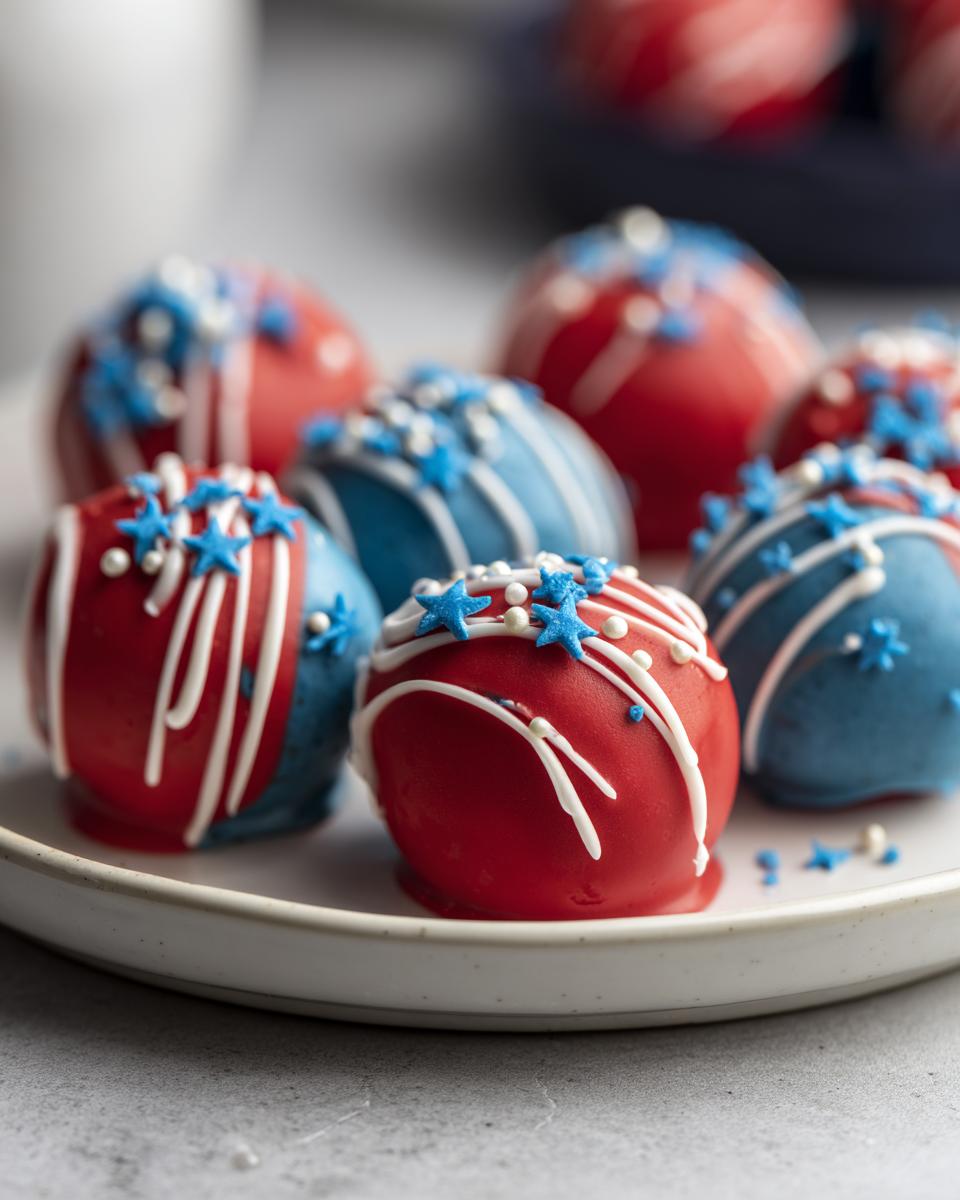
Nothing says “America” quite like red, white, and blue treats—especially when they’re as easy and delicious as these Patriotic Oreo Balls! I’ve been making this no-bake dessert for years, ever since my neighbor brought them to our Fourth of July block party. Now they’re my go-to for Memorial Day cookouts, Labor Day picnics, and any summer gathering where I want to wow people with minimal effort. The best part? Kids can help decorate them (though fair warning—you’ll probably end up with more sprinkles on the counter than on the Oreo balls!).
These little bites combine everyone’s favorite cookies with creamy cheesecake flavor, then get dressed up in patriotic colors that’ll have your guests oohing and aahing. They’re seriously foolproof—even if you’re not a baker, you can’t mess these up. Just wait until you see how quickly they disappear from dessert tables!
Why You’ll Love These Patriotic Oreo Balls
Listen, I know we all need that one dessert that never fails us—and trust me, this is it. Here’s why these Oreo balls will become your new favorite:
- No-bake magic: Skip the oven entirely—these come together with just a food processor and some elbow grease.
- Impressively easy: If you can crush cookies and roll balls, you’ve got this. Seriously, my 7-year-old nephew helps me make them!
- Instant holiday vibes: The red, white, and blue colors make them perfect for any patriotic celebration (though I’ve been known to make them year-round).
- Crowd-pleaser guarantee: I’ve never brought these to a party without someone asking for the recipe.
Plus, they’re the ultimate make-ahead treat—just stash them in the fridge until showtime!
Ingredients for Patriotic Oreo Balls
Grab these simple ingredients—I promise you probably have half of them in your pantry already! The key here is using exactly what’s listed (no shortcuts on the cream cheese softening—learned that the hard way!). Here’s what you’ll need:
- 1 lb 2.12 oz Family Size Oreos: Yes, the whole package! We’re making crumbs, so don’t skimp.
- 8 oz block cream cheese: Softened to room temp—this is non-negotiable for smooth blending. Cold cream cheese = lumpy balls (and not in a good way).
- Red & blue candy melts (12 oz bags each): Wilton brand works best for that perfect glossy dip.
- ⅓ cup white melting wafers: Ghirardelli melts like a dream for drizzling.
- Star sprinkles: Because what’s a patriotic dessert without edible glitter?
Pro tip: Get a 1.5” cookie scoop—it’s a game-changer for evenly sized balls!
How to Make Patriotic Oreo Balls
Okay, let’s get to the fun part—making these little bites of patriotic joy! I’ve made this recipe so many times I could do it in my sleep, but I’ll walk you through each step so yours come out perfectly. The secret is taking your time with a few key steps (especially the chilling – don’t rush it!).
Step 1: Crush the Oreos
First things first – let’s turn those Oreos into crumbs. Grab your food processor (a blender works too if you don’t have one) and pulse those cookies until they look like dark, sandy perfection. I’m talking fine crumbs here – no big chunks! You’ll know it’s ready when it looks like dark brown sand. Pro tip: If you don’t have a processor, toss the cookies in a ziplock and go at them with a rolling pin – great stress relief!
Step 2: Mix with Cream Cheese
Now for the magic! In a big bowl, beat that softened cream cheese (I can’t stress enough how important room temp is!) until it’s smooth and creamy. Then, gently fold in your Oreo crumbs. Keep mixing until it looks like a thick, uniform dough—you shouldn’t see any white streaks. This is where kids love to help! The mixture should hold together when pinched. Too dry? Add a teaspoon of milk. Too wet? A few more crumbs will fix it.
Step 3: Shape and Chill the Balls
Time to get rolling! Use that 1.5″ scoop to portion out the mixture, then roll each scoop between your palms to make perfect little spheres. Place them on a parchment-lined tray—they’ll look like tiny chocolate truffles at this point. Here’s where patience comes in: chill them for at least 2 hours (overnight is even better). In a rush? 20 minutes in the freezer will do in a pinch, but the longer chill makes dipping way easier.
Step 4: Dip in Candy Melts
Now the fun begins! Melt your blue candy melts first (I use the microwave in 30-second bursts, stirring between each). When it’s smooth as satin, use a fork to dip each chilled ball, letting the excess drip off before placing it back on the tray. Work quickly but carefully—if the melts start to thicken, just reheat for 10 seconds. Repeat with red melts for the other half of your batch. Pro tip: Tapping the fork gently on the bowl’s edge helps shake off extra coating.
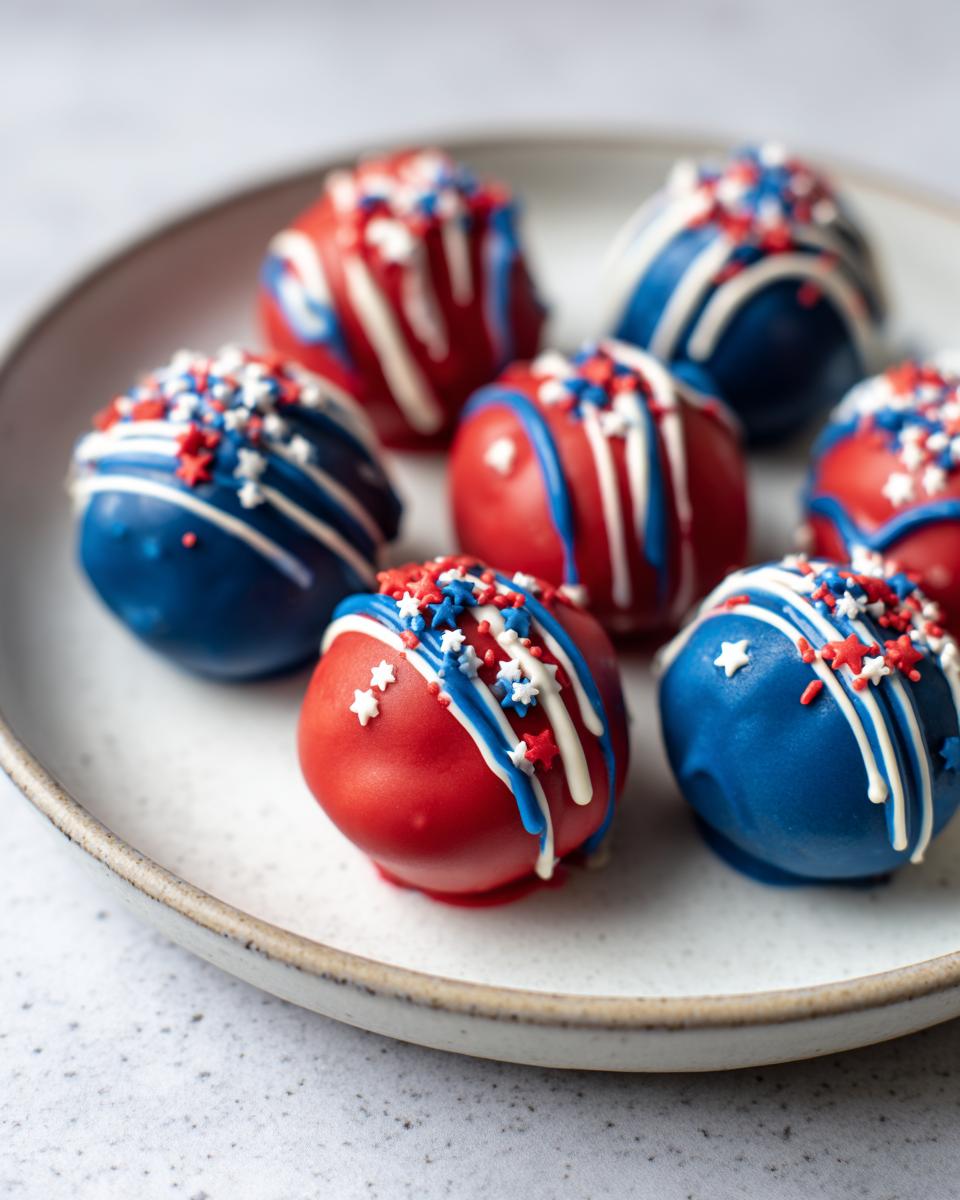
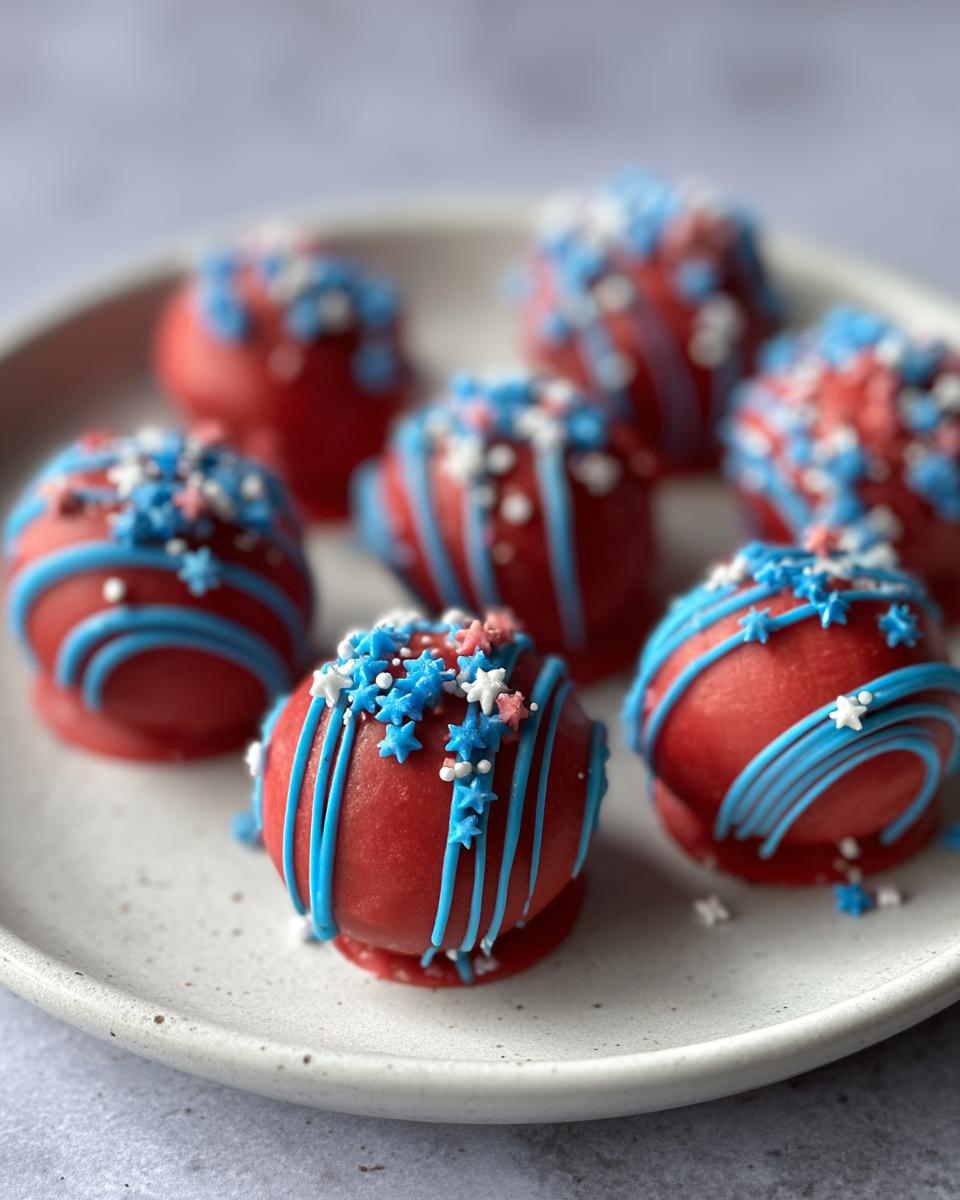
Step 5: Add Decorations
While the red ones are still wet, sprinkle on those adorable star sprinkles—they’ll stick perfectly! For the blue ones, melt your white wafers, snip the corner of a ziplock bag, and drizzle artistic stripes over them. Let everything set in the fridge for about 10 minutes. And voila! You’ve just created the most festive, patriotic treat that’ll have everyone asking for your secret!
Tips for Perfect Patriotic Oreo Balls
After making these more times than I can count (and yes, learning from my mistakes!), here are my absolute must-know tips:
- Work fast with melts: Candy coating sets quickly – I keep my bowl over a pot of warm water between dips to prevent hardening.
- Chill is crucial: Don’t skip chilling the balls before dipping! Warm centers make the coating crack. If this happens, just pop them back in the fridge.
- Storage smarts: Keep finished balls refrigerated in an airtight container – they’ll stay perfect for up to 5 days (if they last that long!).
- Thick coating fix: If melts get too thick, stir in ½ teaspoon vegetable oil at a time until smooth again.
Trust me – these little tricks make all the difference between good Oreo balls and perfect ones!
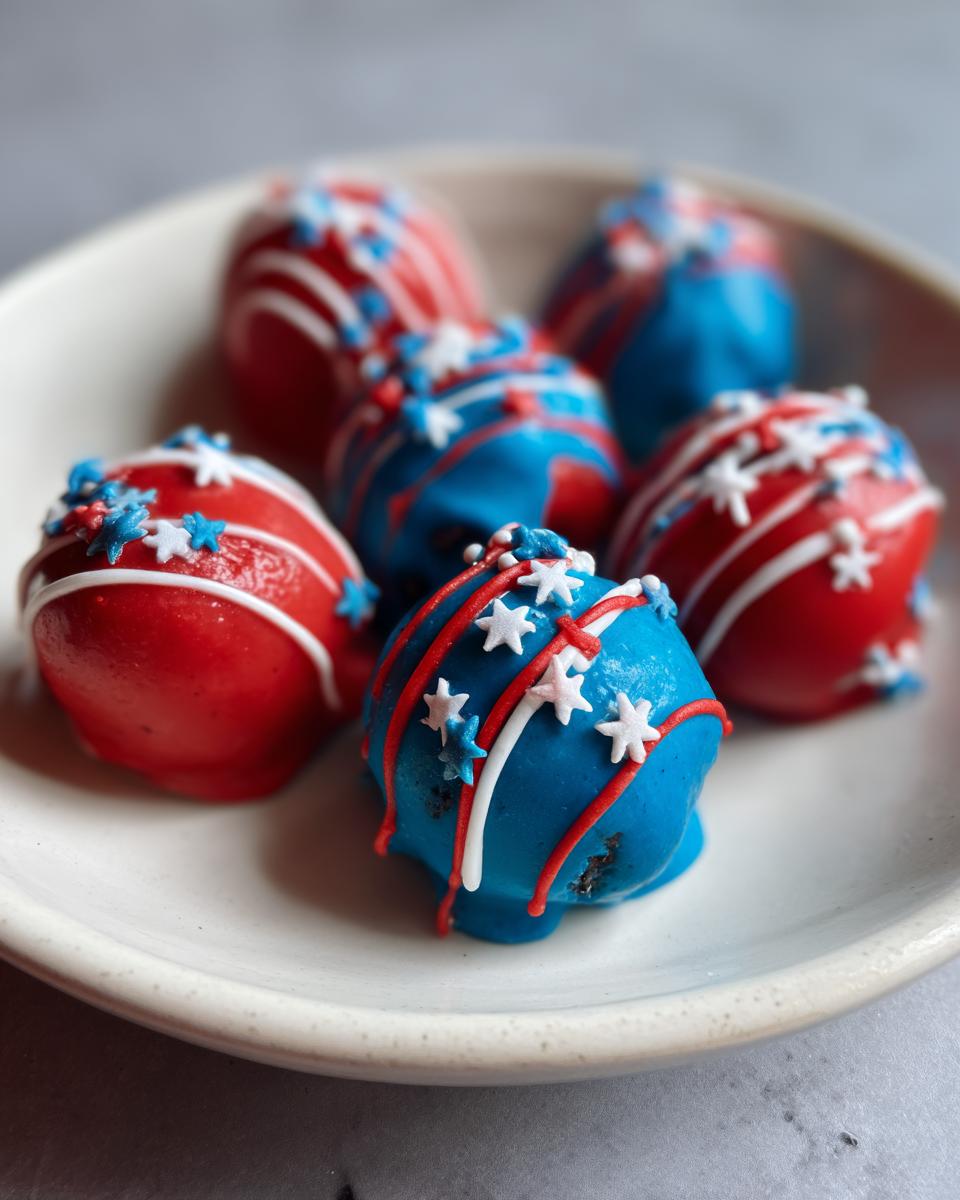
Patriotic Oreo Balls Variations
Once you’ve mastered the classic, try these fun twists I’ve experimented with over the years! Swap regular Oreos for golden ones (hello, vanilla cream!) or mint for a cool surprise inside. Not feeling patriotic? Rainbow sprinkles make these perfect for birthdays, while green and red turns them into Christmas magic. My personal favorite? Peppermint Oreos dipped in dark chocolate for holiday parties—just add crushed candy canes on top!
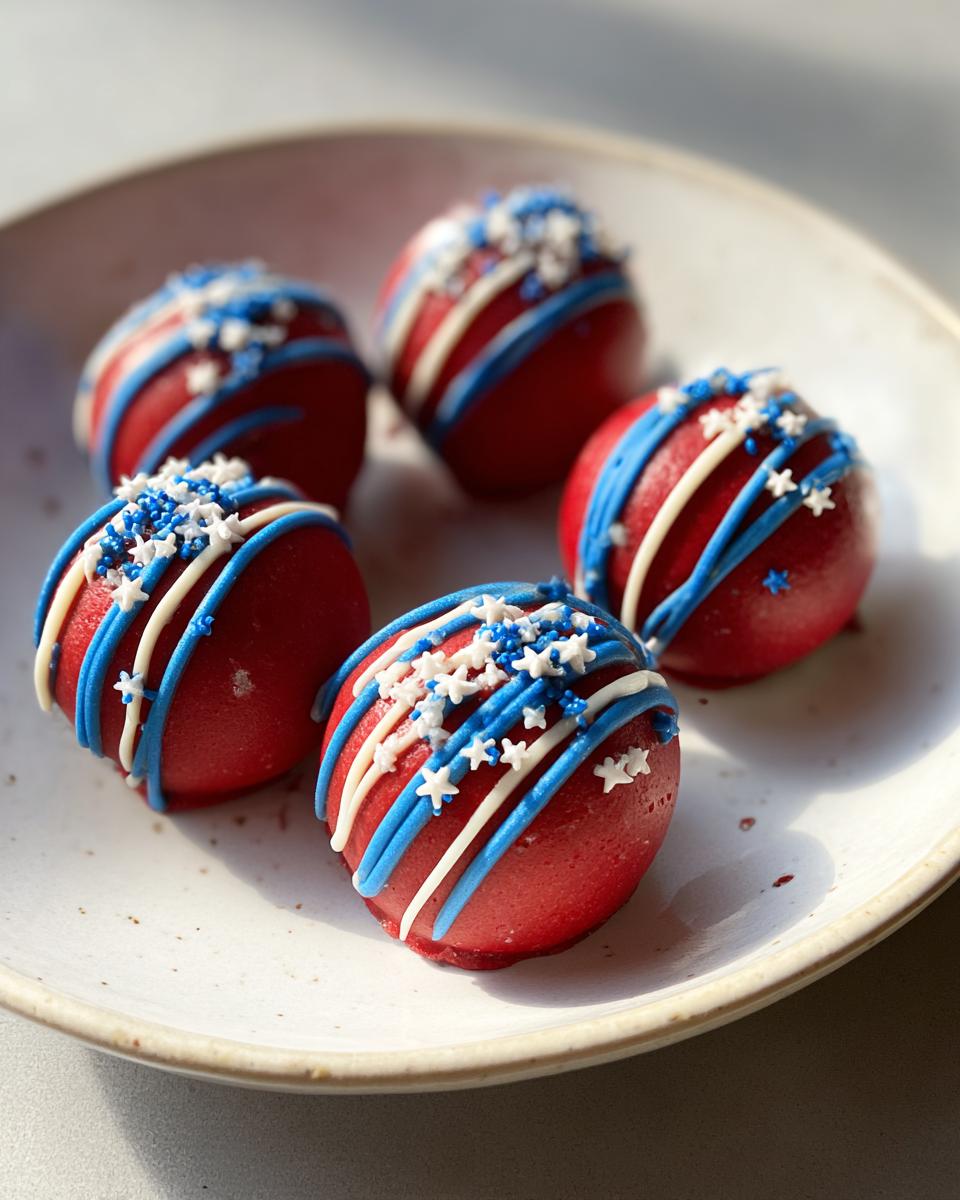
Serving and Storing Patriotic Oreo Balls
These little beauties are best served straight from the fridge—the cool, creamy center is pure heaven! I always arrange them on a patriotic platter with parchment between layers so they don’t stick together. For storage, tuck them into an airtight container with wax paper separating the layers. They’ll keep happily in the fridge for up to 5 days (though in my house, they never last that long!). Want to get ahead? You can freeze them for up to a month—just thaw overnight in the fridge before serving.
Patriotic Oreo Balls FAQs
I get asked these questions all the time when I bring these to parties—so here are the answers straight from my years of Oreo ball experience!
Can I freeze Patriotic Oreo Balls?
Absolutely! Freeze them undipped (just the cream cheese-Oreo balls) for up to 3 months in an airtight container. Thaw overnight in the fridge before coating. Already decorated? They’ll keep frozen for 1 month—just let them sit at room temp for 5 minutes before serving.
Can I use almond bark instead of candy melts?
You can, but the texture won’t be as smooth. Almond bark tends to set thicker and doesn’t give that perfect glossy finish. If you do use it, thin it with a teaspoon of vegetable oil per cup for easier dipping.
Why did my coating crack?
This usually means your balls weren’t chilled enough before dipping—they should be refrigerator-cold! Also, avoid temperature shocks; don’t take them straight from freezer to warm coating.
Can I make these without a food processor?
Of course! A rolling pin and zip-top bag work great for crushing Oreos. For mixing, just make sure your cream cheese is super soft, and use some good old-fashioned arm power!
Patriotic Oreo Balls Nutrition Info
Each patriotic Oreo ball packs about 120 calories—perfect for guilt-free indulgence! Remember, nutrition varies slightly based on brands used. These values are estimates, but hey, we’re here for the celebration, not the calorie count!
I’d love to see your patriotic creations! Snap a pic of your Oreo balls and tag me—nothing makes me happier than seeing your festive treats!
Print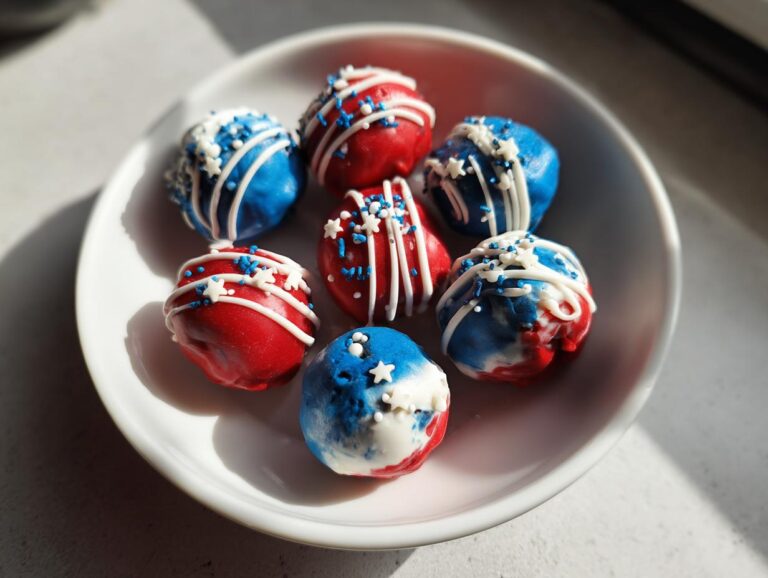
5-Ingredient Patriotic Oreo Balls Will Steal the Show
Patriotic Oreo Balls are a festive dessert perfect for patriotic holidays. These no-bake treats combine Oreo cookies, cream cheese, and colorful candy melts for a sweet and easy-to-make treat.
- Total Time: 3 hours
- Yield: 30 servings 1x
Ingredients
- 1 lb 2.12 oz Family Size package Oreo Cookies
- 8 ounce block cream cheese, softened to room temperature
- 12 ounce bag red candy melts
- 12 ounce bag blue candy melts
- ⅓ cup Ghirardelli white melting wafers
- White star confetti sprinkles for topping
Instructions
- Line two baking trays with parchment and set aside.
- Place the Oreo cookies in a food processor or high-speed blender and pulse into fine crumbs.
- In a large mixing bowl with a hand mixer on high speed, beat the softened cream cheese until smooth.
- Add the Oreo crumbs to the bowl and mix on medium speed until well combined.
- Using a 1.5” cookie scoop, scoop even-sized balls and roll them in your palms to smooth them. Place on the prepared baking trays.
- Refrigerate the trays for 2 hours (or freeze for 15-20 minutes if short on time).
- Remove one tray. Melt blue candy melts in a double boiler or microwave, stirring every 30 seconds until smooth.
- Dip each ball in the blue melts using a fork, tap off excess, place back on the tray, and sprinkle with star confetti. Refrigerate to set.
- Remove the second tray. Melt red candy melts as before.
- Dip each ball in the red melts, tap off excess, and place back on the tray.
- Microwave white melting wafers in a piping bag, drizzle over red-coated balls, and refrigerate for 10 minutes to set.
- Keep refrigerated until ready to eat.
Notes
- For best results, ensure cream cheese is fully softened before mixing.
- Work quickly when dipping to prevent the candy melts from hardening.
- Store leftovers in an airtight container in the refrigerator.
- Prep Time: 1 hour
- Cook Time: 0 minutes
- Category: Dessert
- Method: No-Bake
- Cuisine: American
- Diet: Vegetarian
Nutrition
- Serving Size: 1 ball
- Calories: 120
- Sugar: 10g
- Sodium: 80mg
- Fat: 6g
- Saturated Fat: 3g
- Unsaturated Fat: 2g
- Trans Fat: 0g
- Carbohydrates: 15g
- Fiber: 0.5g
- Protein: 1g
- Cholesterol: 5mg